Chinese Inspired Fermented Garlic With Chilies
Growing up we really didn’t eat much fermented food. Once in a while there was a little canned sauerkraut on a hot dog at an impromptu family gathering; or a taste of yogurt when we’re sick; otherwise it wasn’t something we typically ate. So you could imagine my amazement when I moved to Los Angeles in the late 1990s and I discovered what would years later become one of my most used condiments today! The mouth tingling heat from the chilies combined with the amazing aroma of fermented garlic makes a wonderful addition to anything from braised meats to hot pot; salad dressings to BBQ. This affordable, easy to make flavor packed fermented gem is a must have for any Asian food lover(s)!

Ingredients
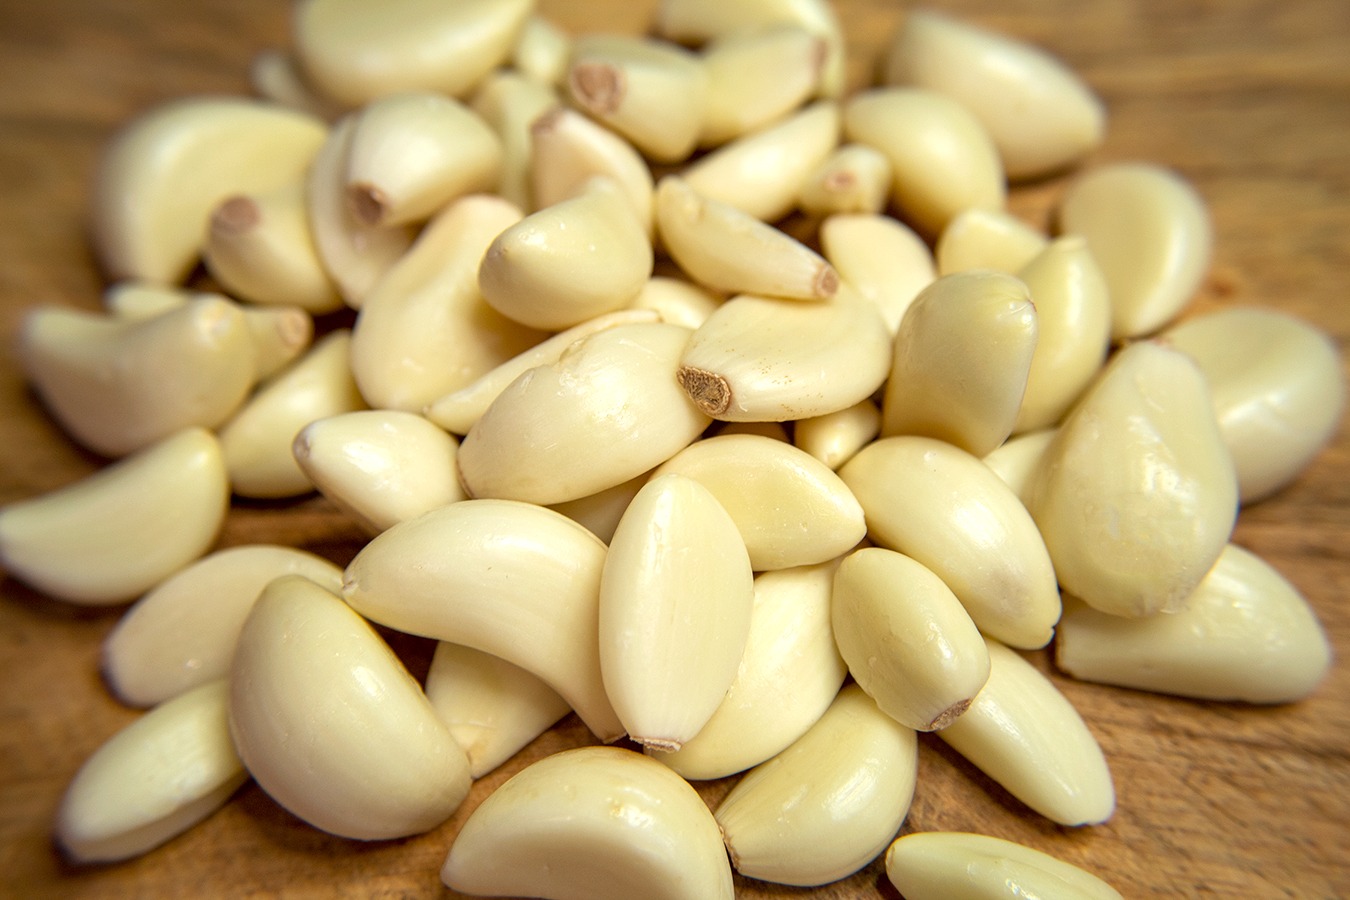
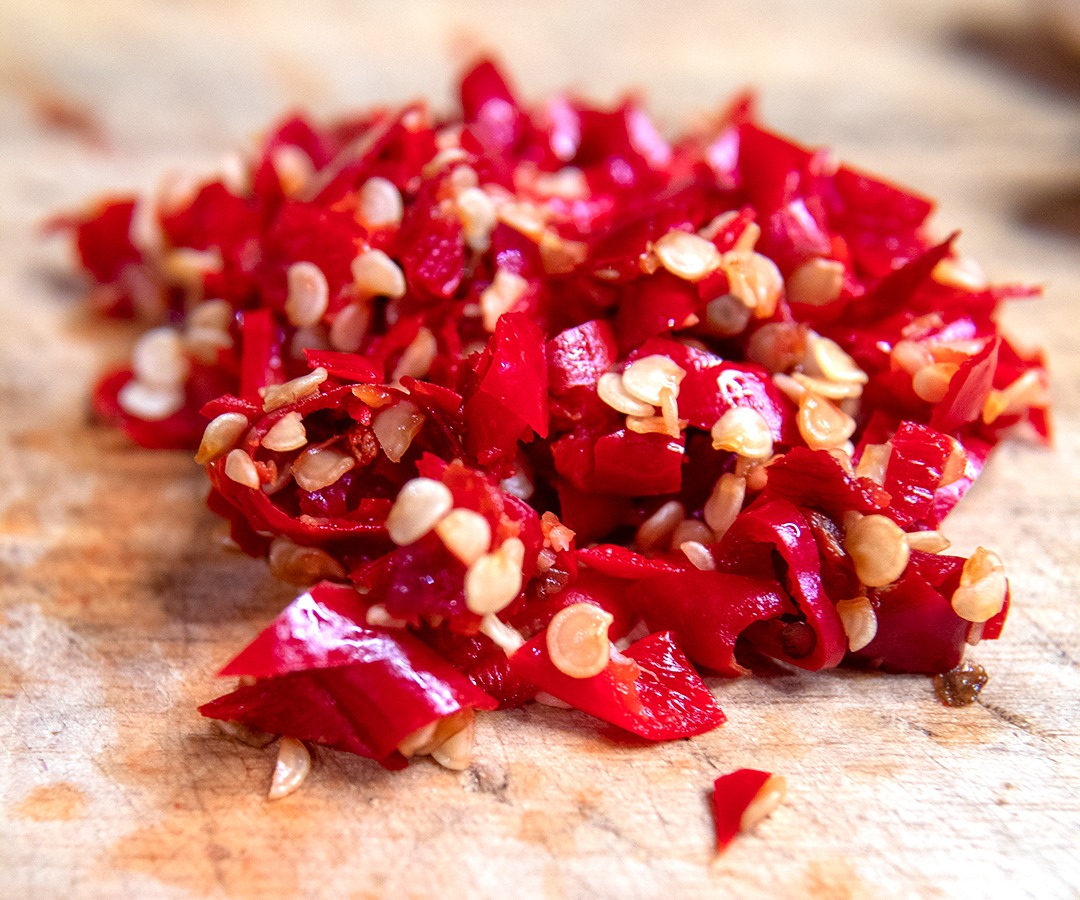
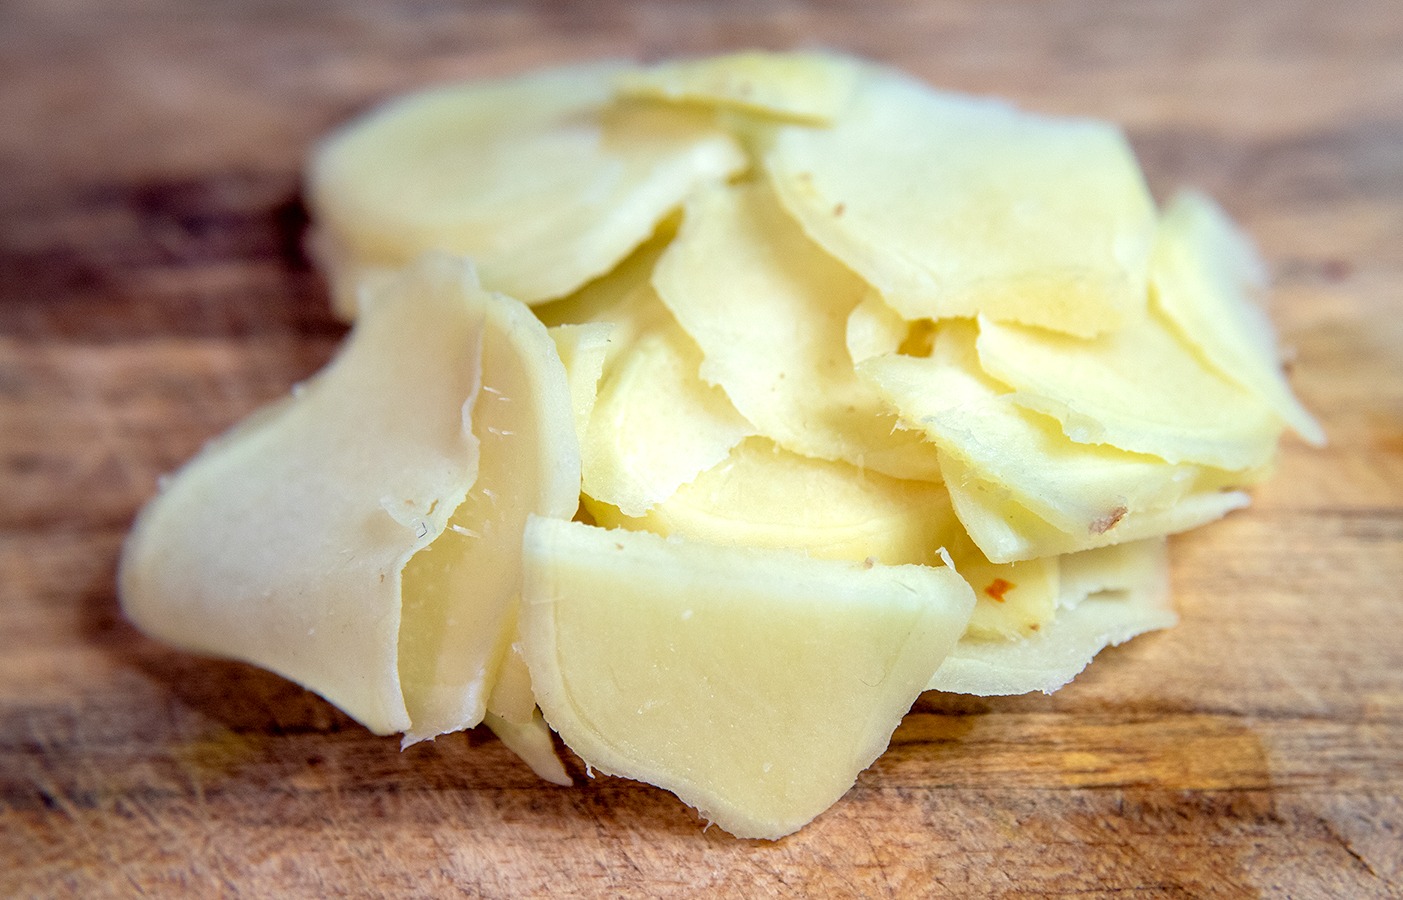
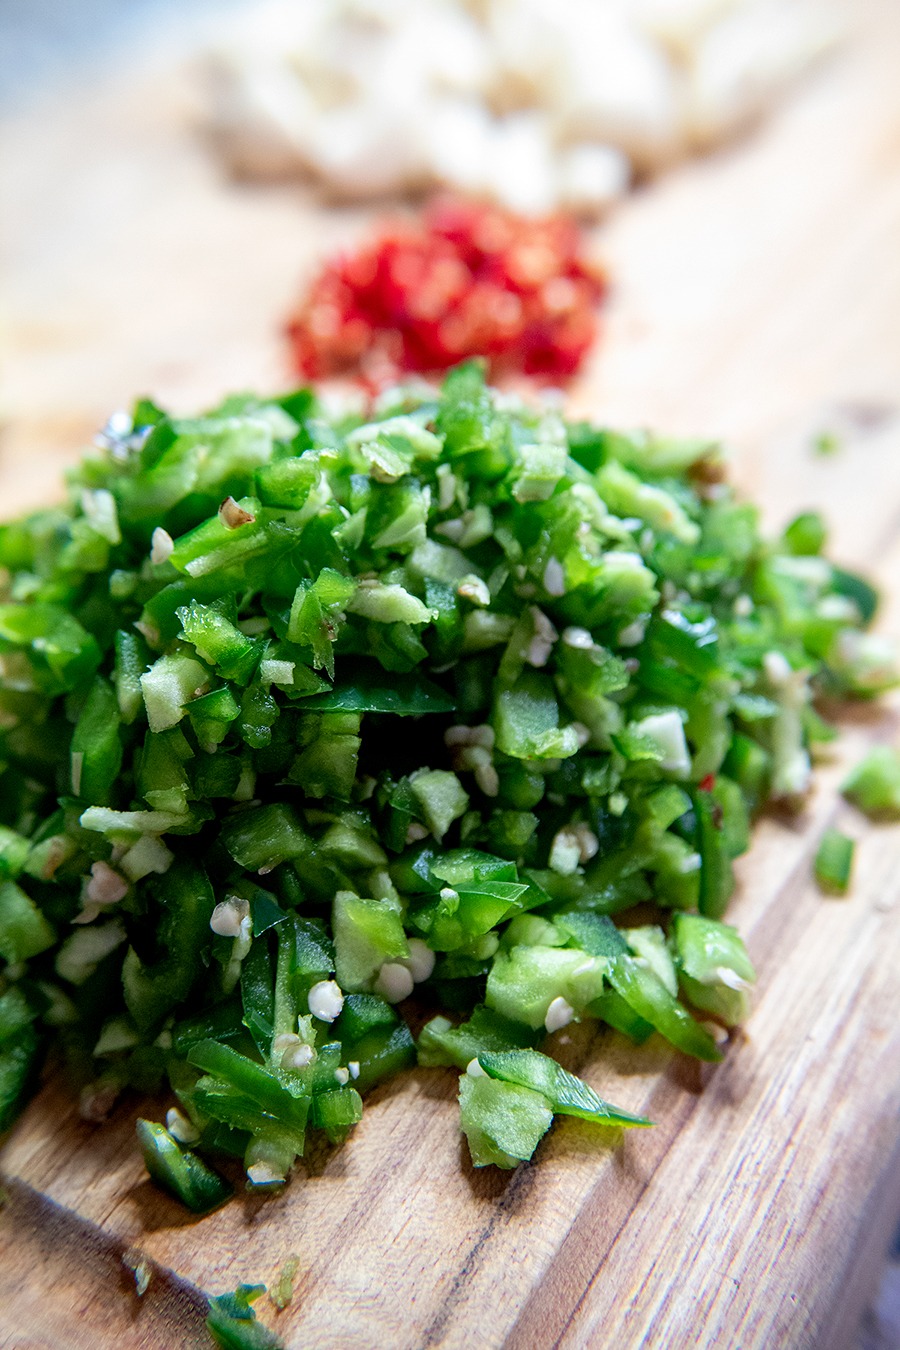
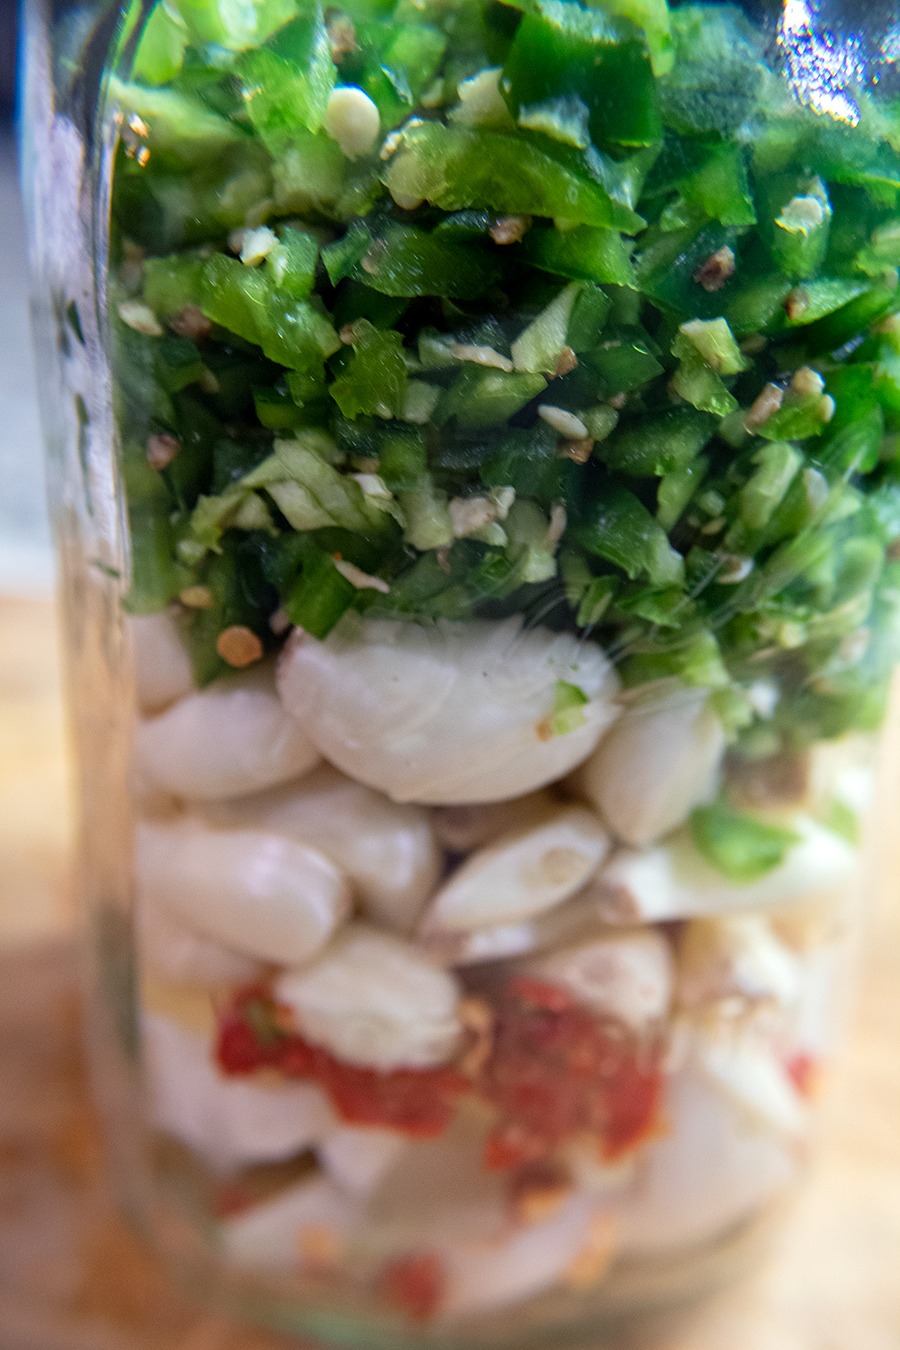
- 1 Mason Jar, Or Container, Slightly Larger Than Your Ingredients 1 Fermentation Lid With Air Lock 10 Oz Peeled Garlic, Medium Dice (You can use unpeeled, whole garlic cloves as well.) 10 Oz Diced Chili(es) Of Your Choice, Medium/Fine (I normally use Thai Bird and Serrano chilies. Tien Tsin is another popular option.) 5 Oz Thinly Sliced Ginger 10 Oz Thinly Sliced Onion 1/2 Cup Soy Sauce 1/2 Cup Chinese Cooking Wine (The light tan/yellow stuff.) 1/4 Tablespoon Chinese Black Vinegar Enough water to fill container to 1/4 inch below the rim Unionized Salt = 3% by weight of the mixture minus the weight of the jar.
Instructions
- In a large bowl add all ingredients, minus the salt and water, and mix completely.
- Place your empty Mason jar, or container, on a kitchen scale and tare it.
- Pour the chili/garlic mix into your empty container.
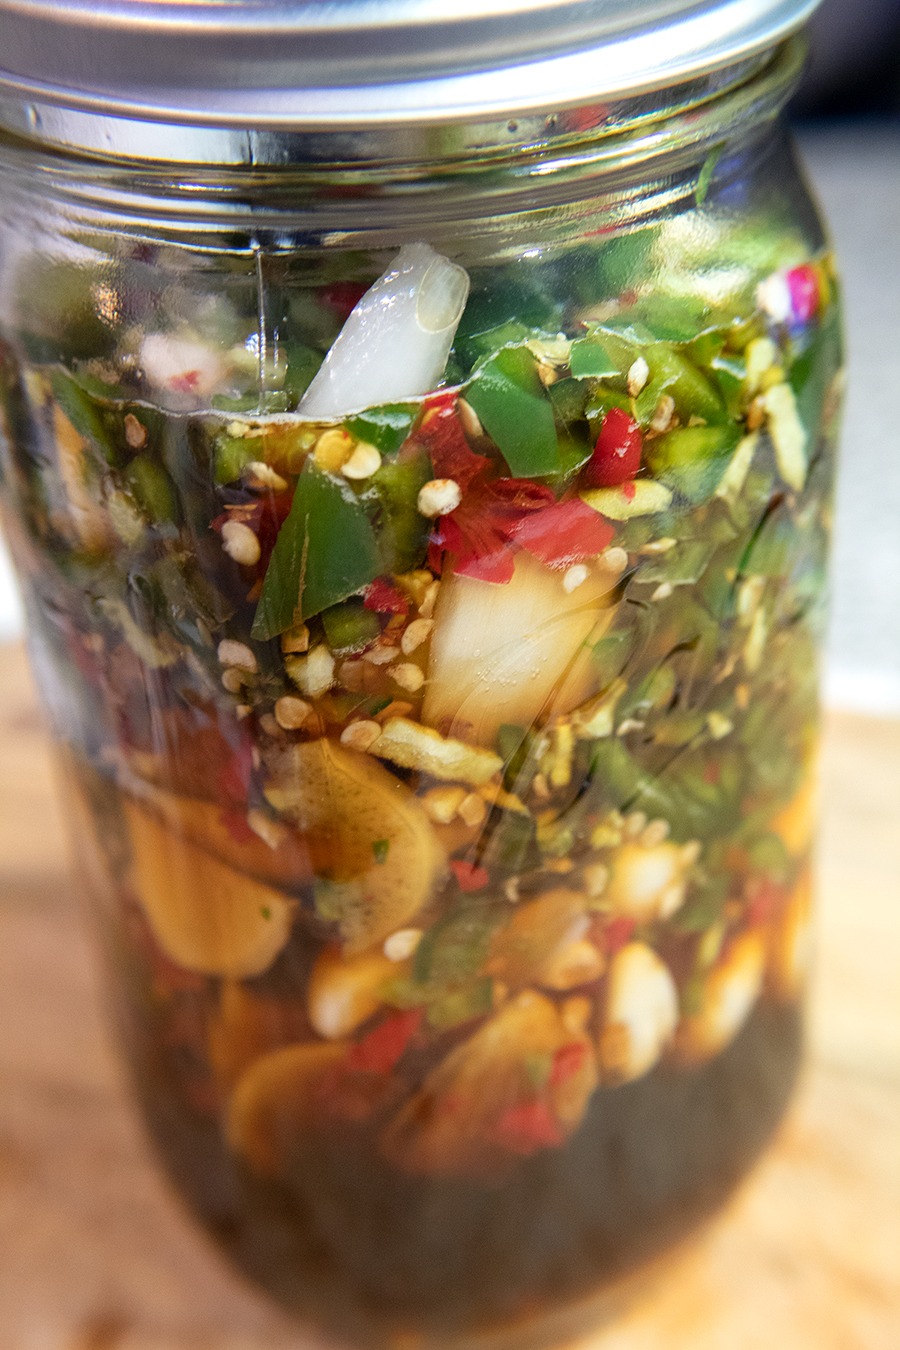
- Pour in enough water to fully cover your chili/garlic mix. The idea is to only add enough water to completely cover the chili/garlic mix. You do not need to fill the container completely.
- Check the weight of your filled container and write it down.
- Using the weight of your filled container, multiply the weight by .03 to get the total weight of salt needed.
- With a clean kitchen cloth, or paper towel, clean the threads of your container.
- Attach your air lock to your fermentation lid and then attach the lid to your filled container.
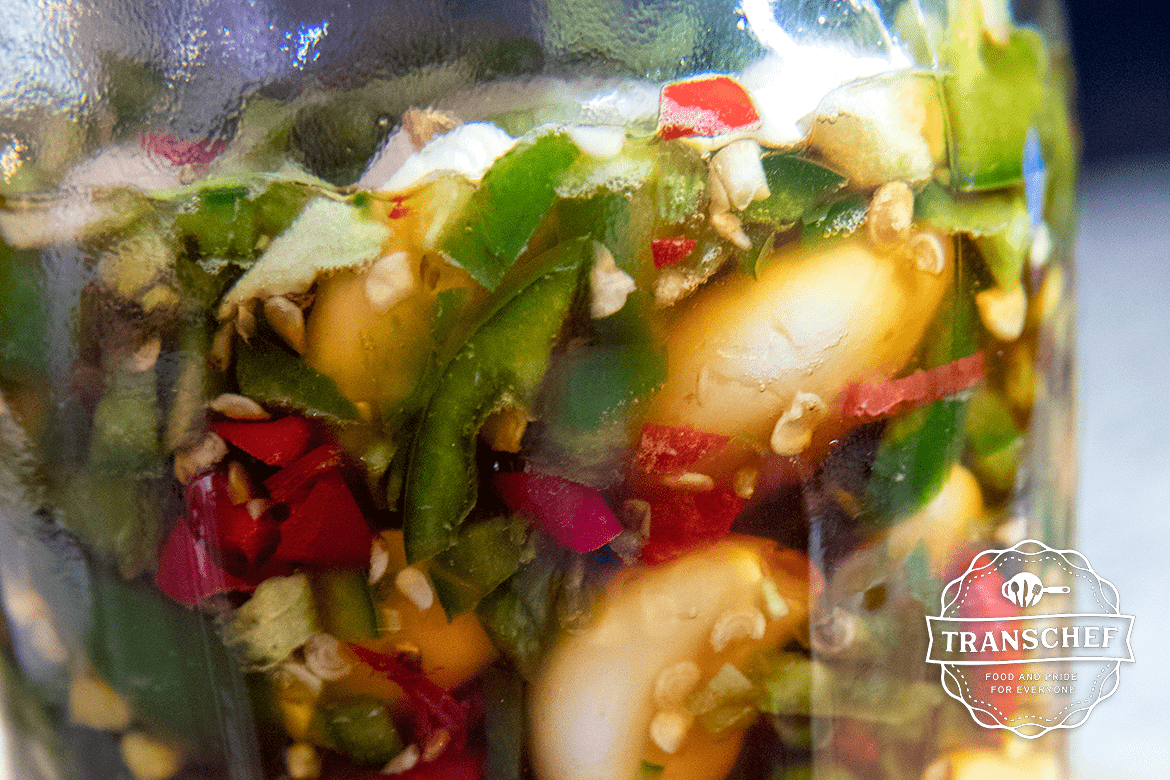
- Sit your container in an out of the way location in your kitchen and allow to ferment for 7-14 days.
- Once your pickle reaches the desired level of fermentation replace the fermentation lid with a water tight lid and store in the fridge.
Notes
Keeping your fermented pickle in the fridge will slow down the fermentation, but it will not fully stop it. If you wish to fully stop the fermentation process place your sealed container in a pot of boiling water and allow to boil for 10 minutes. This should be enough to kill any live fermentation bacteria, but it will reduce the freshness of your pickle a bit.