Hummus
As a kid, I don’t think I ever saw garbanzo beans outside of a salad bar at a restaurant. All the adults would say, ‘Oh, I love these little chickpeas,’ but for the life of me, I could never understand why because they simply tasted like little balls of flavorless sand. Looking back, I don’t remember anyone buying them for home use either, as whole beans or as hummus. I’m sure there was hummus and garbanzo beans sold in stores at the time, but it wasn’t something people really did outside of the cities in the 70s/80s. Sadly, it would be more years than I care to admit before I would truly explore the many wonderful uses of garbanzo beans and the MANY health benefits that come with them.
Consumers of chickpeas and/or hummus have been shown to have higher nutrient intakes of dietary fiber, polyunsaturated fatty acids, vitamin A, vitamin E, vitamin C, folate, magnesium, potassium, and iron as compared to non-consumers.
https://pubmed.ncbi.nlm.nih.gov/27916819/
While garbanzo beans (chickpeas) are used in a number of countries for everything from flour to vegan mayo and dairy-free baked goods, to flour and curries, today we’re going to focus on one of the easiest and most well-known in America: hummus. Hummus is a wonderful tool that every chef, caterer, and/or home cook should know because it’s inexpensive to make, can easily be made in large batches, takes mere moments to make, and it can also be dressed up in endless ways.
Ingredients
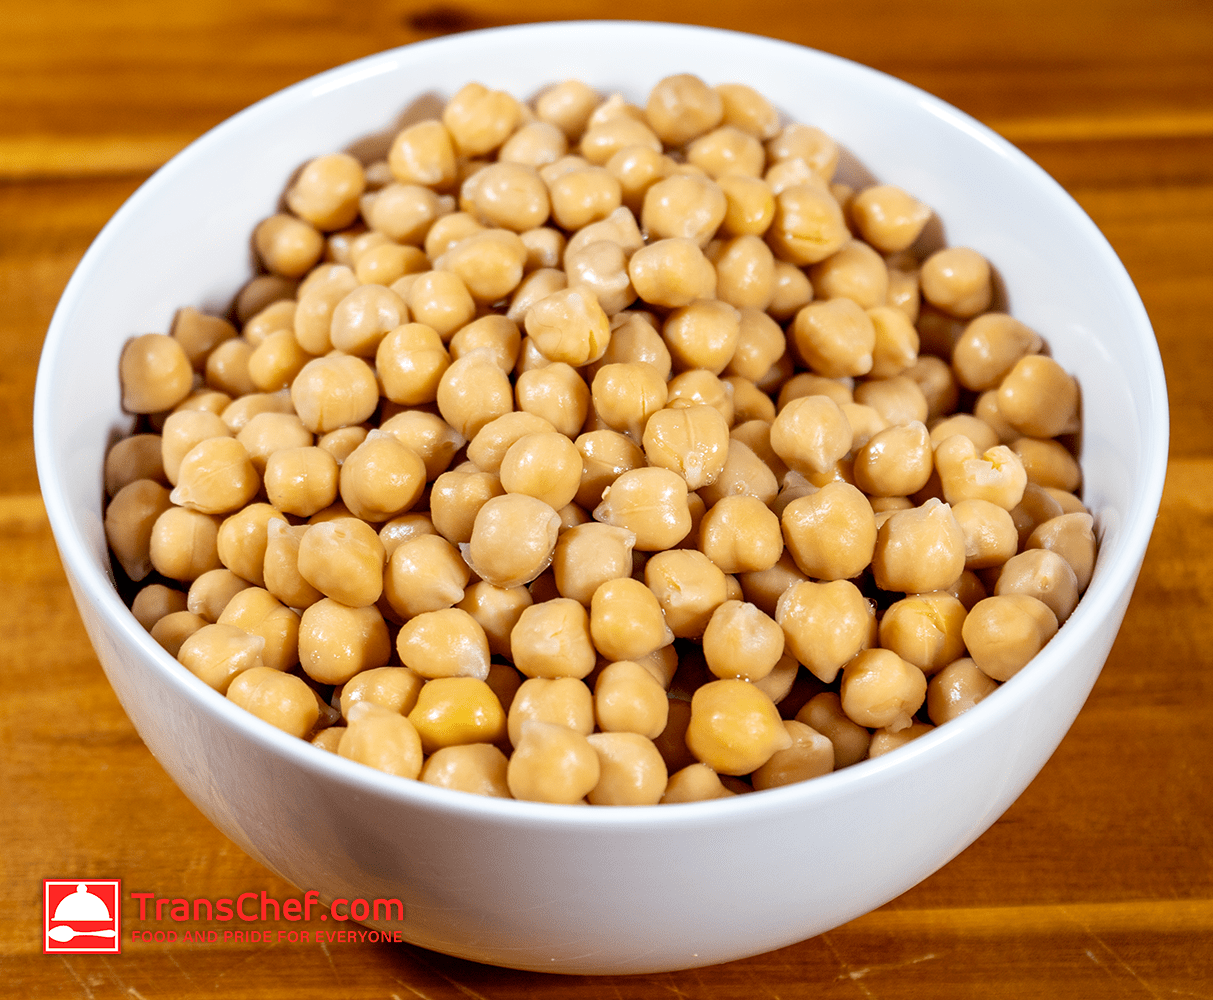
- 15 oz canned chickpeas with liquid reserved separately *
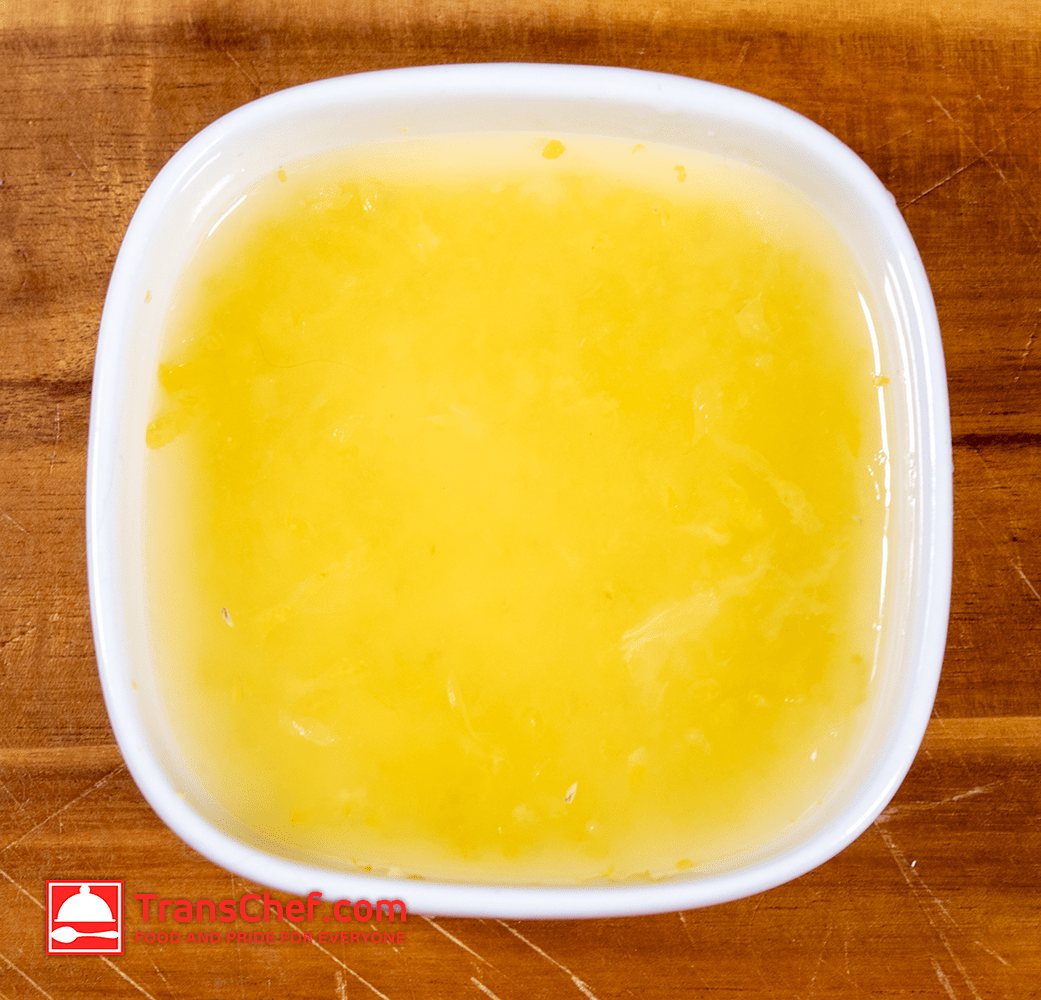
- 1/4 cup extra virgin olive oil
- 1/2 cup tahini (roasted sesame paste)
- 1/4 cup lemon juice
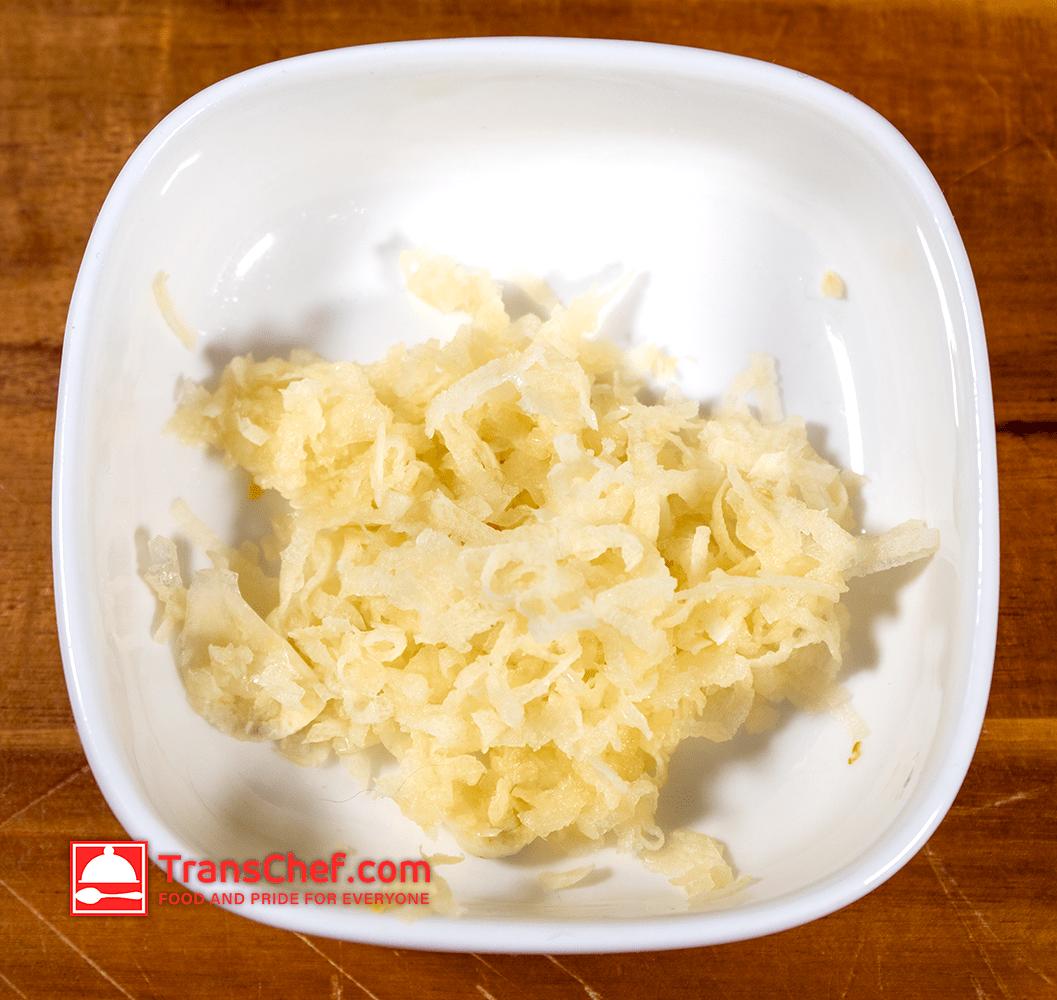
- 3-4 cloves of garlic, finely minced, about 1 tablespoon
- 1 tablespoon lemon zest, for garnish
- 1/4 cup pine nuts, for garnish
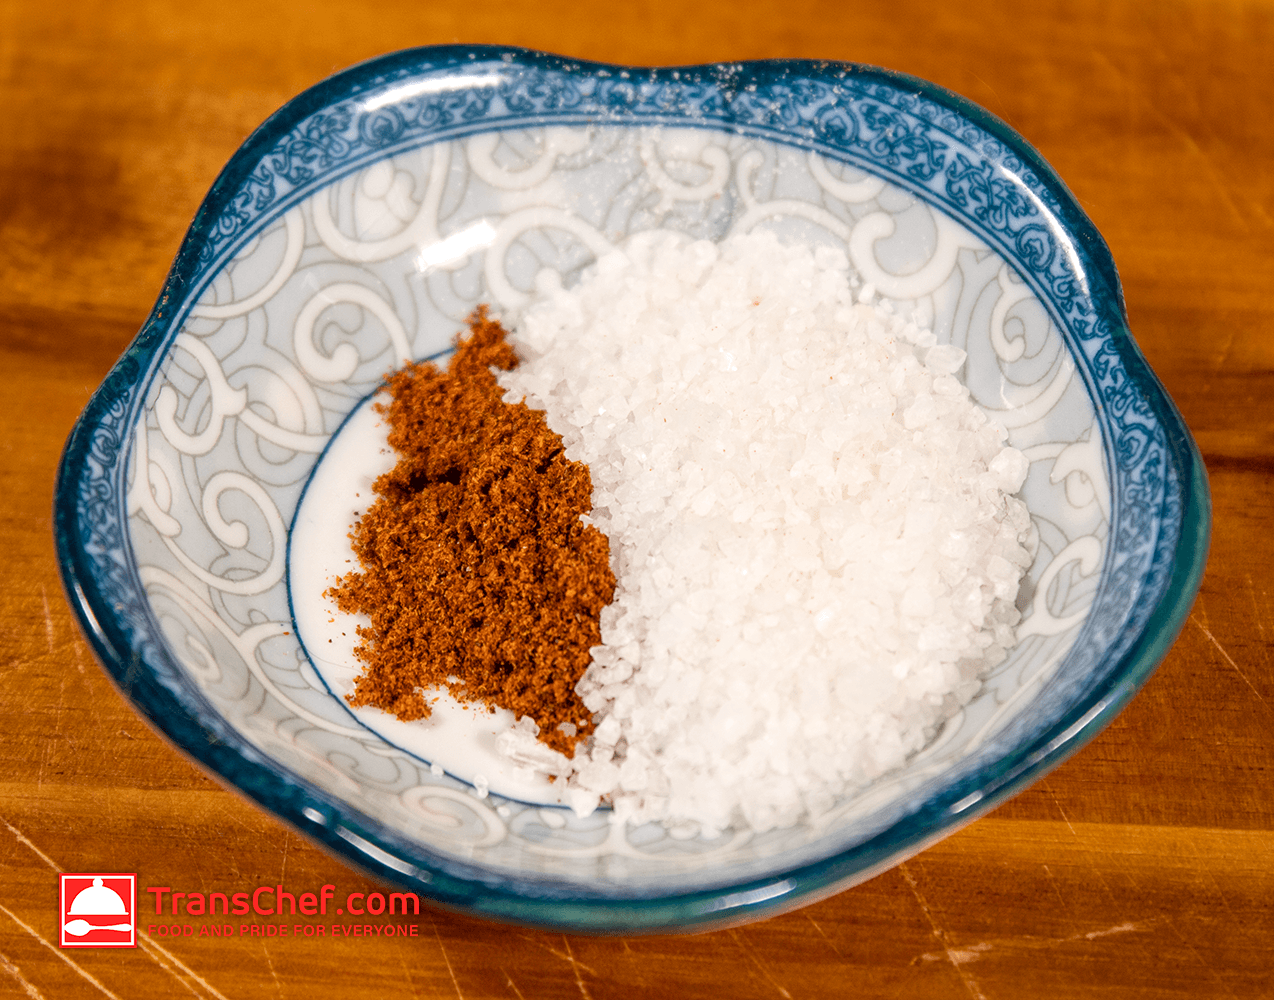
- 1/2 teaspoon of baking soda, divided in half.
Instructions
- Dump the chickpeas into a medium-sized stock pot that is large enough to hold the beans, the baking soda, the chickpea canning liquid, and enough water to cover them by about 1 inch. Canned chickpeas are already cooked, but for extra smooth hummus, you'll want to cook them until they are extremely soft and about to burst. To test doneness, randomly pick up 3 chickpeas and smash them with your fingers. If they easily mash up, resembling mashed potatoes, they're done. This step will take about 15-20 minutes on medium-high heat. Once complete, separate the chickpeas from the liquid and allow them to cool to room temperature. Remember to reserve one cup of the cooking liquid. Once cooled you would normally remove the skin of the hummus to make it extra smooth, but I find that if you use canned chickpeas most of the chickpeas skins are already removed.
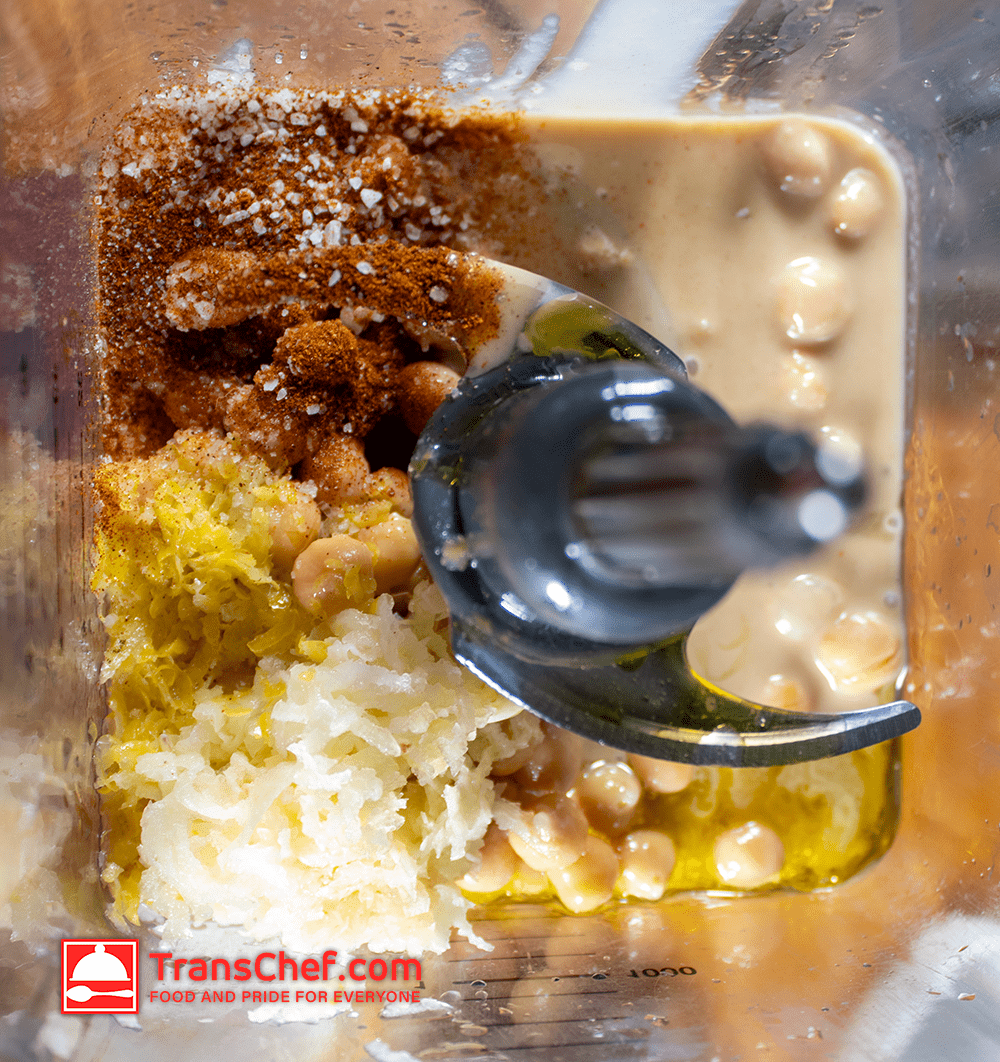
- Dump the cooled, drained chickpeas into a blender along with 1/2 cup of the canning liquid, olive oil, garlic, lemon zest, and lemon juice. Blend until smooth or until you achieve your desired texture.
- Next, add the tahini paste and blend again until it becomes fully smooth.
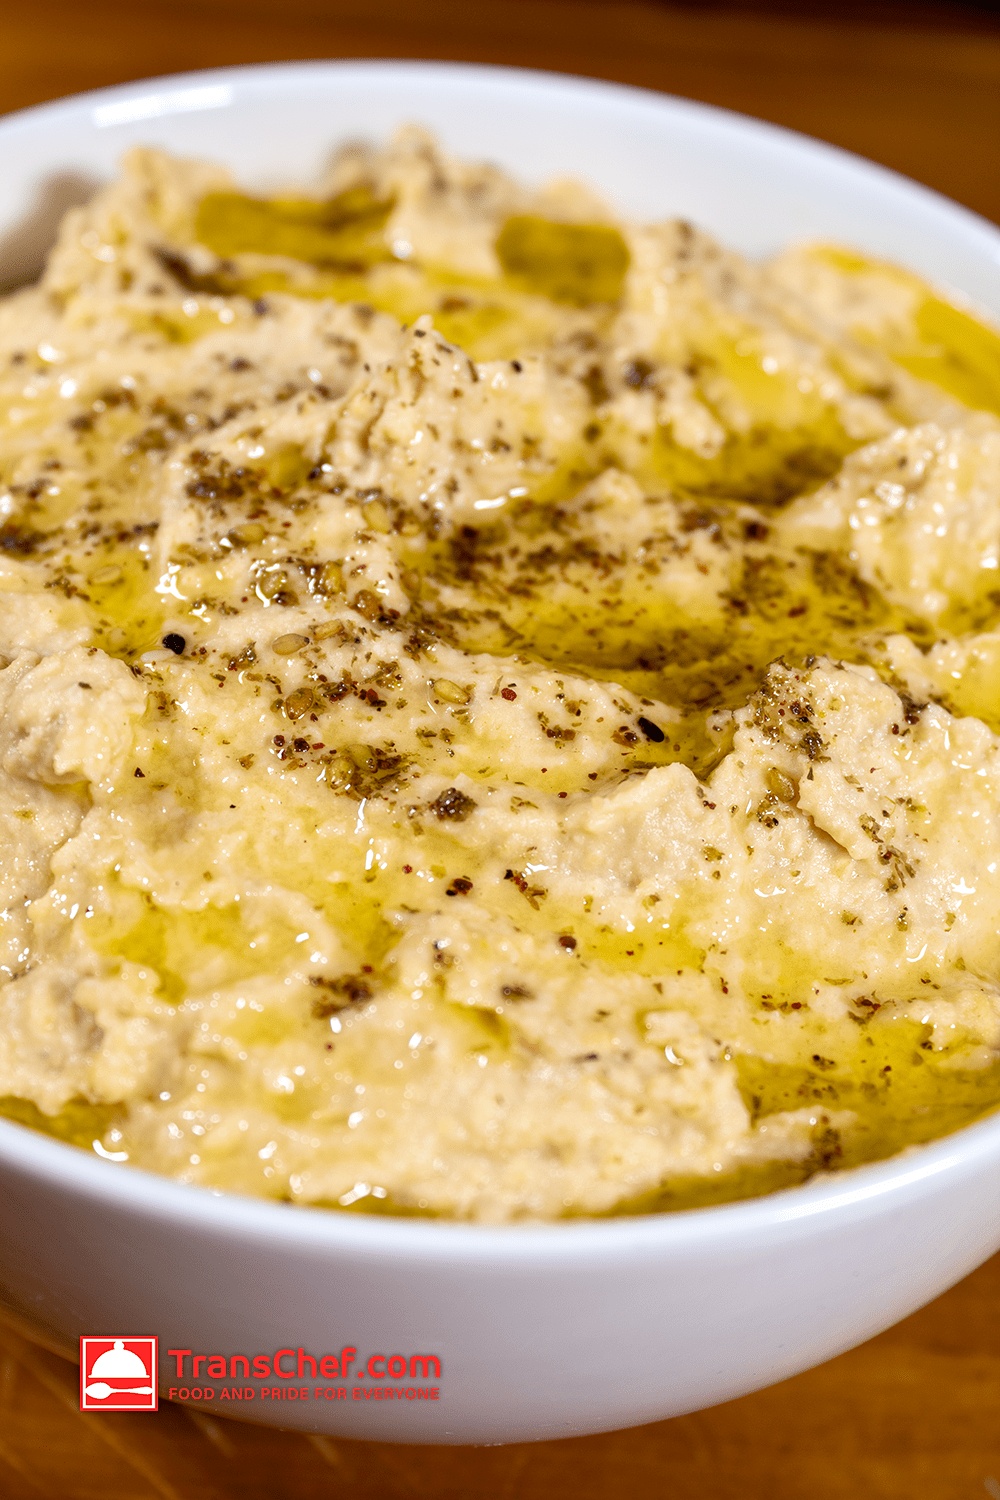
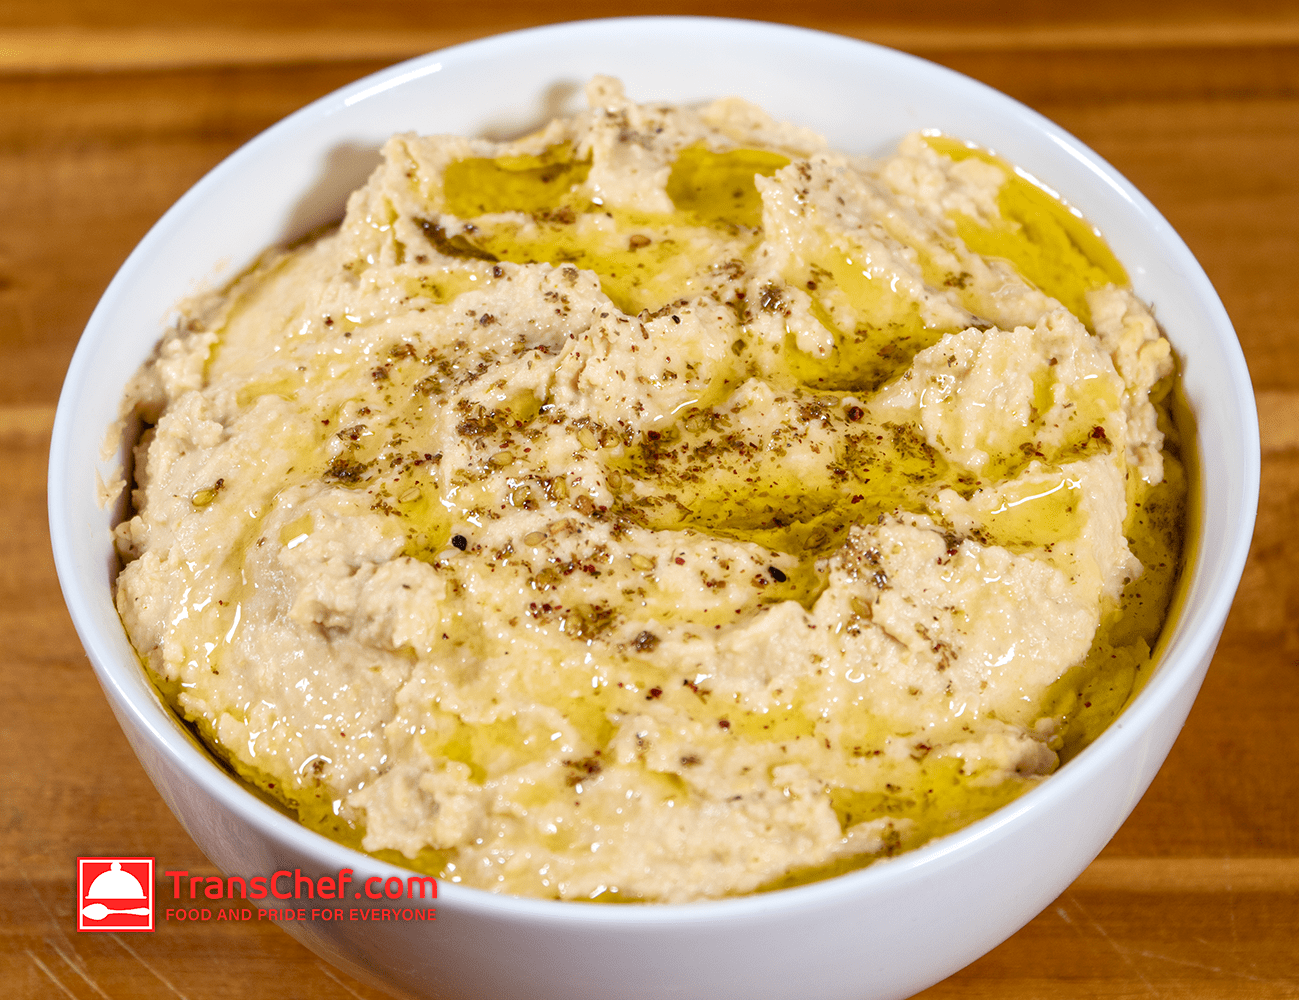
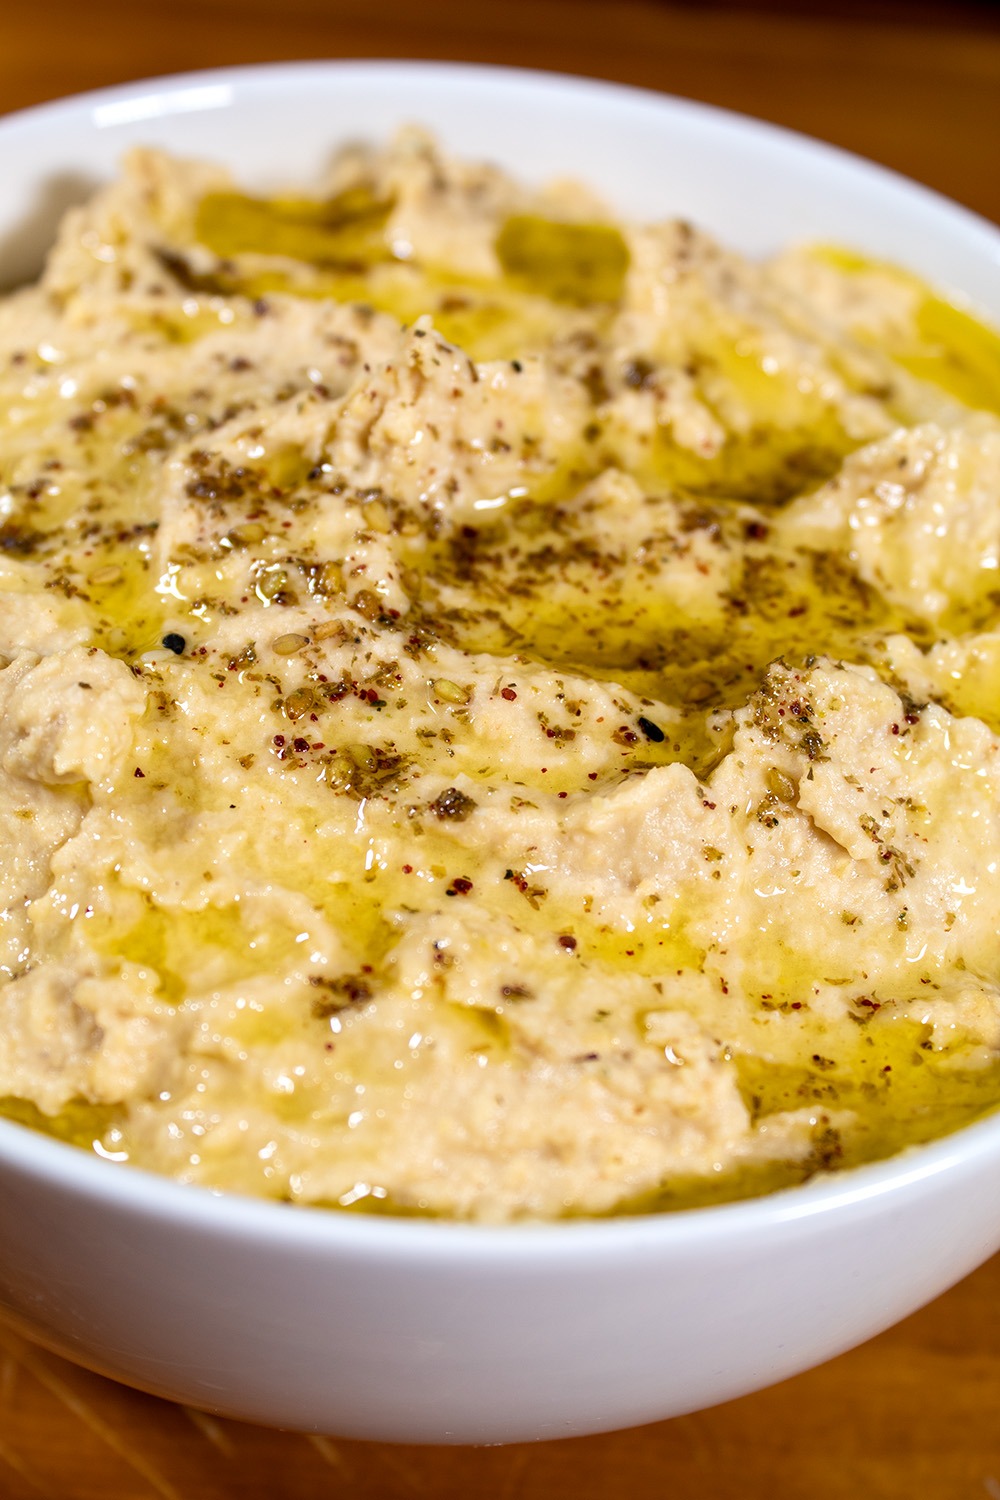
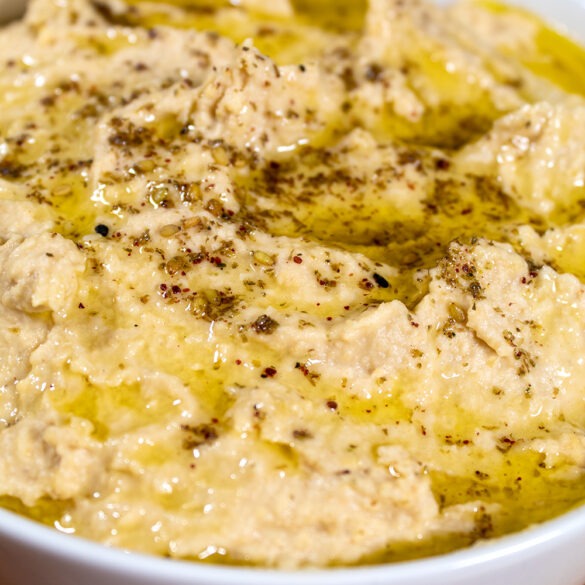
- Transfer your hummus to a serving dish, smoothing the top to create a somewhat flat surface. **
- Drizzle olive oil over the hummus and sprinkle pine nuts on top.
- Add a pinch of za'atar for an extra bit of authentic flair. (Also, a few of the softly cooked, un-smashed chickpeas also is a traditional garnish.)
Notes
Note: You can use canned white beans in place of chickpeas if someone has a chickpea allergy. Also, you can use unsweetened organic peanut butter if your store does not carry tahini pate.
* If you decide to use dry chickpeas add 1 tablespoon of baking soda to the bean soaking water. Discard this water, rinse the chickpeas before boiling them. Then change the cooking time from 20 minutes to about 40 minutes, or until the chickpeas smash easily with 2 fingers. (Slightly overcooked is ideal.)
** If you do not plan to eat your humus right away make sure to cover it with a bit of plastic wrap to prevent it from developing a film on the top.
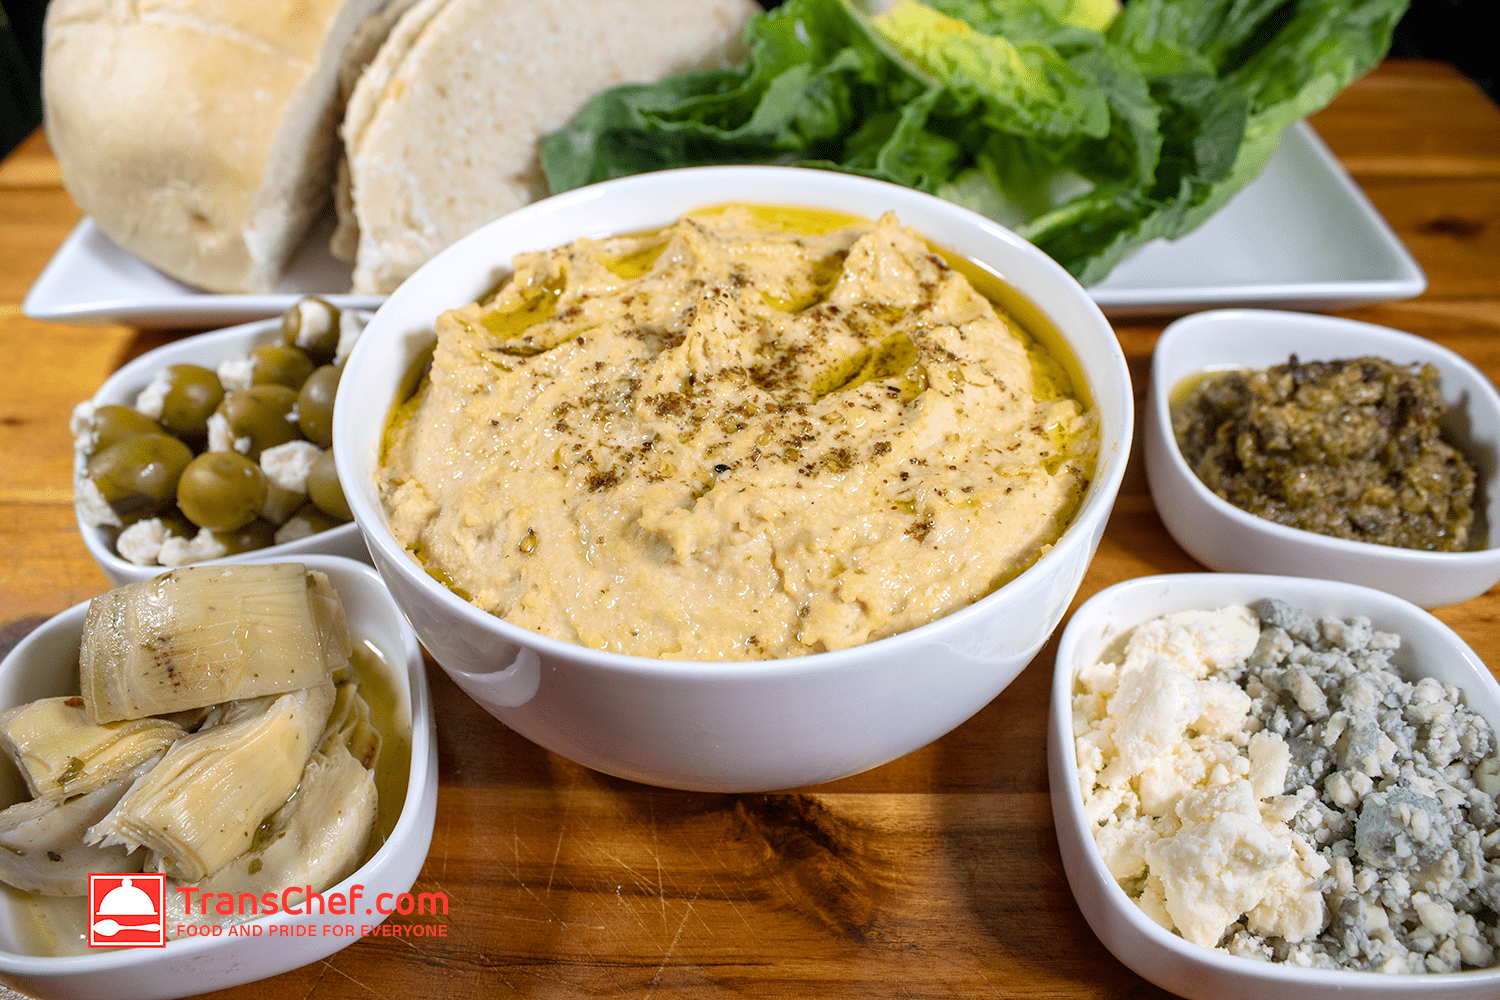
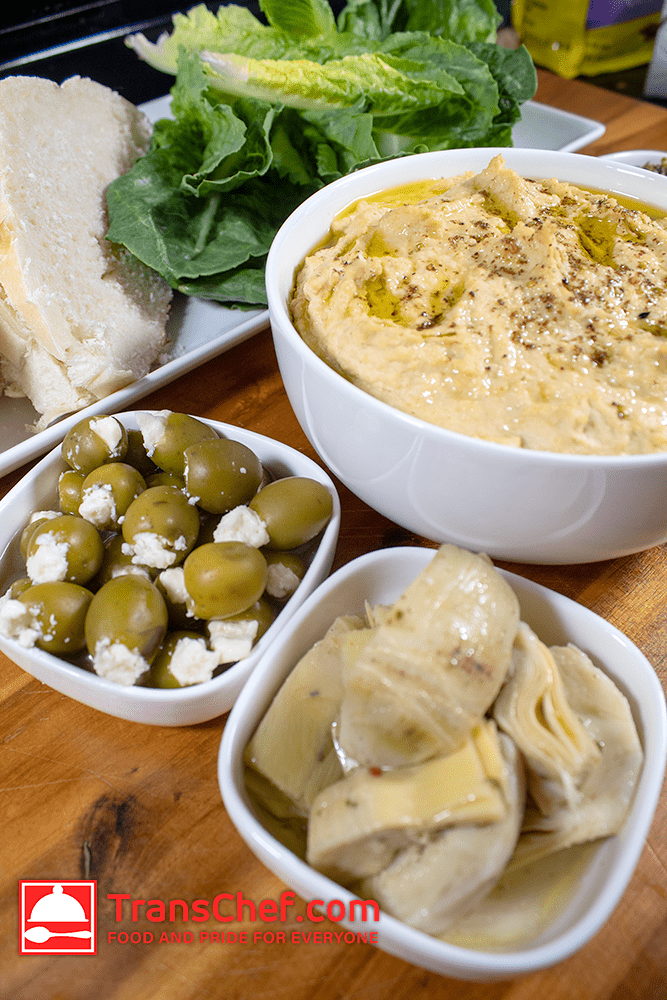
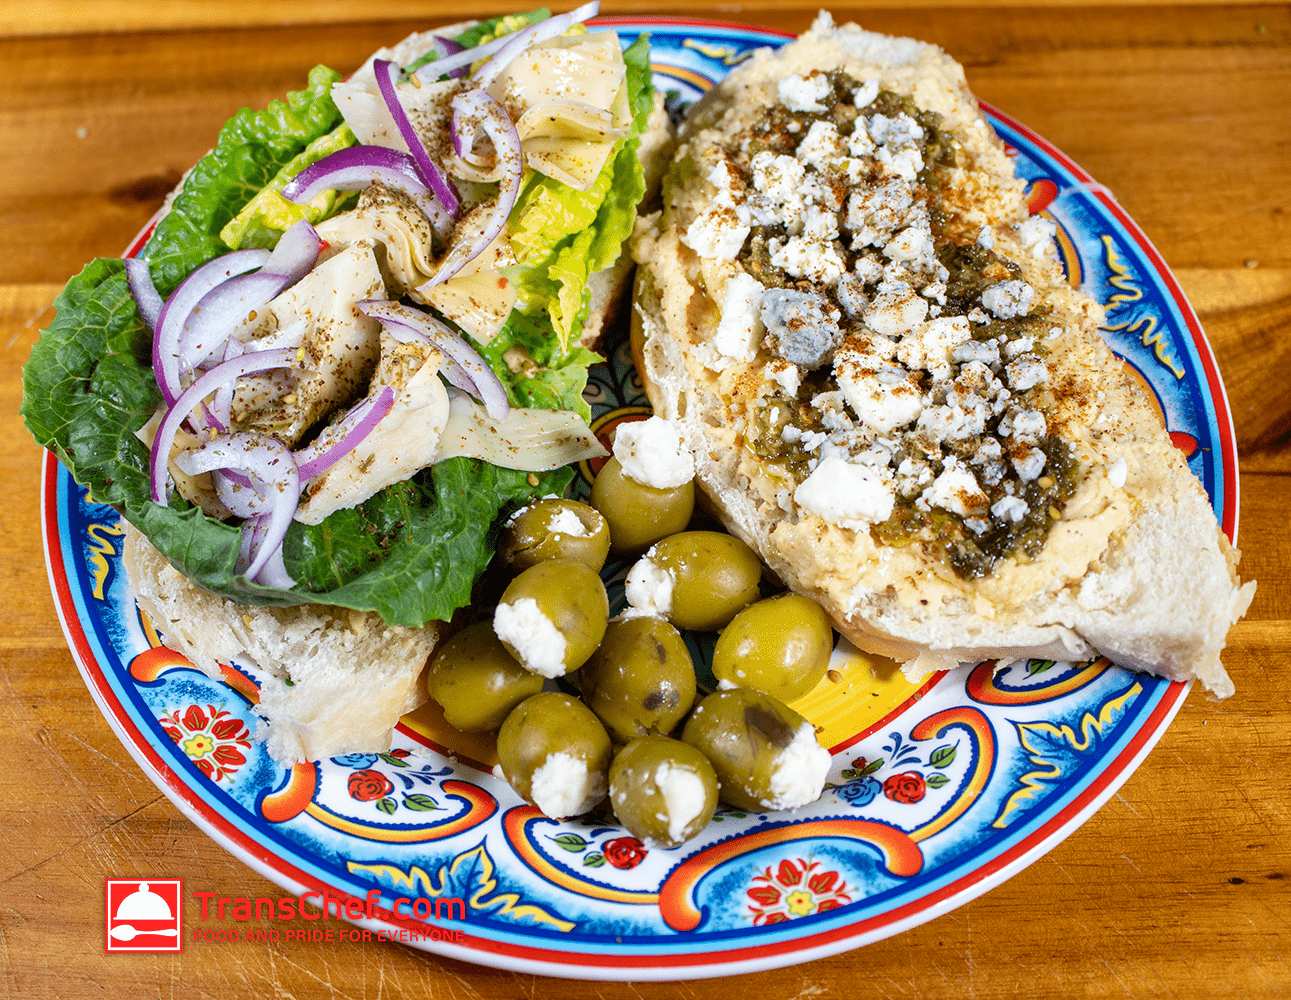
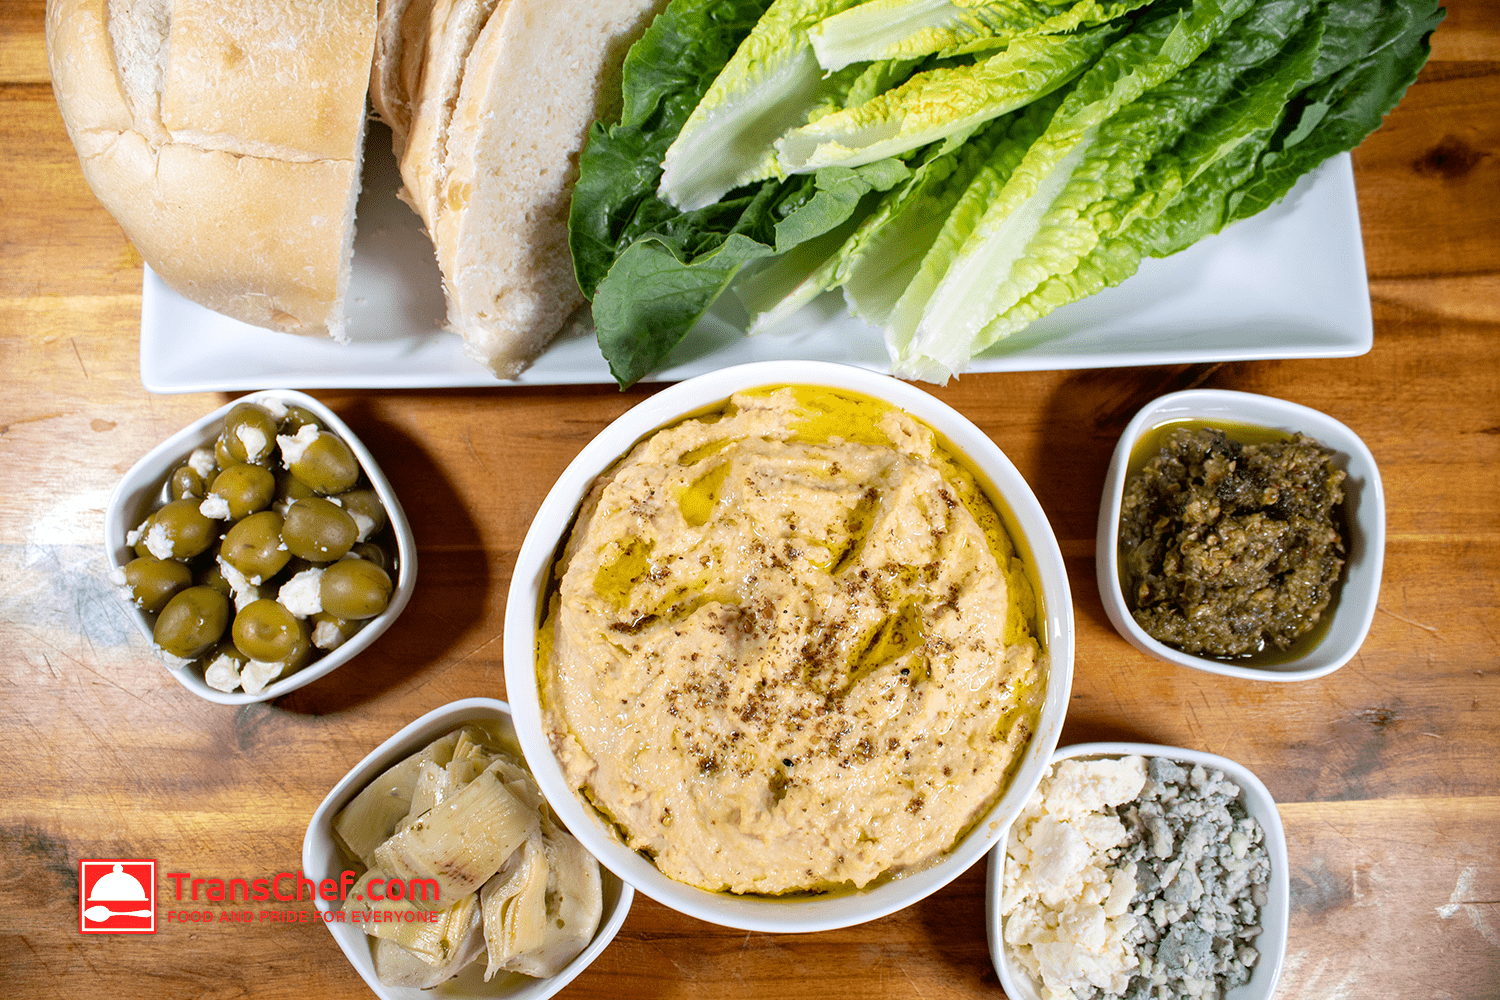
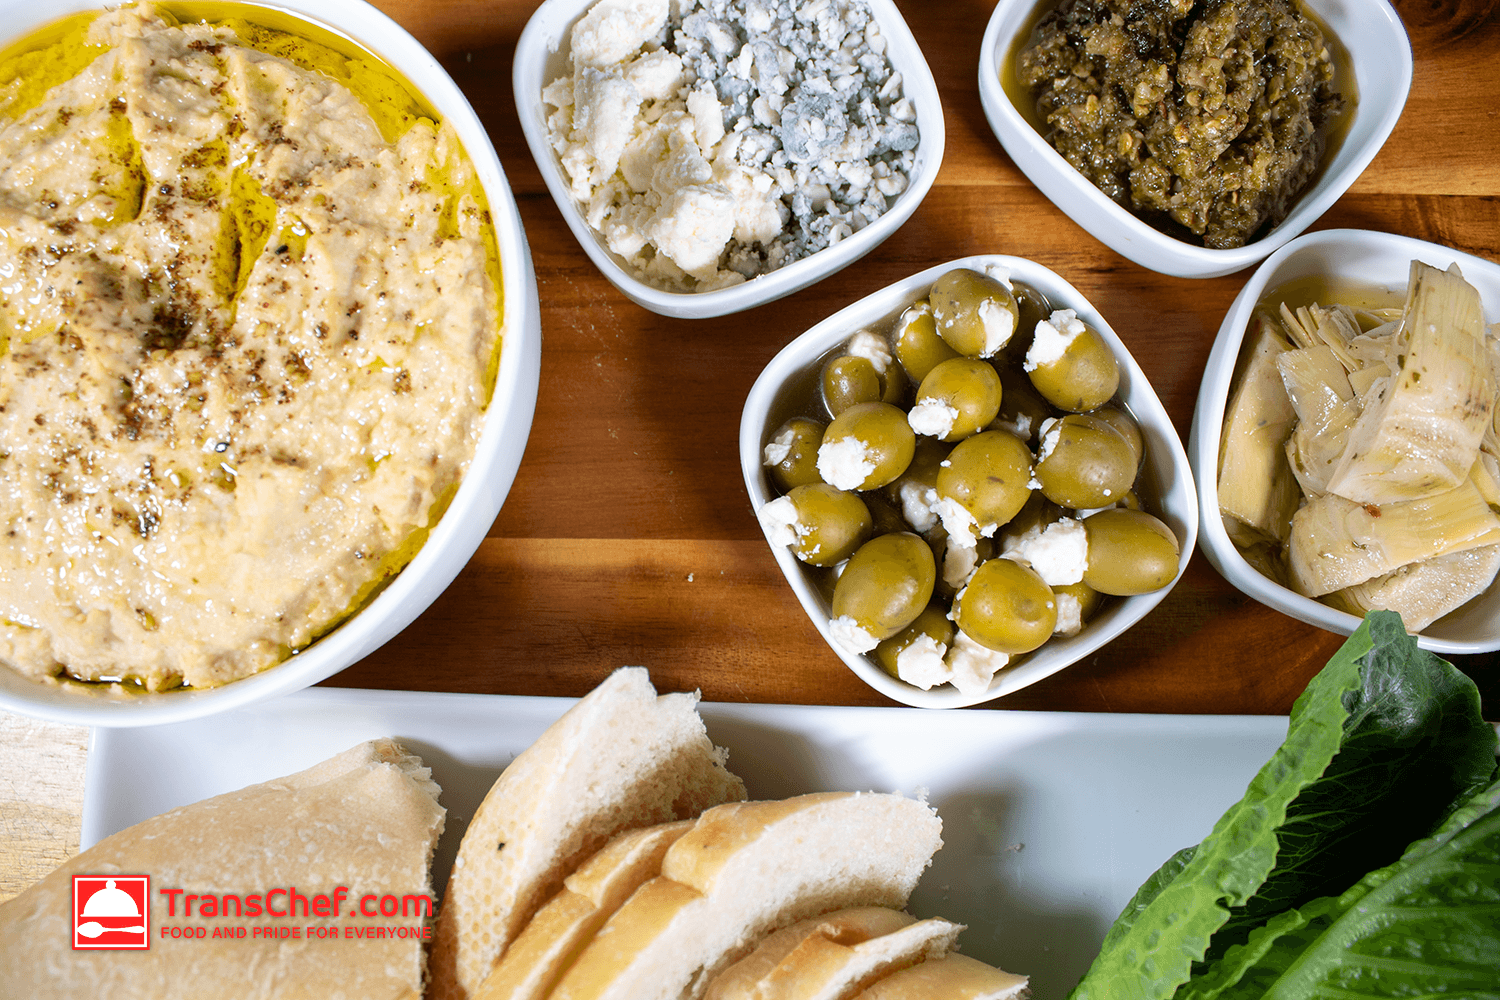
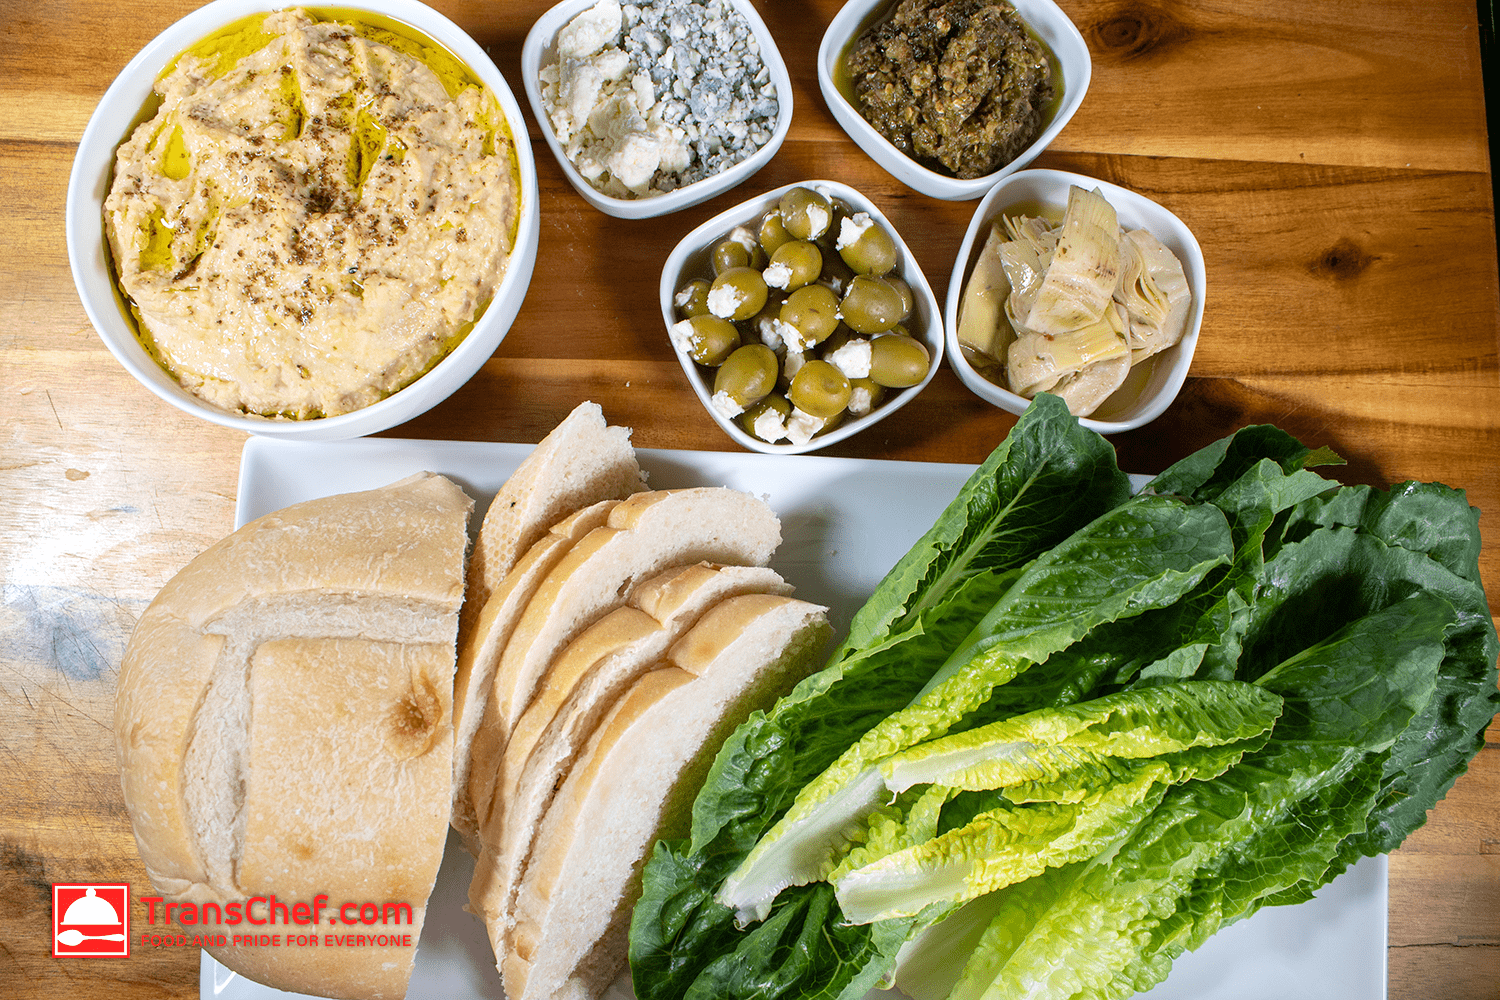
In the images below, I served my hummus topped with olive oil and a pinch of za'atar. The sides are olives I stuffed with feta cheese crumbles, a smoked jalapeño and garlic tapenade, marinaded artichoke hearts and a little blue cheese with feta crumbles to round things off. The bread is a sour dough, but you could use whatever bread you'd prefer. The roman leaves are for those wishing to to be gluten free, or prefer a low-carb option.