Roasted Bell Peppers and Garlic In Olive Oil (Roasted Bell Peppers and Garlic Confit)
Growing up, I spent a good bit of my early years living on a farm just outside Crawfordville, Fla. The majority of the food we grew was for our personal use. We’d grow the normal stuff you’d expect… tomatoes, watermelons, okra, bell peppers and greens were pretty much always on the list to plant. As you’d expect, we’d do various things to preserve the fruits of our labors. The most commonly used method was canning. (Followed by open-air dehydrating.)
A few years later in culinary arts school, I learned about another preservation method called “confit”. Confit, or comfiting, is a method of food preservation where item(s) are cooked for a long period of time on low heat (200 F or 93 C) while submerged under a layer of fat, or sugar syrup. Then they’re allowed to cool and stored (still submerged) until use. You can also use almost any type of fat you wish. Also, as long as you store it to keep things cool, covered in fat and no water is introduced into the container.
Truthfully, I never really used confit, or canning, preserved food much once I left culinary school and the farm. It was too easy to just buy something in a can or frozen. However, once I moved to San Francisco I started researching methods to preserve food (due to the rather high cost of living in the city). In-season prices are down and it’s the perfect time to stock up. And if you needed another reason to make use of small batch confit/canning, during the process the oil takes on the flavors and aroma of the item(s) you’re using and converts it into another amazing ingredient. (Basil garlic tomato oil for salads? Yes, please!)
Side-note: The method of “comfiting” is actually a lot older than is implied by the highly popular French term. This cooking method has been in use for close to 4,500 years in places like Egypt and China.
Ingredients
- Ingredients:
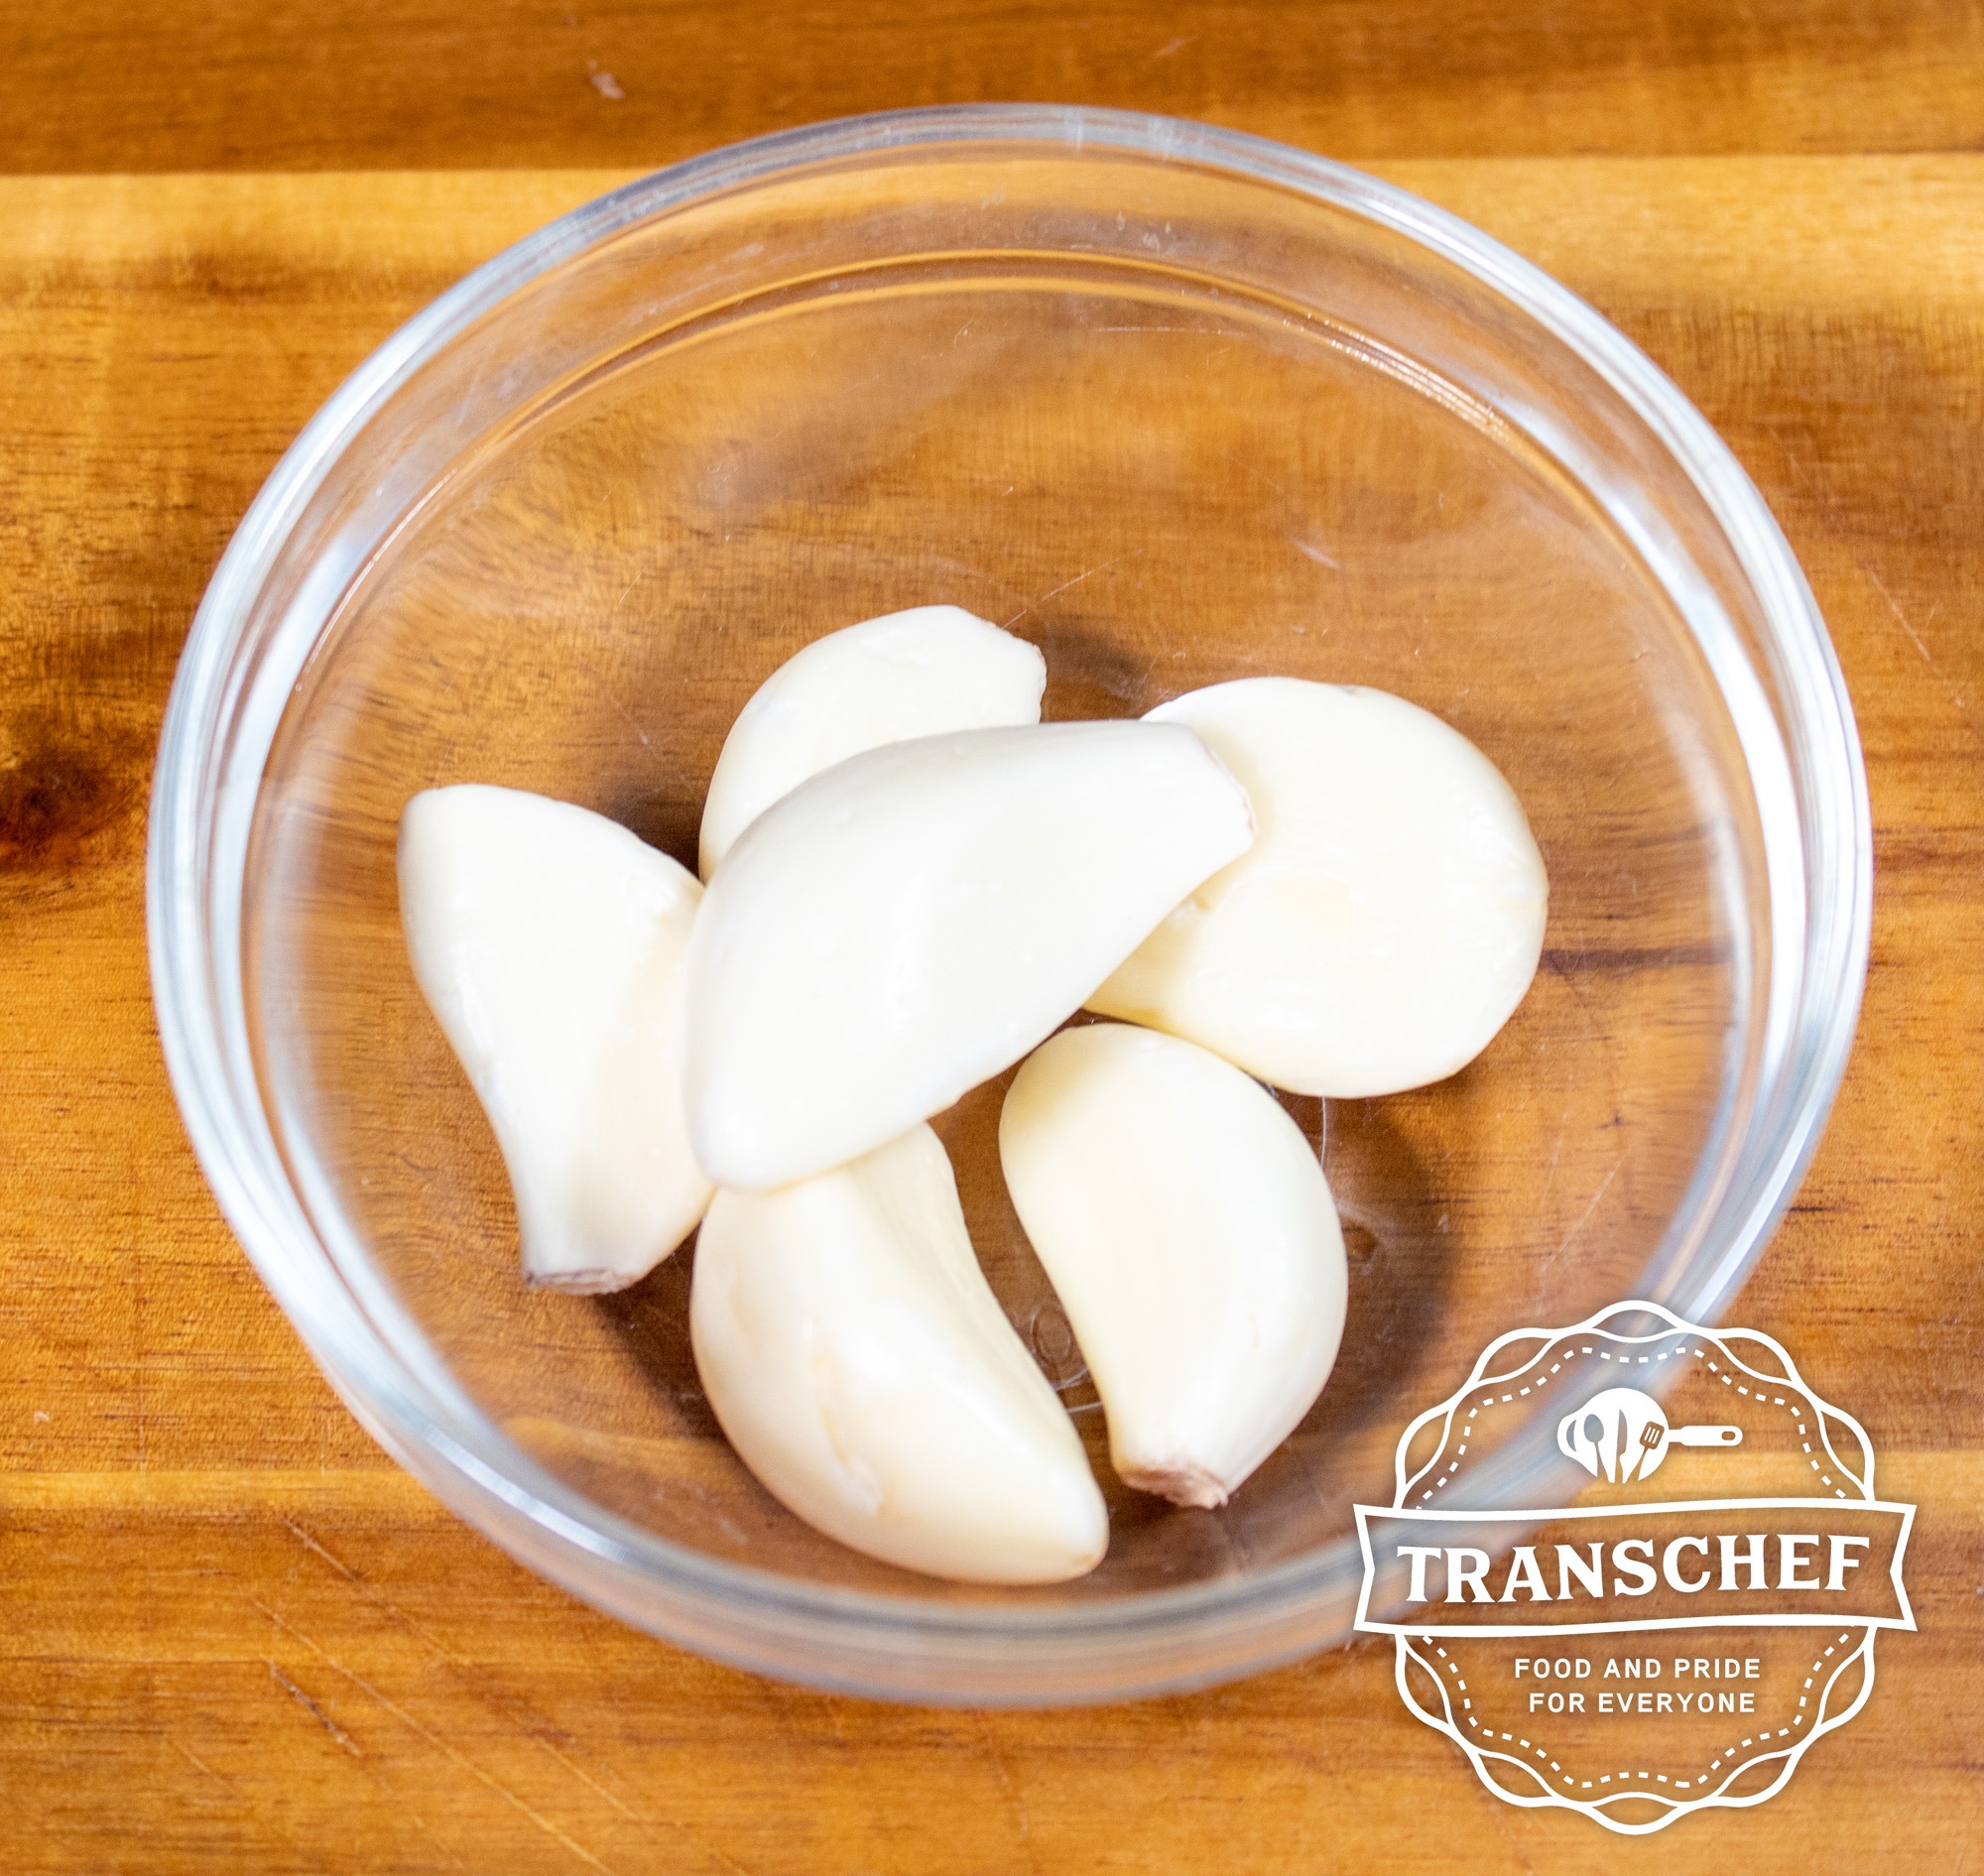
- 3-5 cloves of garlic, peeled
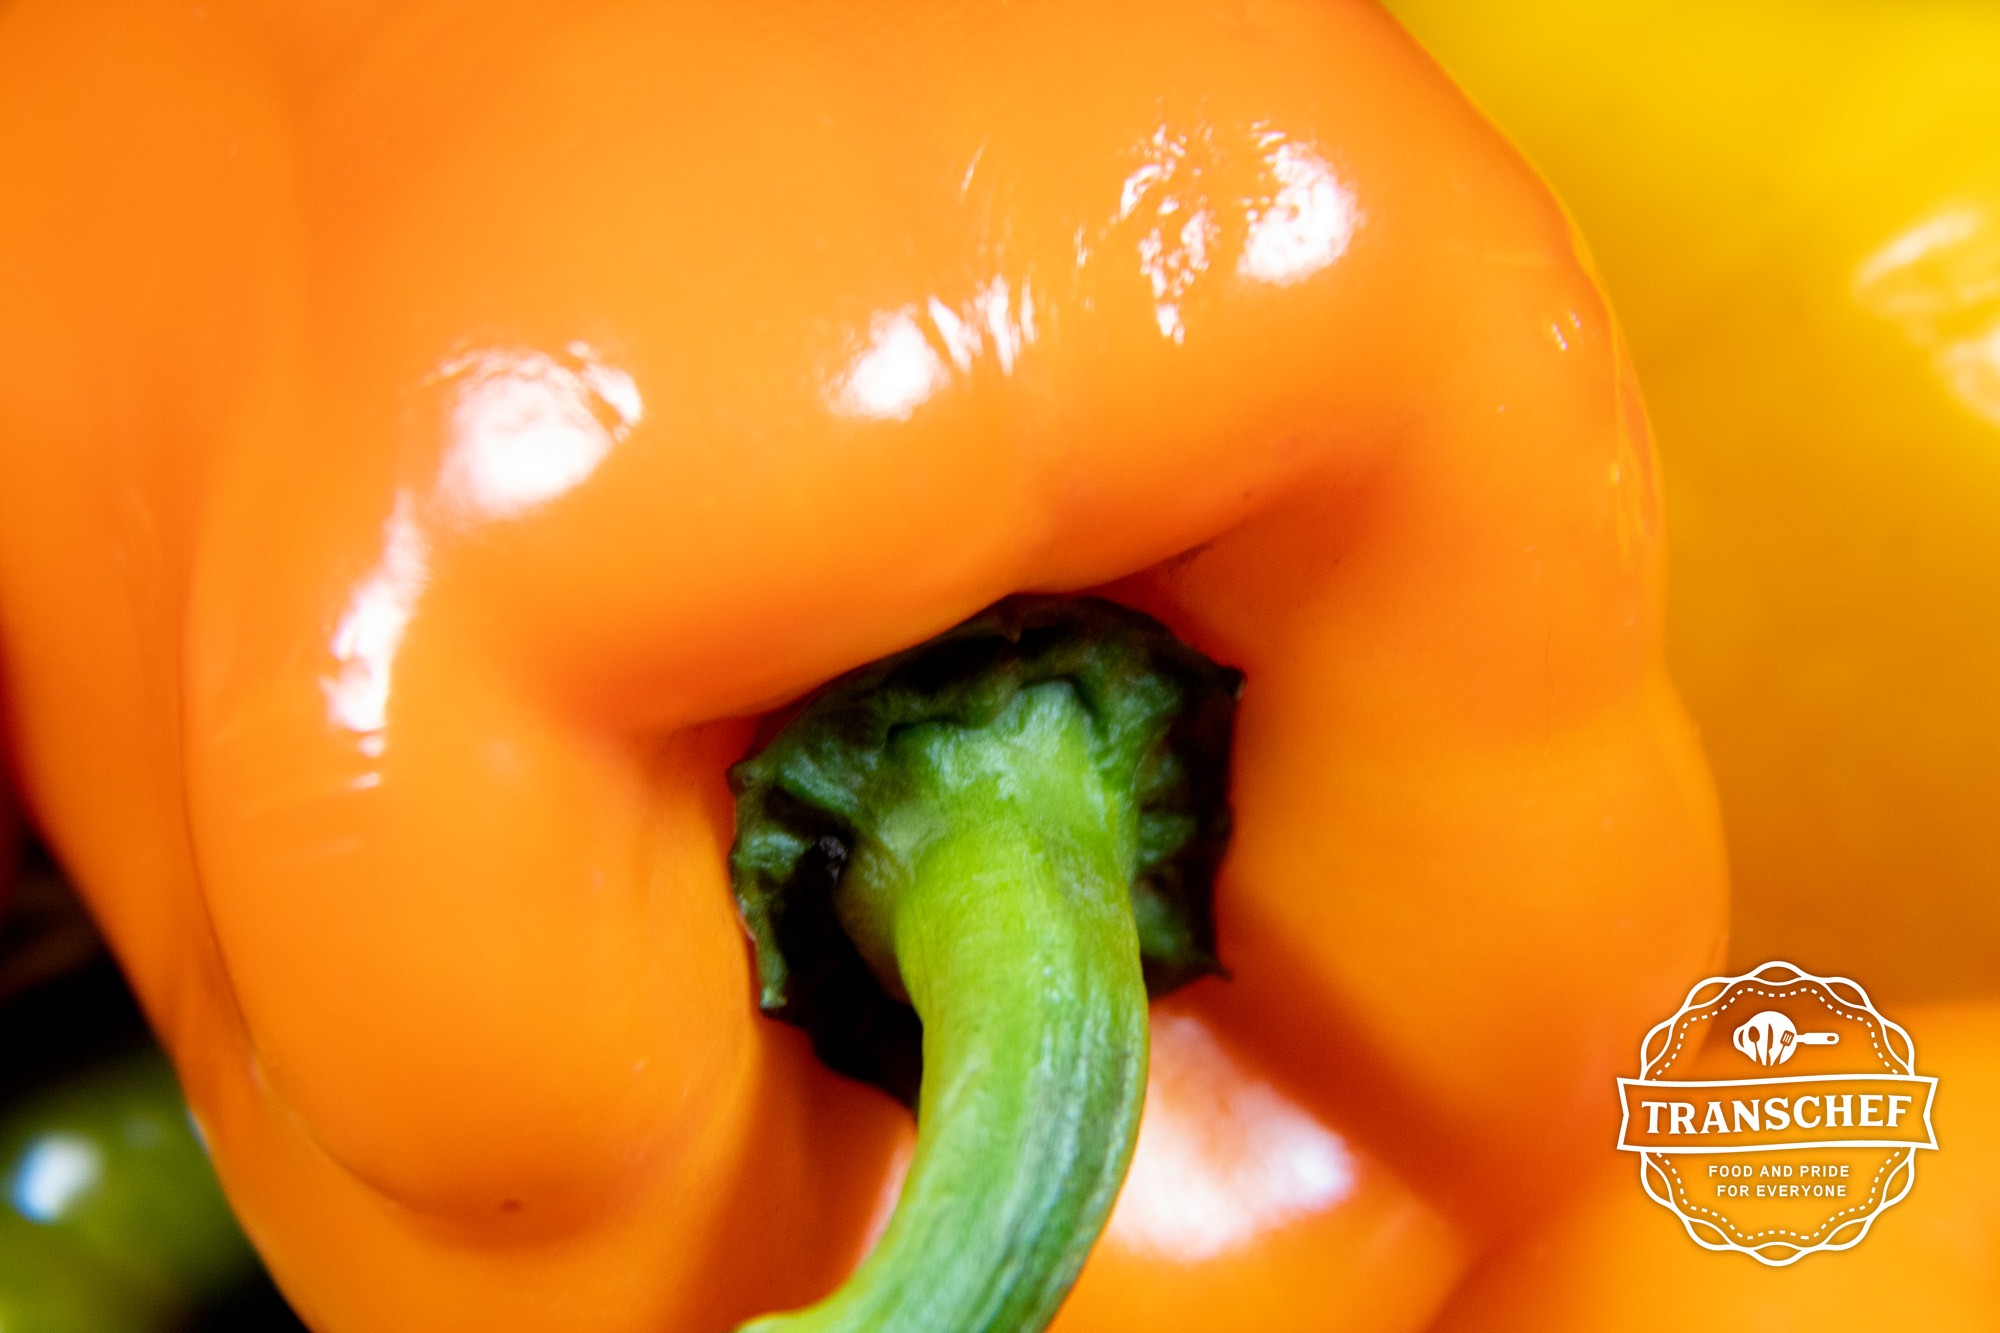
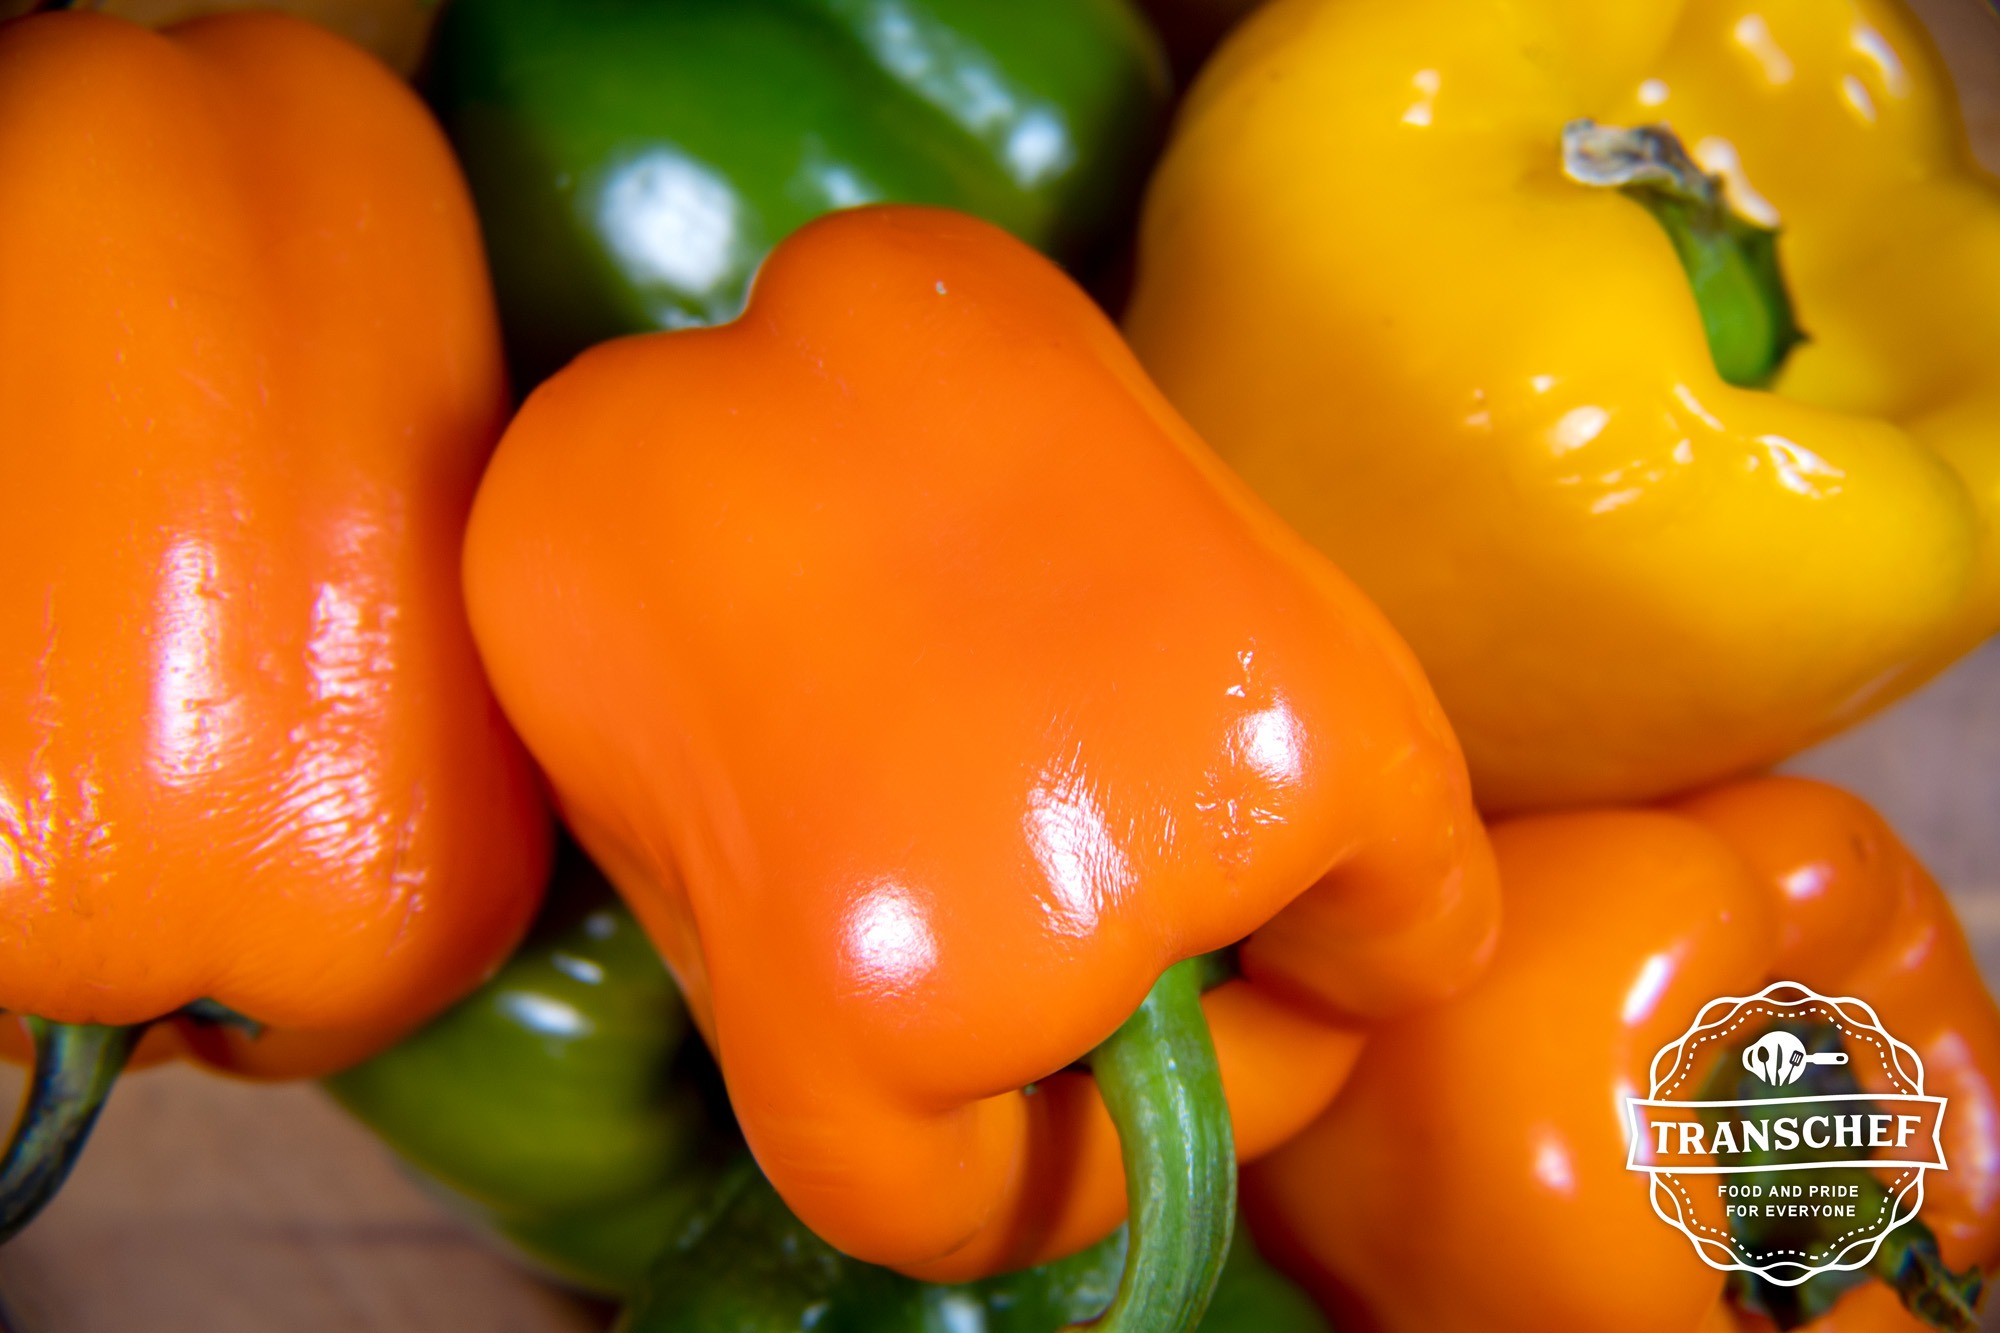
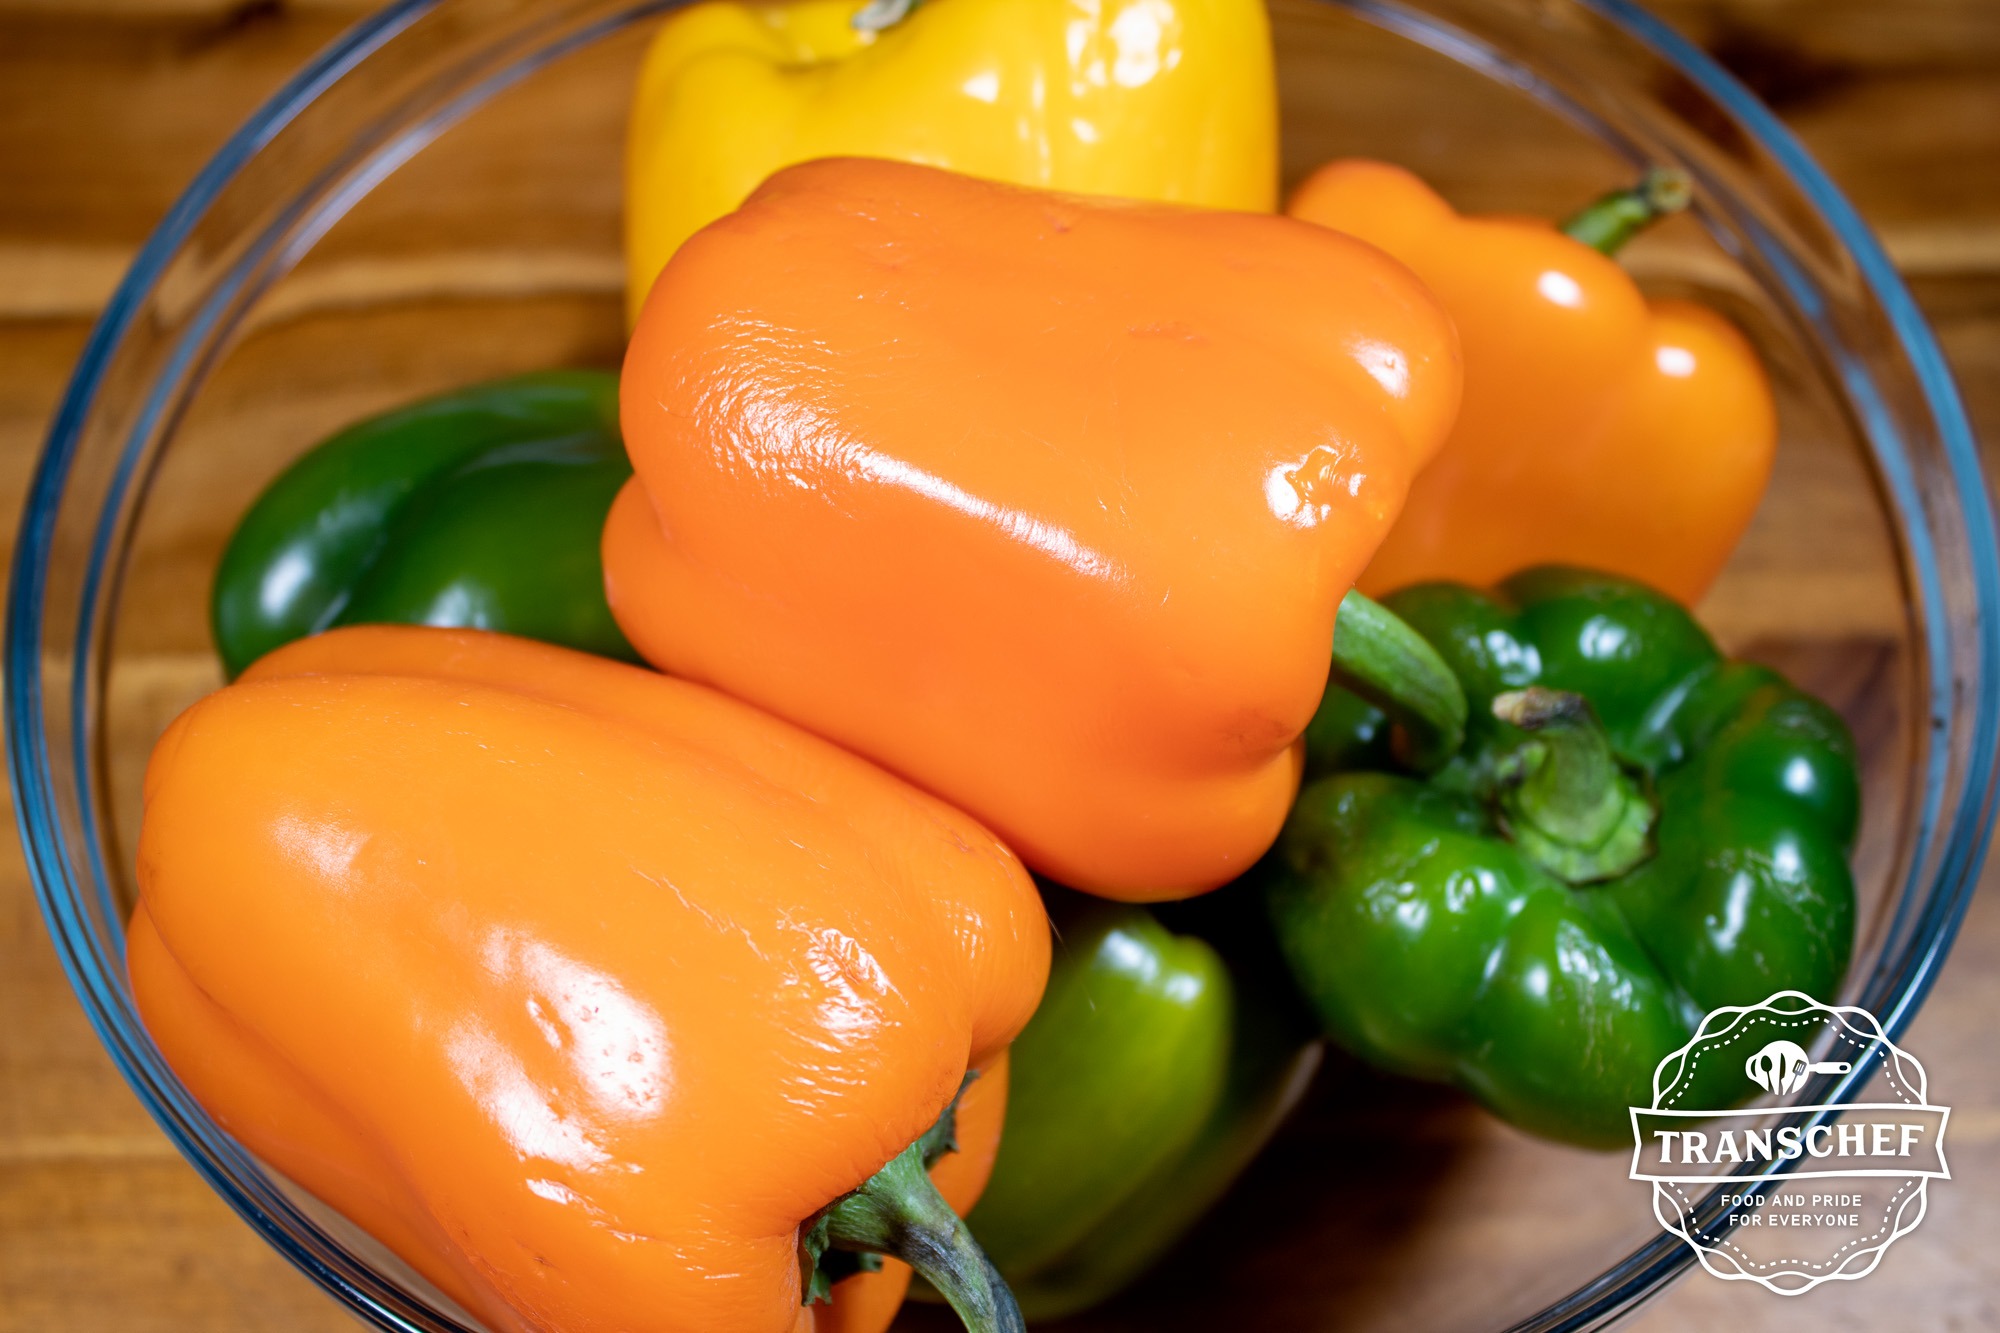
- 8 whole bell peppers
- 1 cup cold-pressed olive oil
- Tools:
- 32 oz canning jar, with clean lid and flat seal
- 1 canning jar lifter
- 1 chopstick (or thin food-safe rod, to help remove air pockets.)
- 1 set of metal tongs
- 1 roasting pan (or a small grill grate over an open flame.)
Instructions
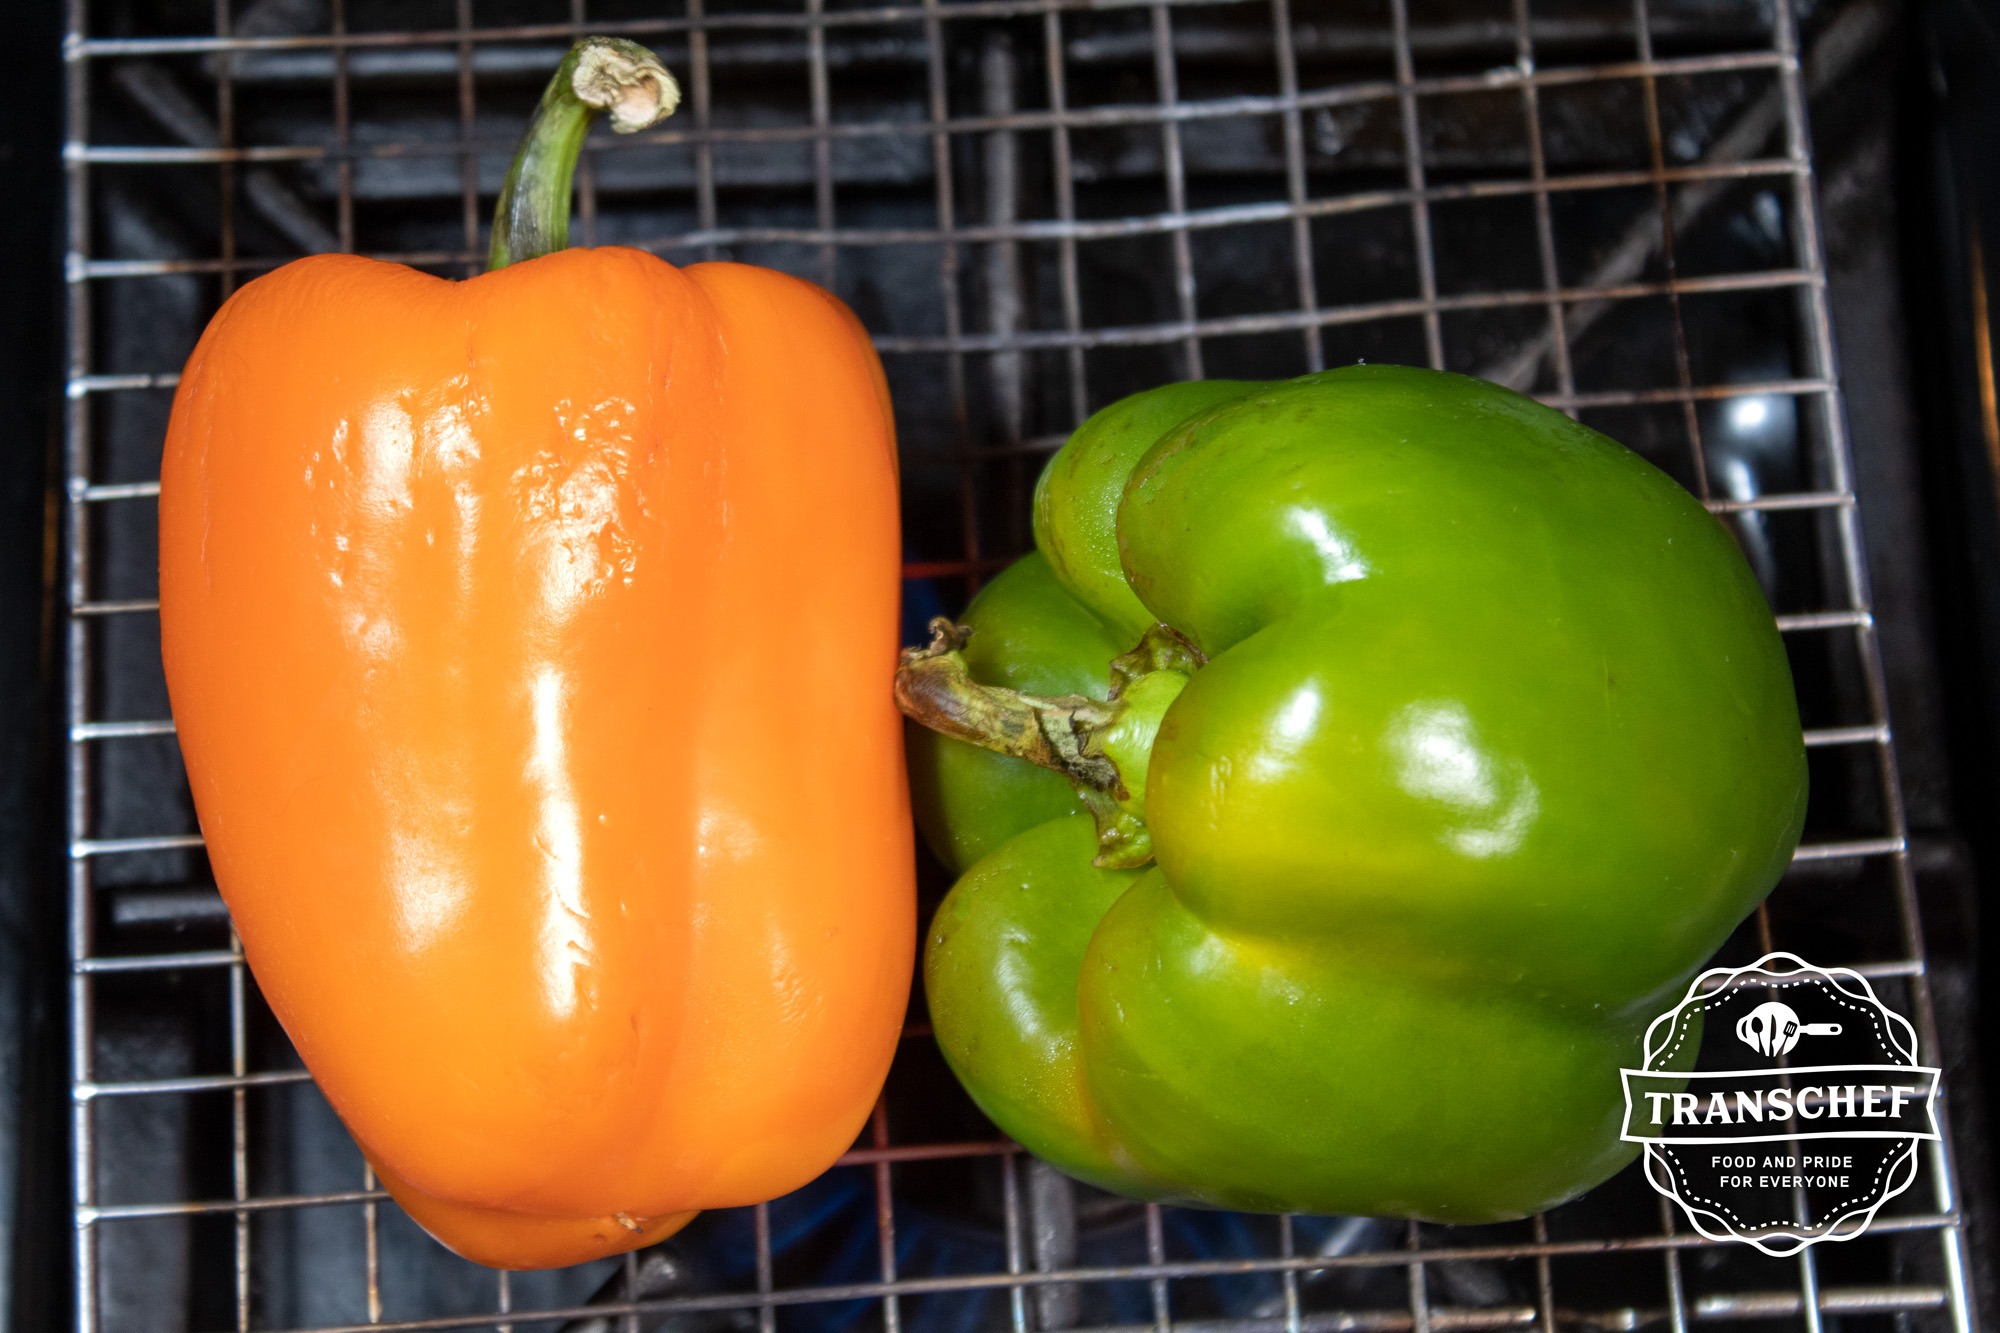
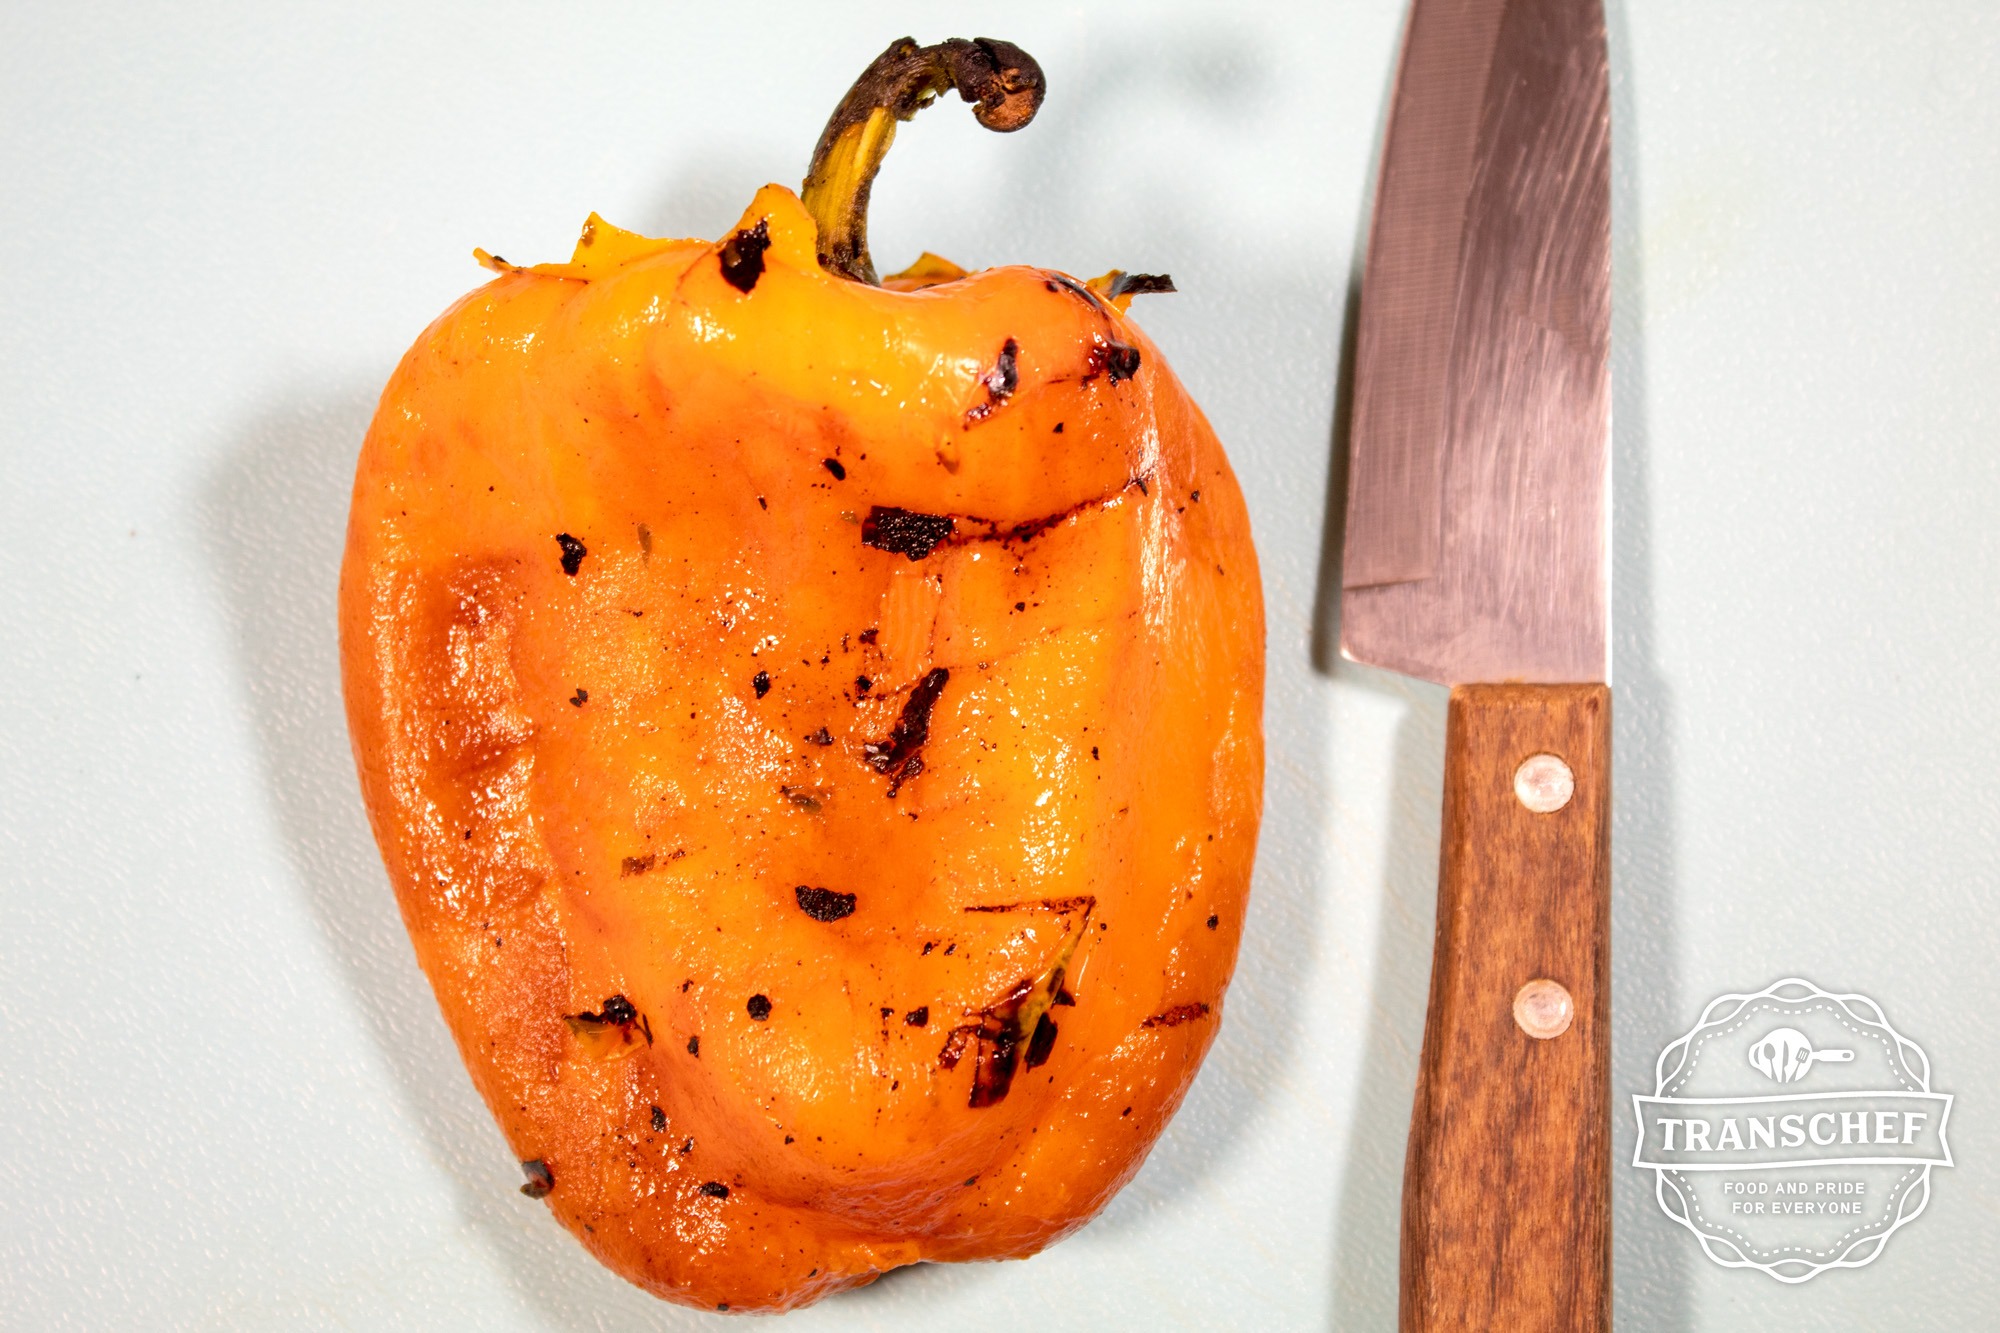
Under cool water, wash your bell peppers using a small brush to remove any dirt. Place the cleaned peppers in your roasting pan.
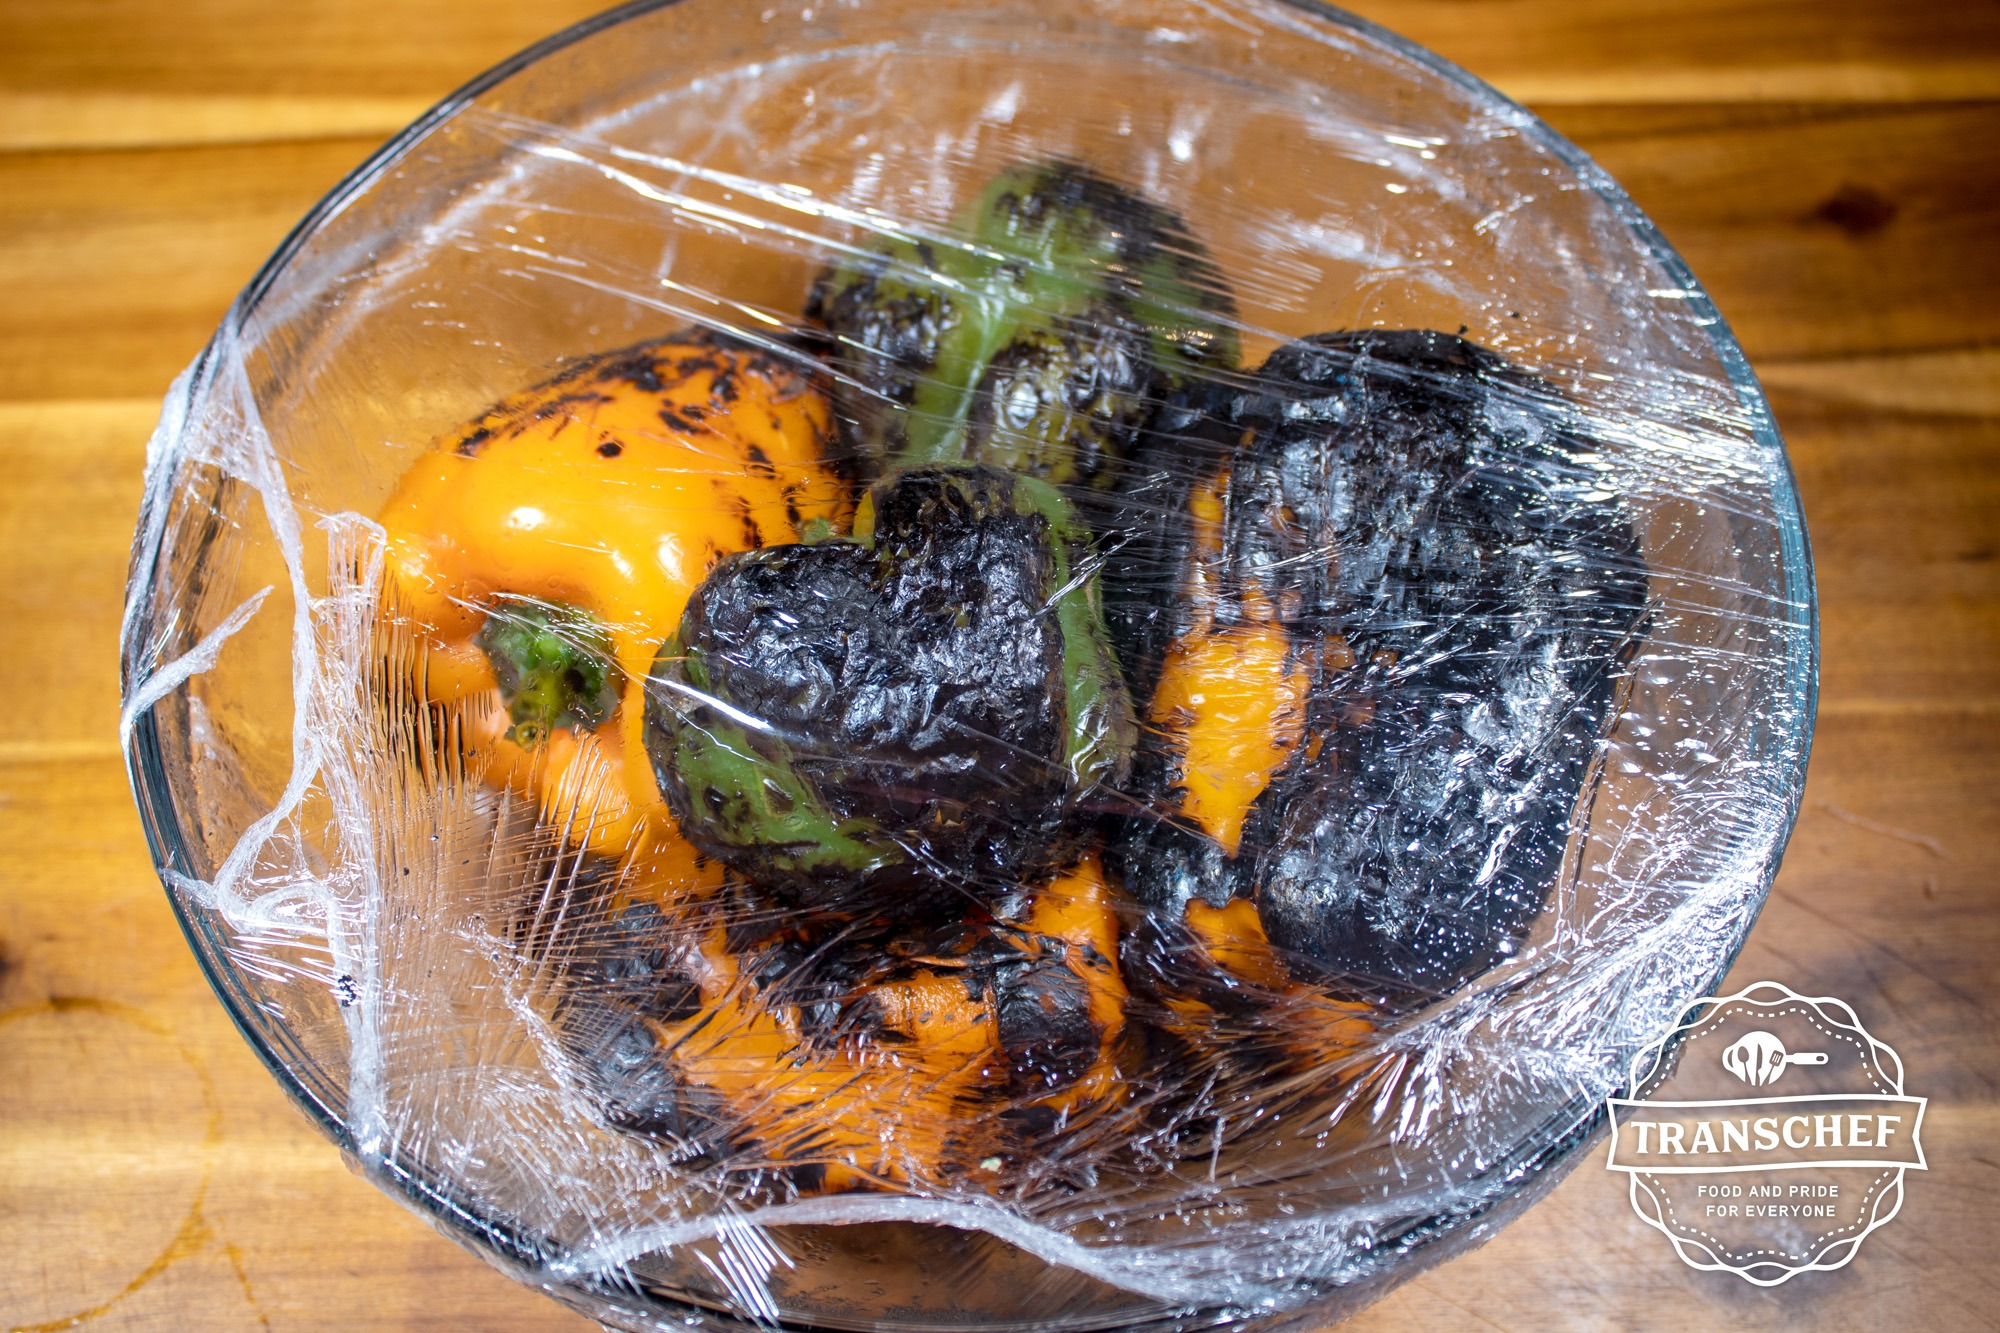
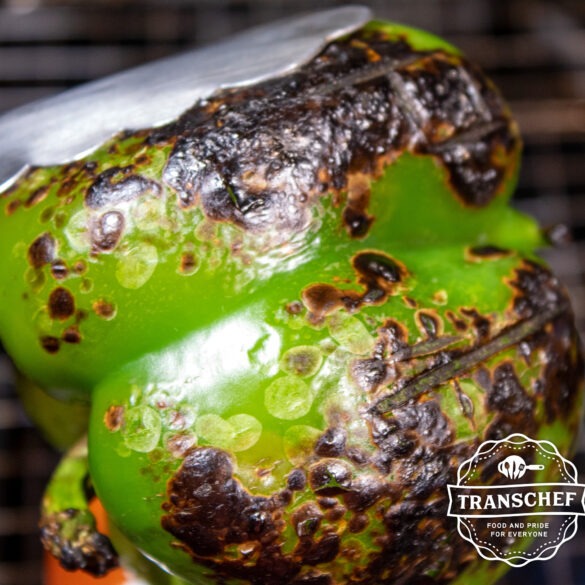
Turn on your oven's broiler on high and allow to warm. Once it reaches temperature, place the roasting pan of bell peppers inside the broiler in the middle center. Placing it off center will cause peppers to roast unevenly. Make sure to check your bell peppers every 3-5 minutes, and rotate them as needed to make sure each pepper has an even charring. Once your peppers reach your desired level of charring remove them and transfer to a large bowl. Cover the bowl with plastic wrap or aluminum foil, and allow the peppers to completely cool.
Note: The first time you char something like this it can be a little scary trying to figure out if it is charred enough. If you find this is the case, start with one of your smaller peppers as a tester. This should give you the visual cues you need to have a baseline for the rest of your peppers.
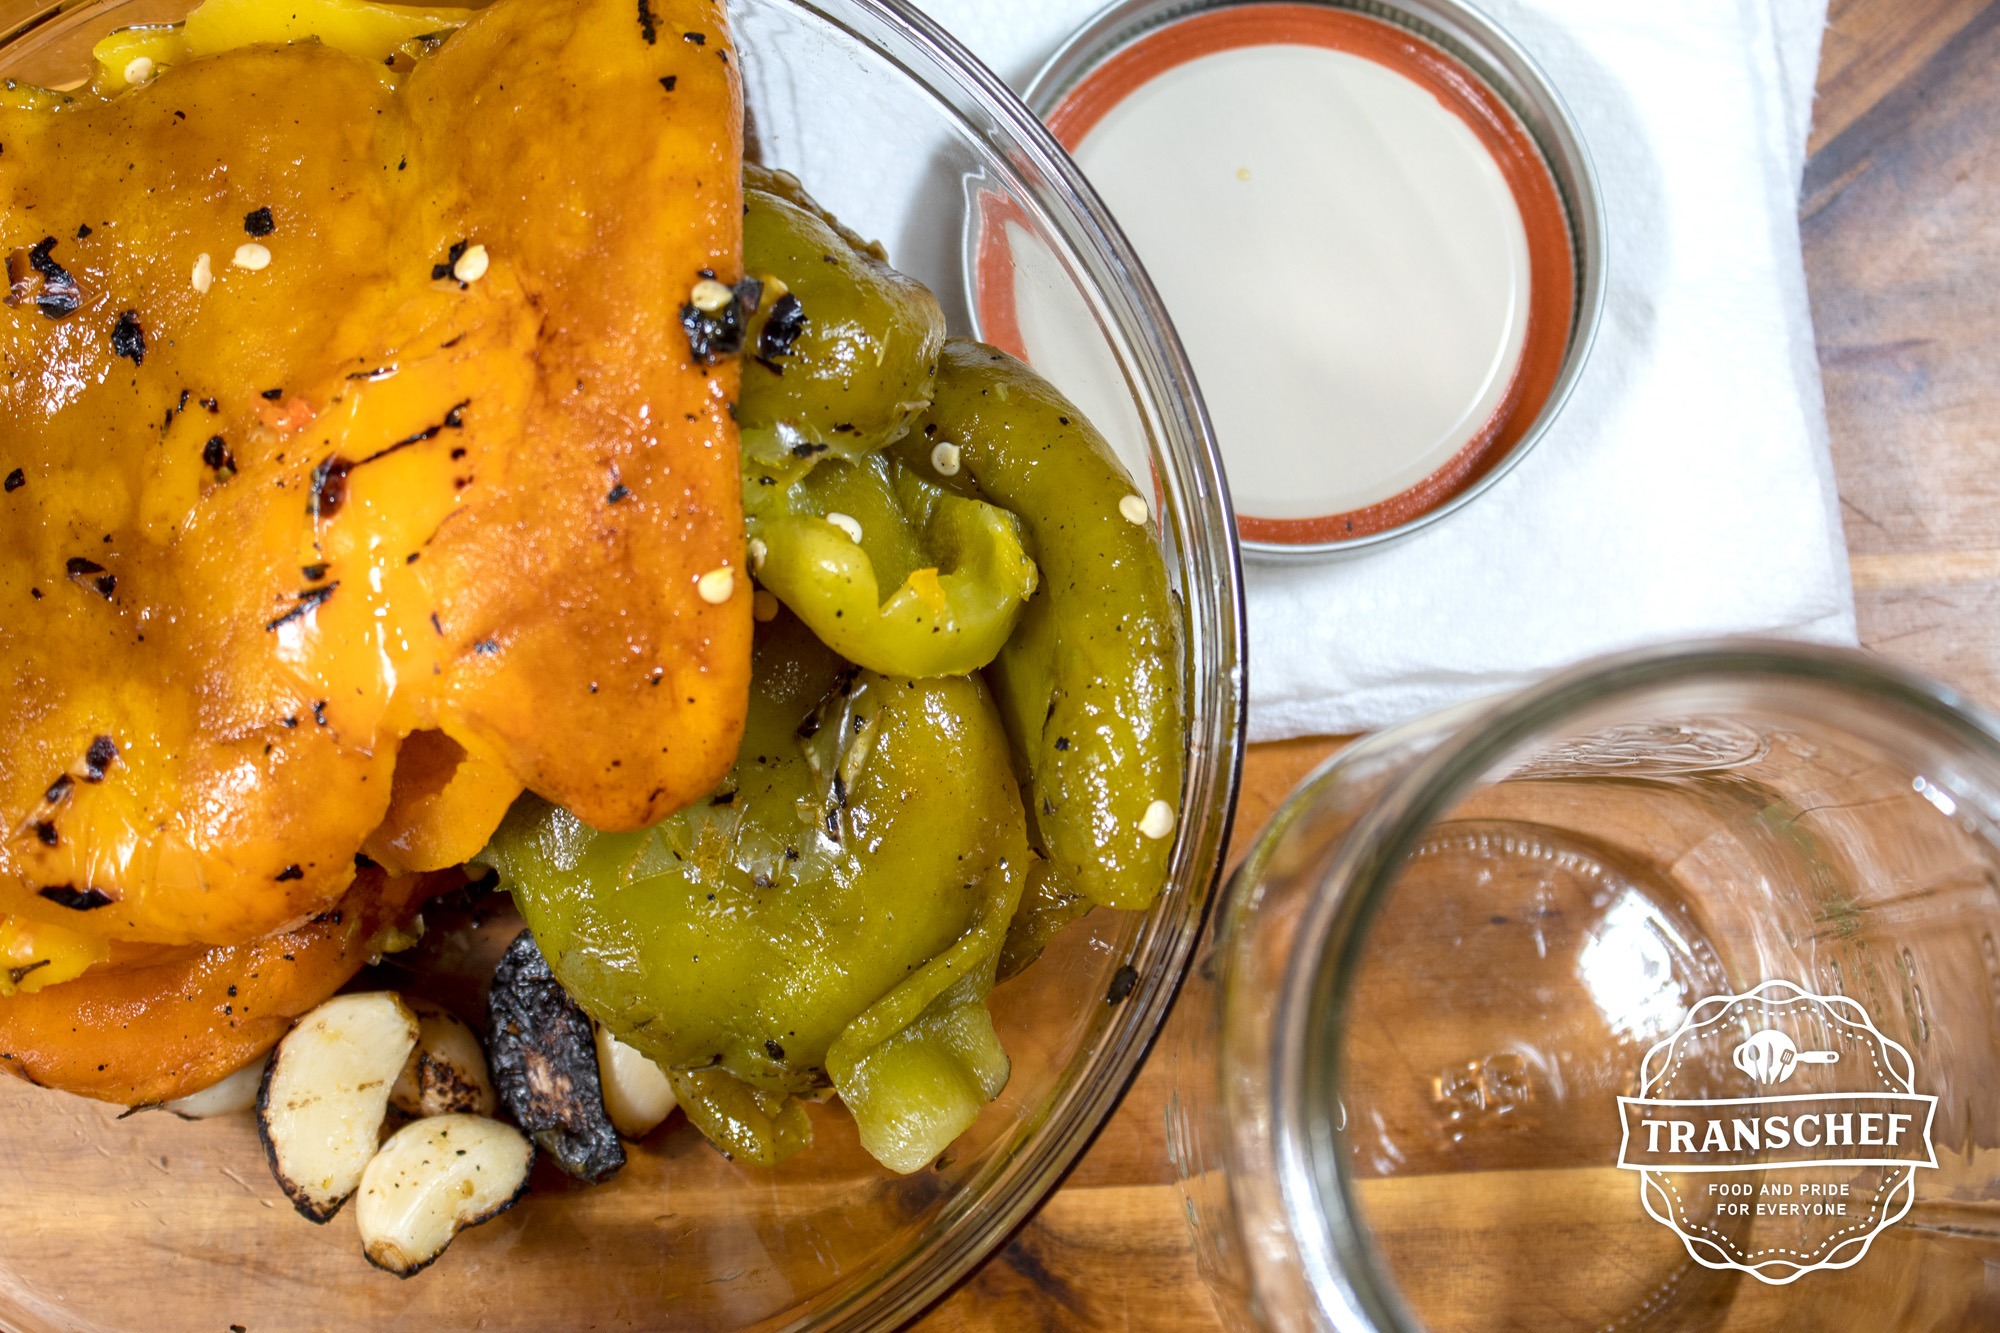
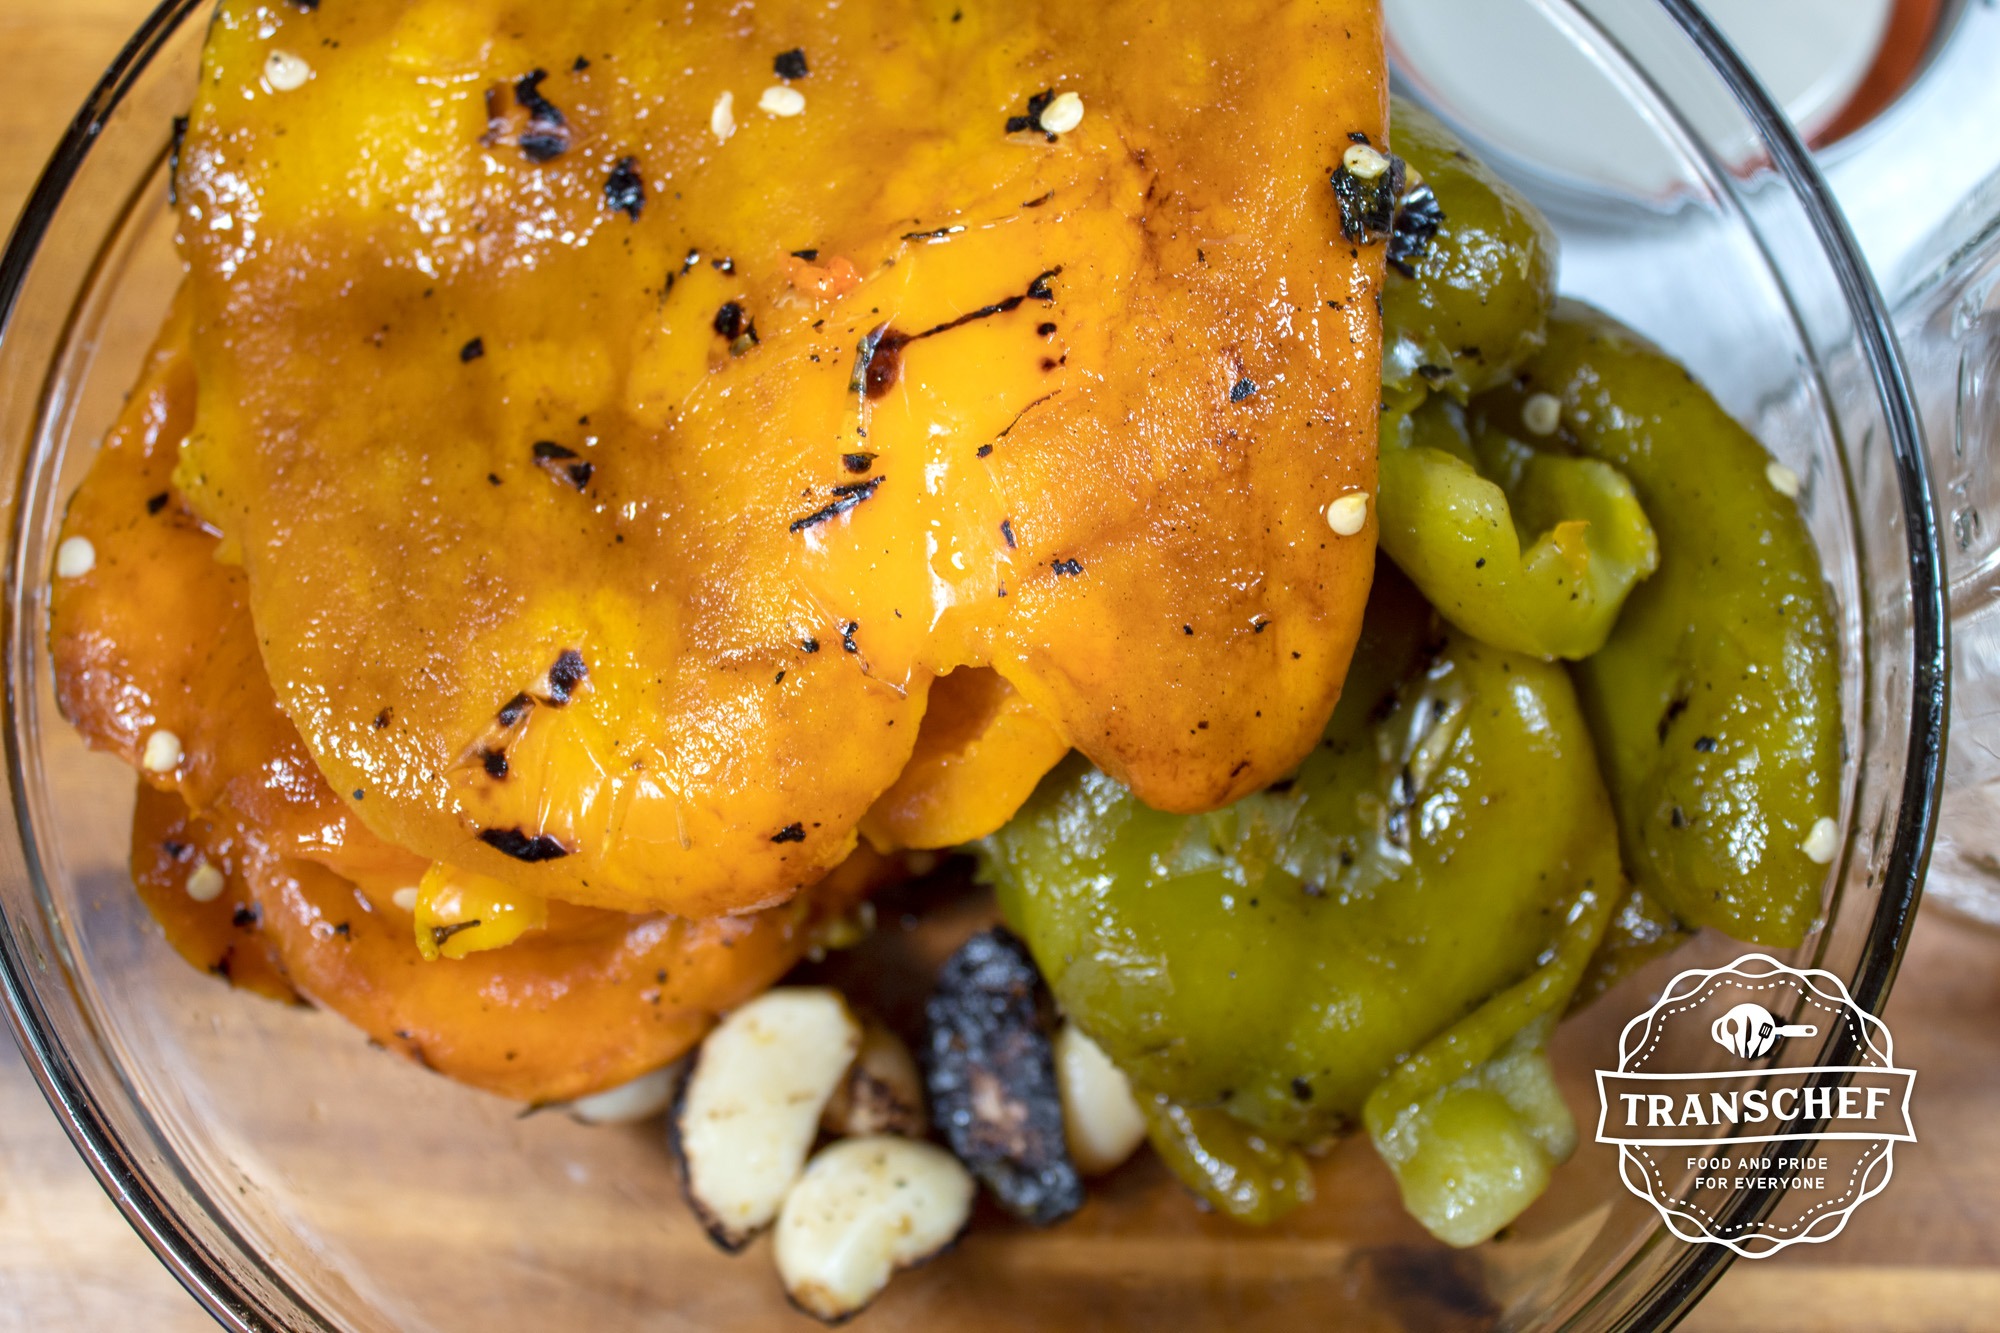
In the same roasting pan, add garlic cloves and place the roasting pan back in the center of your broiler. Leave the door slightly ajar to allow some of the heat to escape while toasting the garlic. Normally I will only toast one side of the garlic, because it can burn quickly once it’s been toasted on one side (due to its small size). It normally takes about 1-2 minutes with broiler on high, or if you use the burner. If you use an oven, it might take 1-5 minutes depending on the temperature. Remove the garlic and place in a heat-proof bowl to cool.
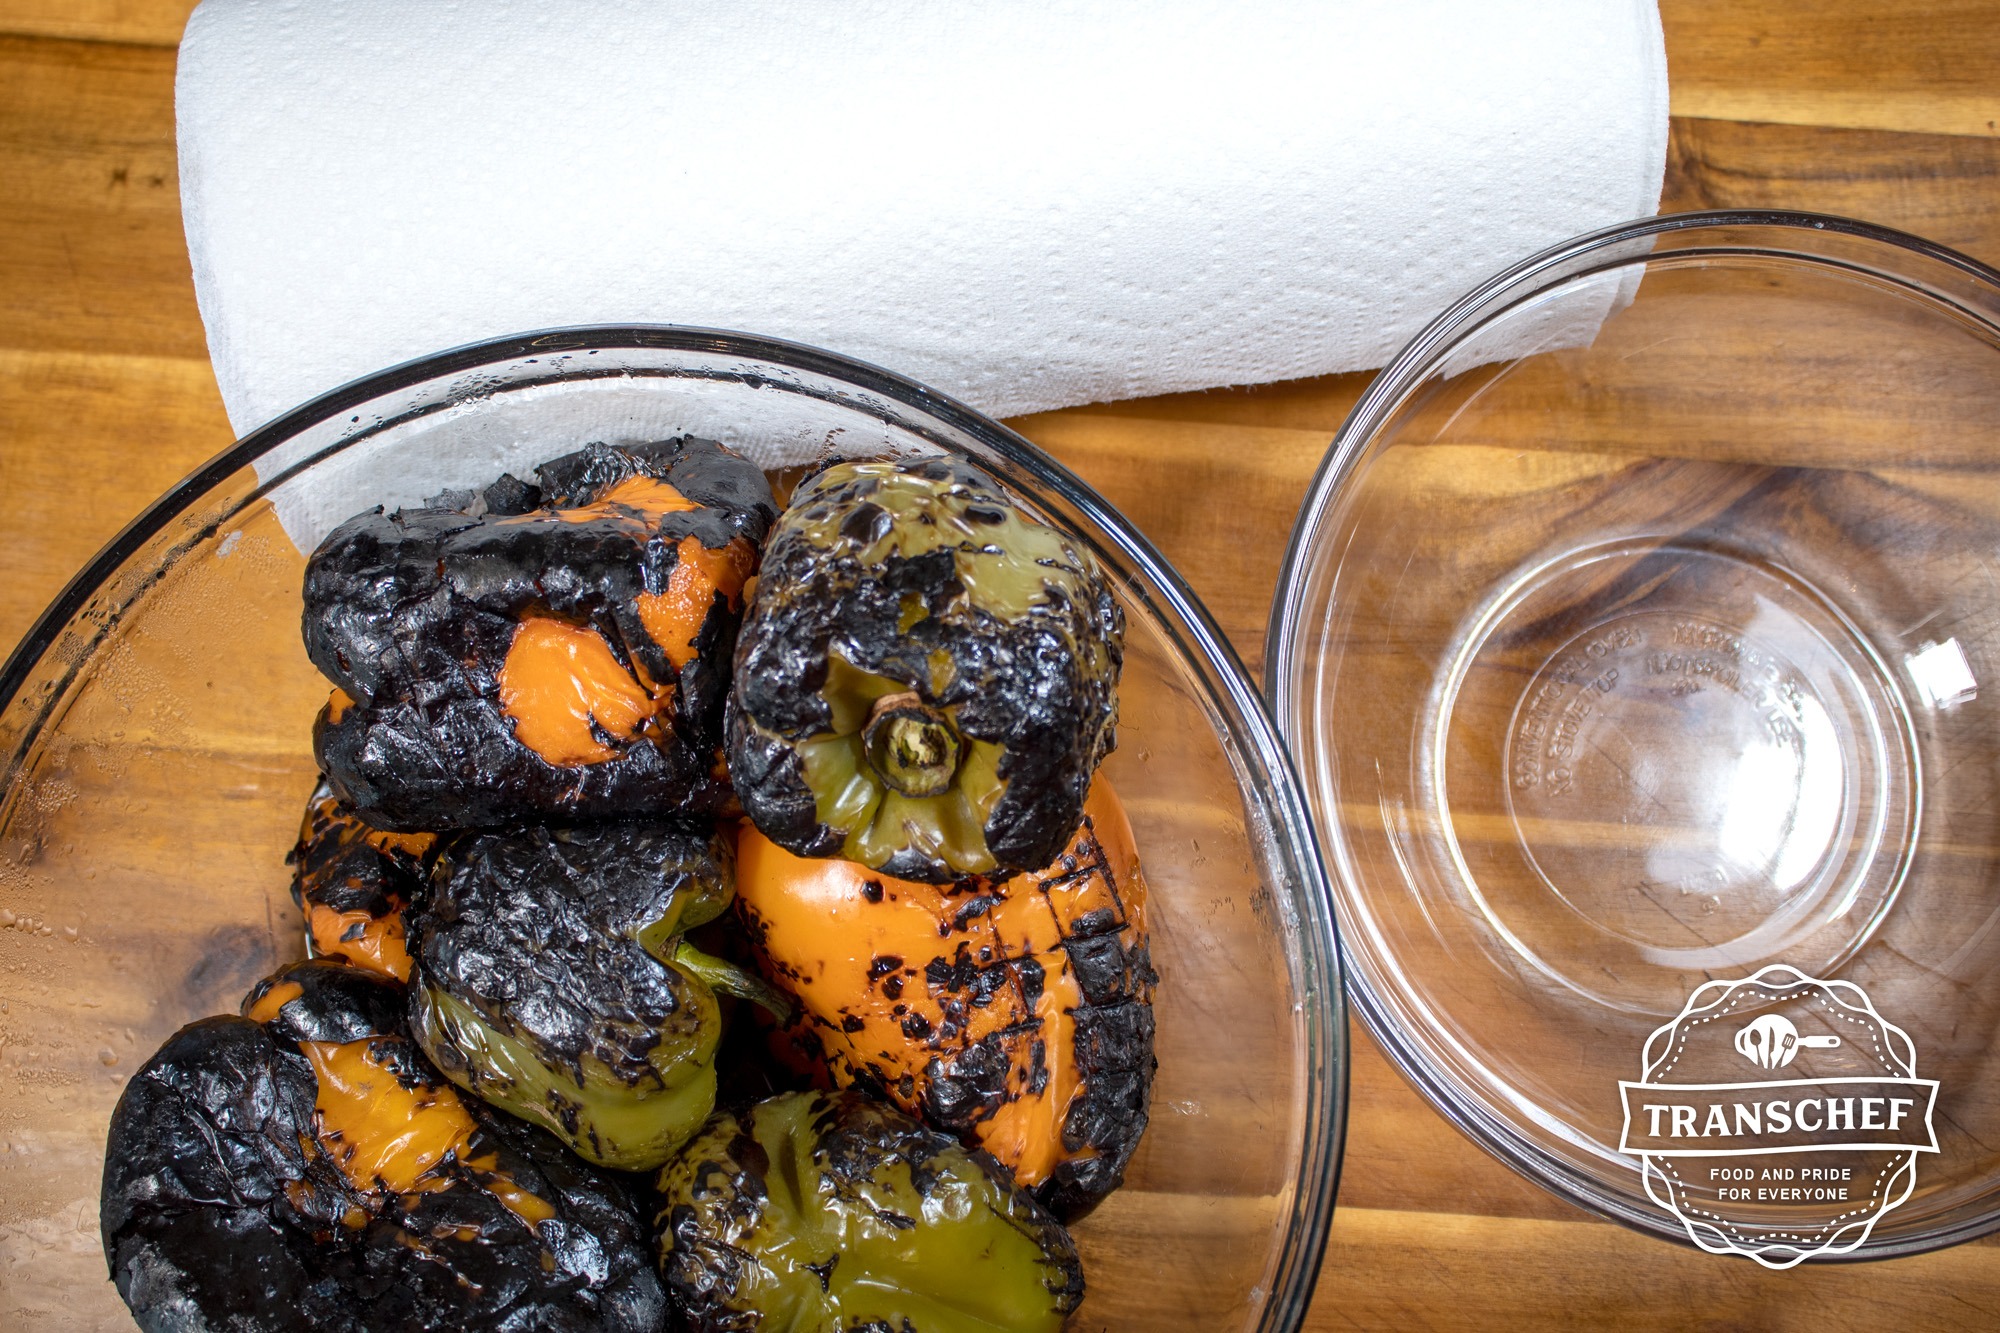
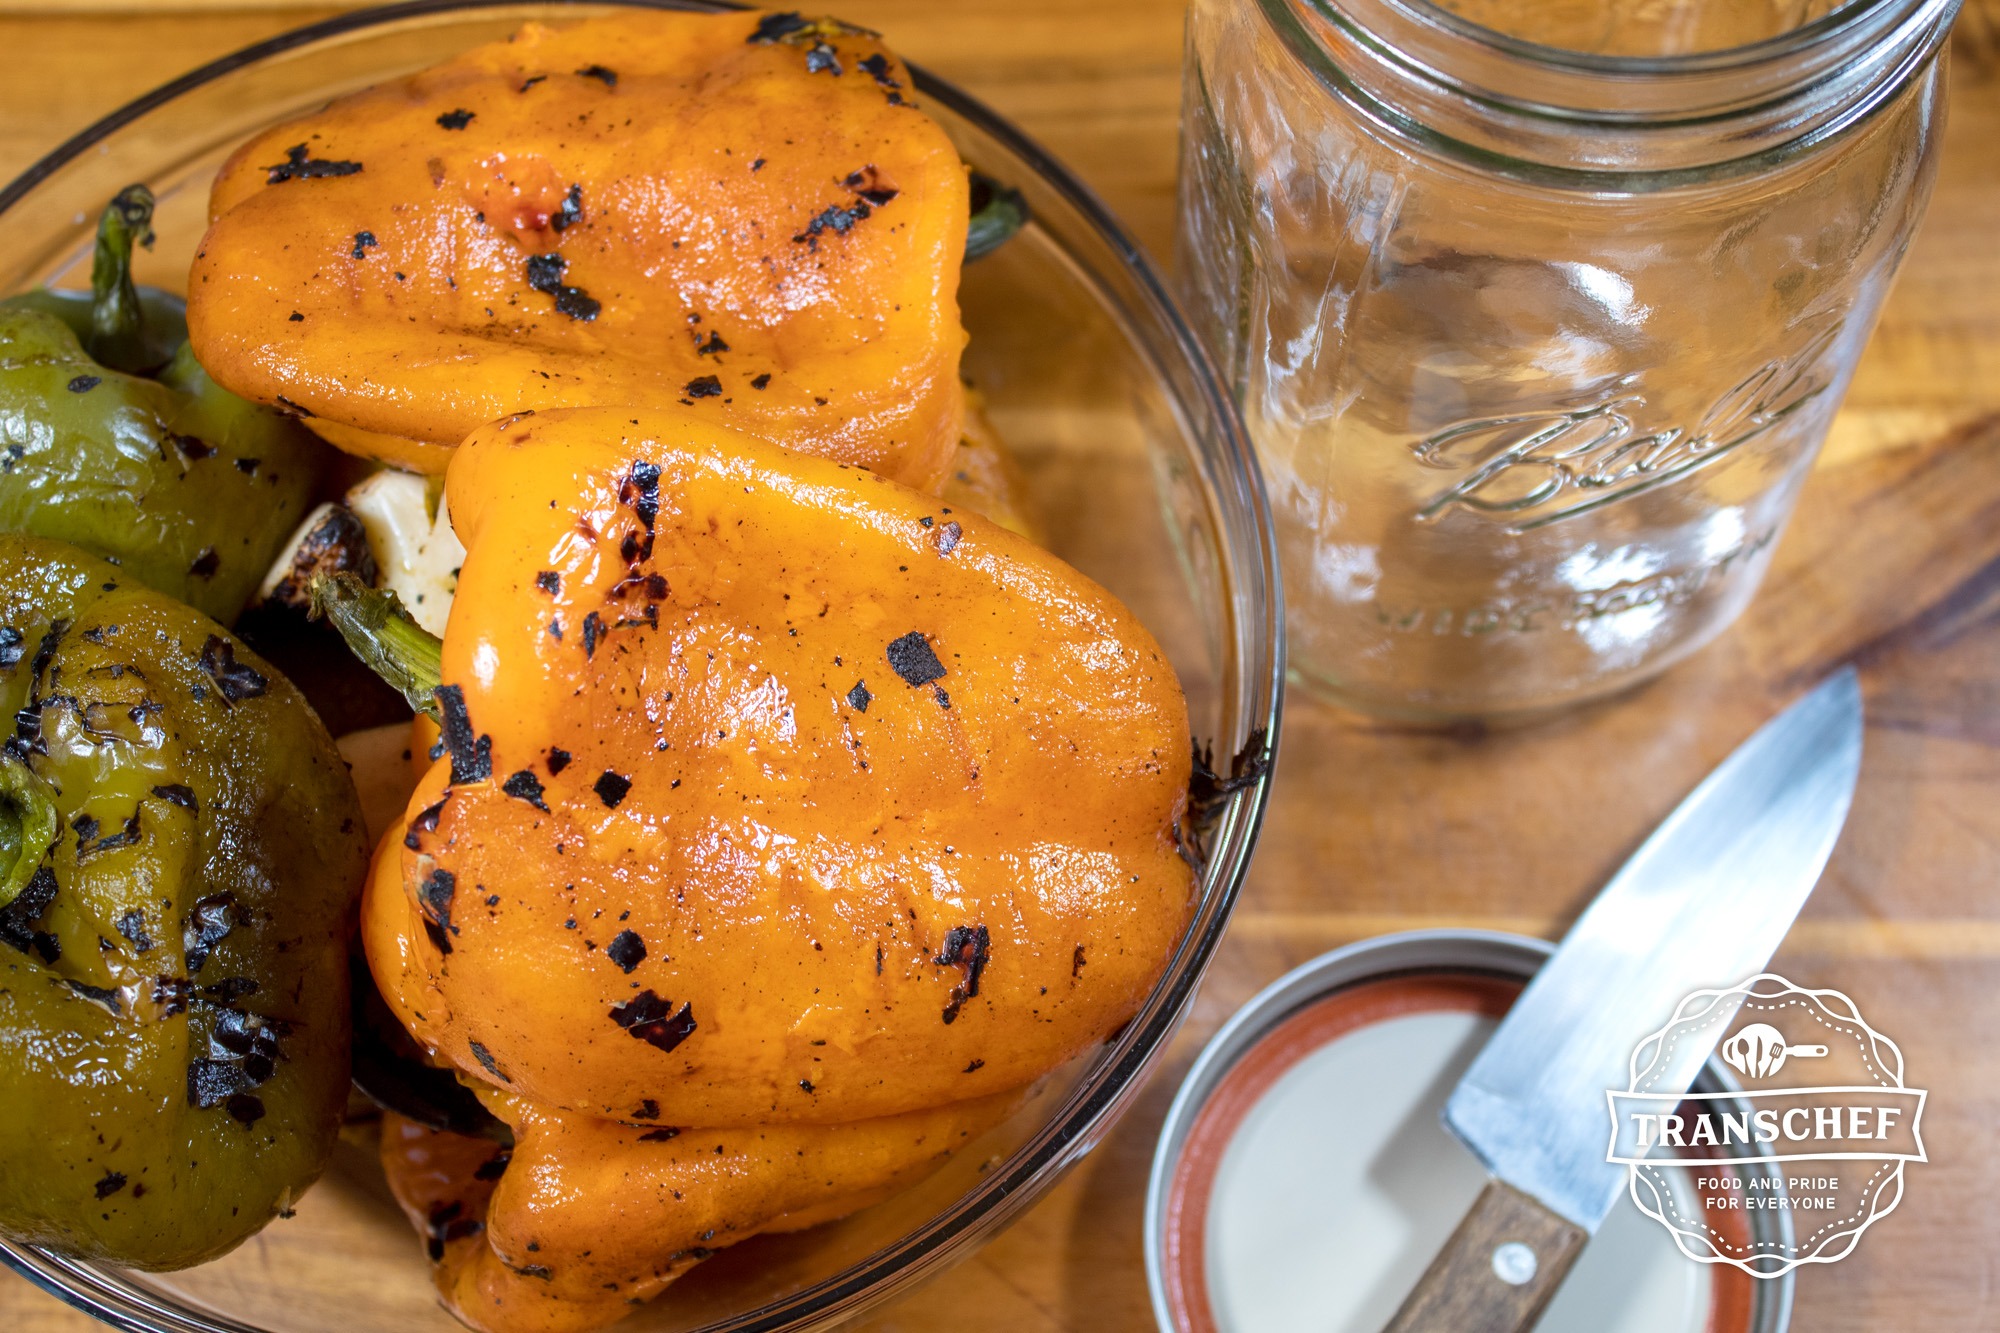
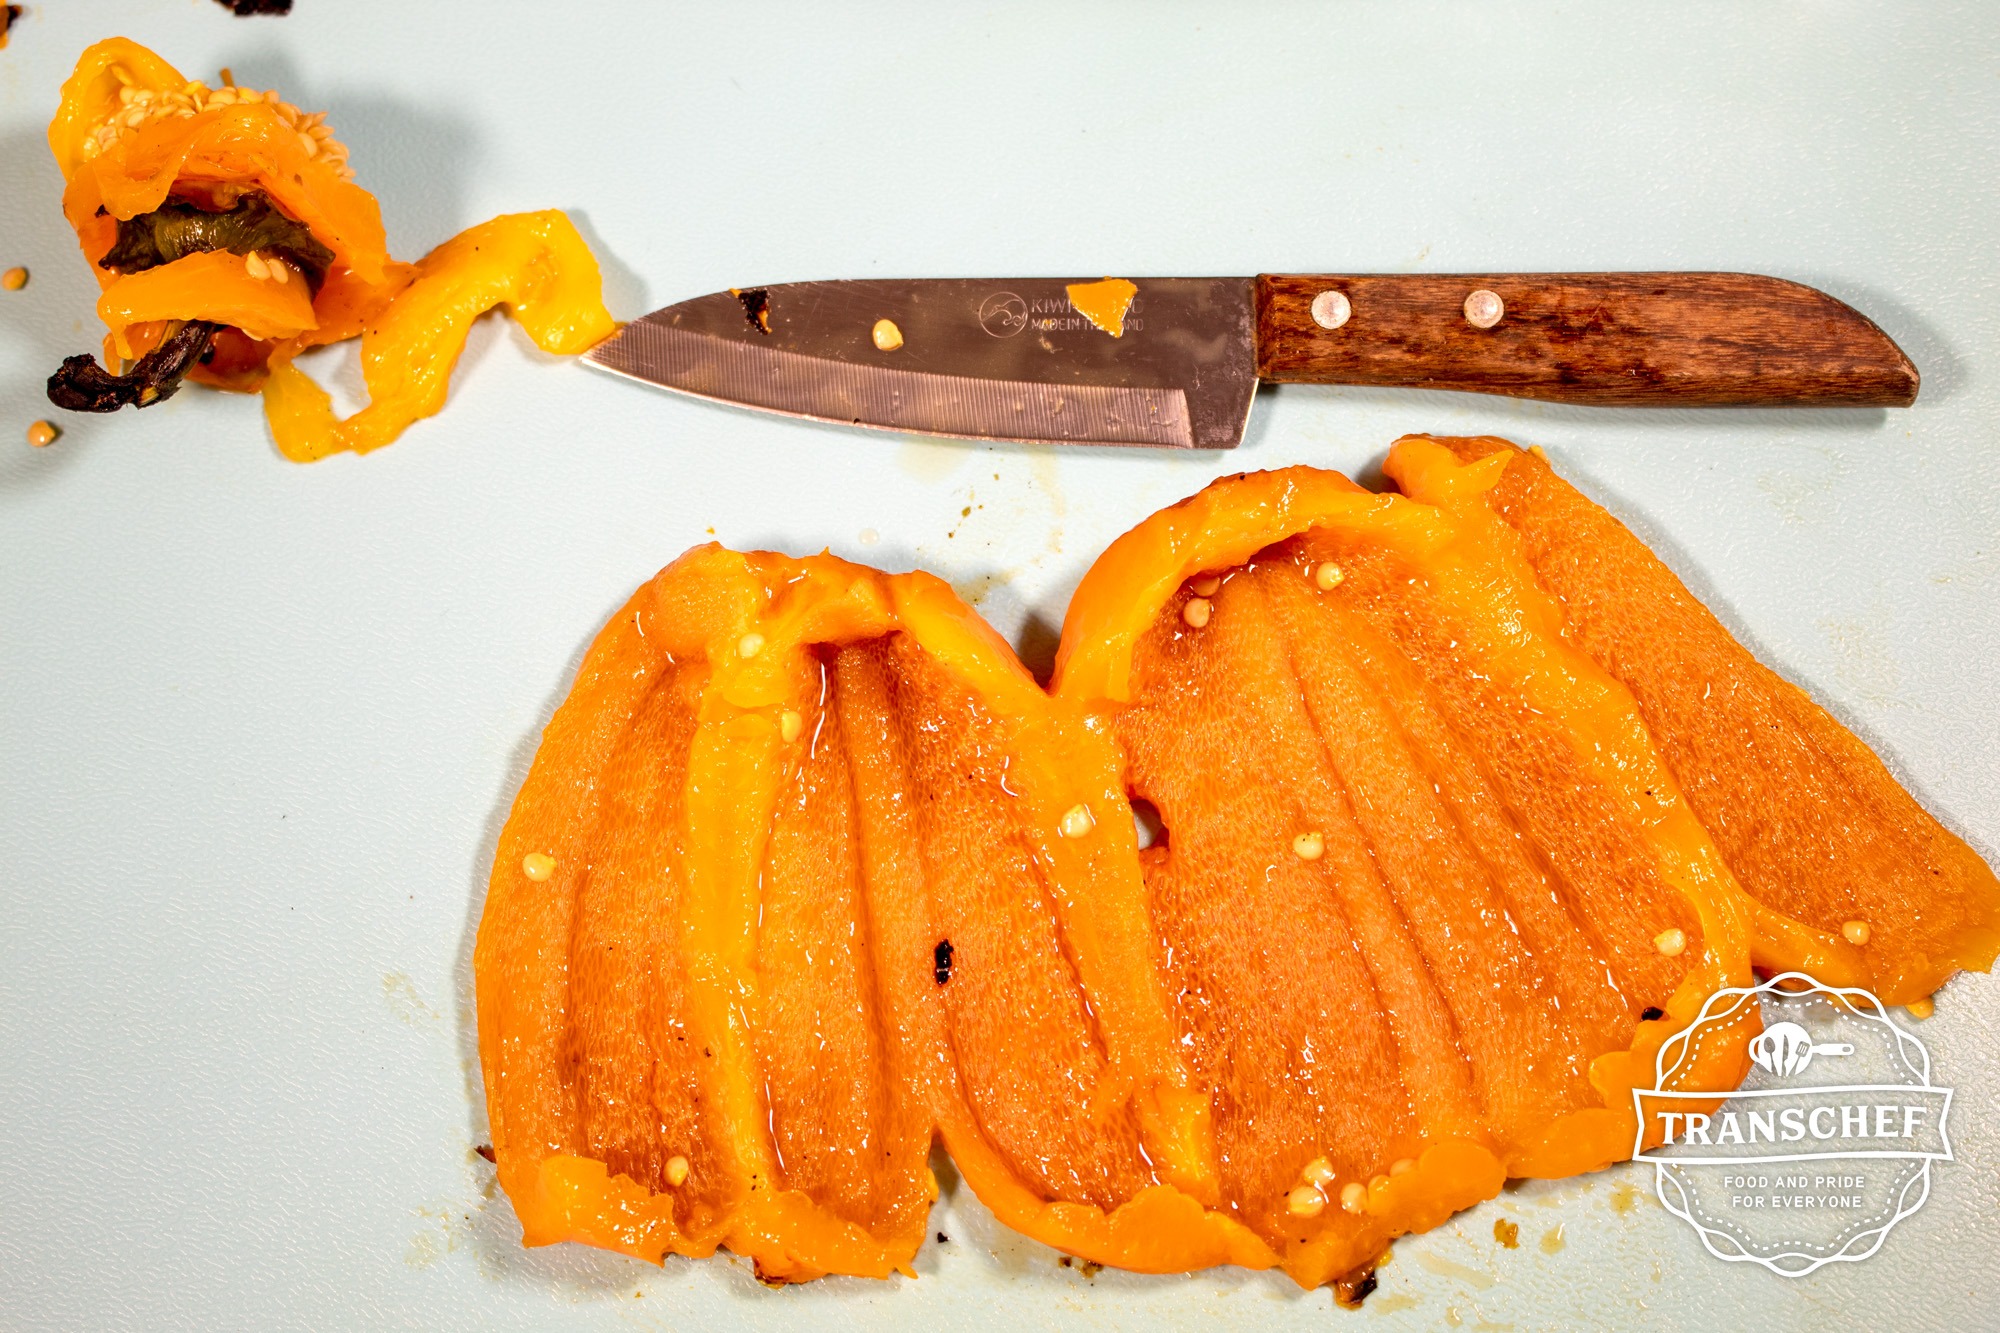
After peppers are completely cool, remove the outer peel. Using a sheet of clean paper towel, or kitchen cloth, gently rub the charred outside of your bell peppers into a discard bowl. The skin should come off easily once charred. However, if you find a section that is extra stubborn it is perfectly fine to use a small knife to peel it off, or apply more heat in small increments. Once you've removed the charred skin place the pepper on a cutting surface with the stem end pointed upwards. Using a small paring knife, remove stem from the pepper by circling it with the tip. Discard the stem and any attached seeds and membrane. Then using the same paring knife, slice one side of the bell pepper to help it lay flat and then remove ribs of your bell pepper. You also want to remove as many of the leftover seeds. The ribs and seeds will not hurt you if you do not remove them all, but they can make things a little bitter.
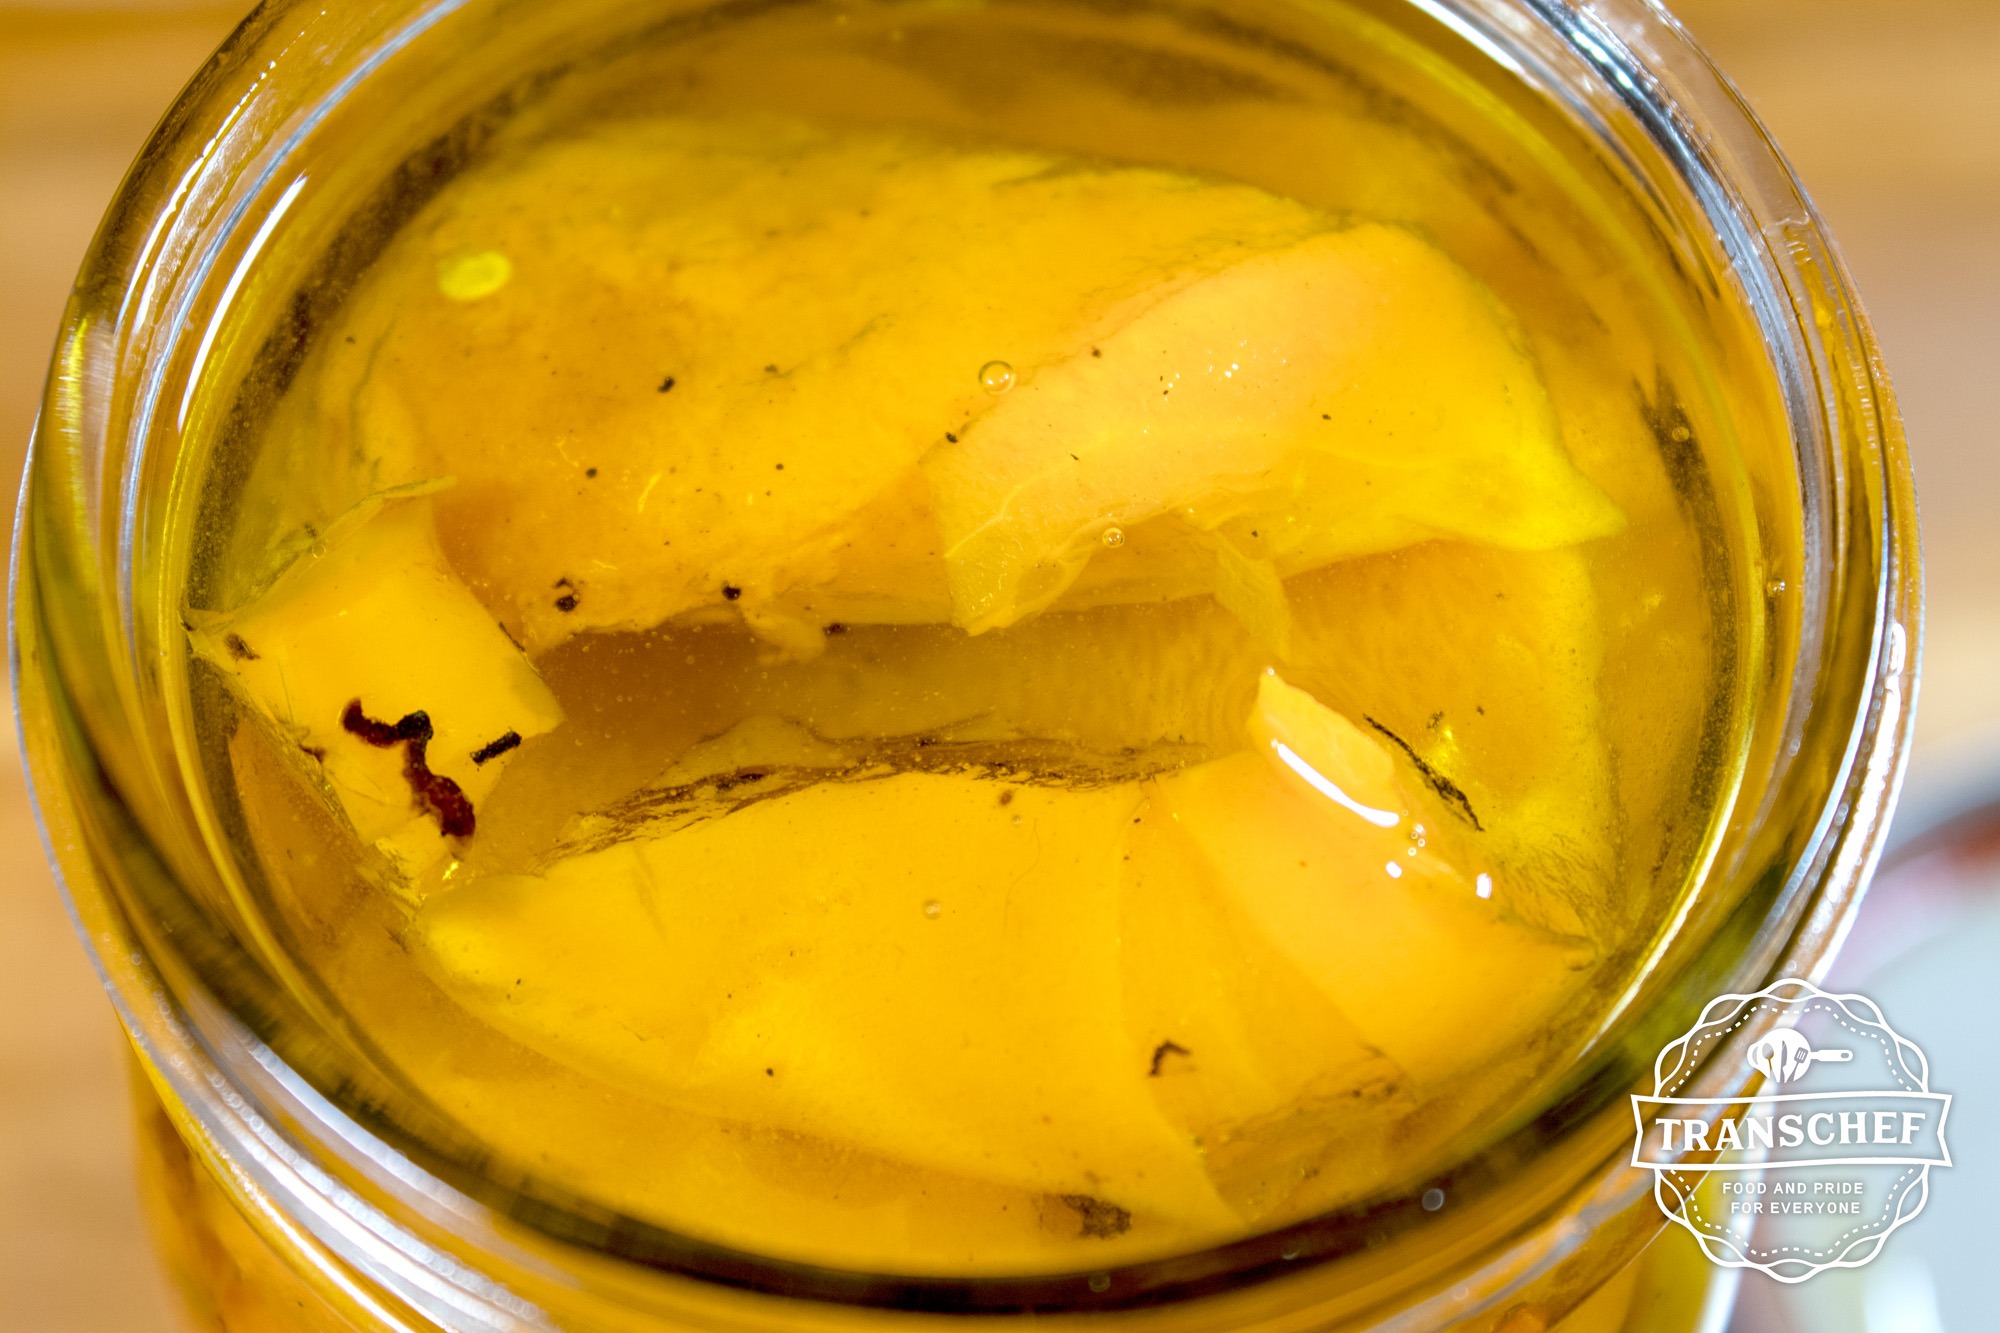
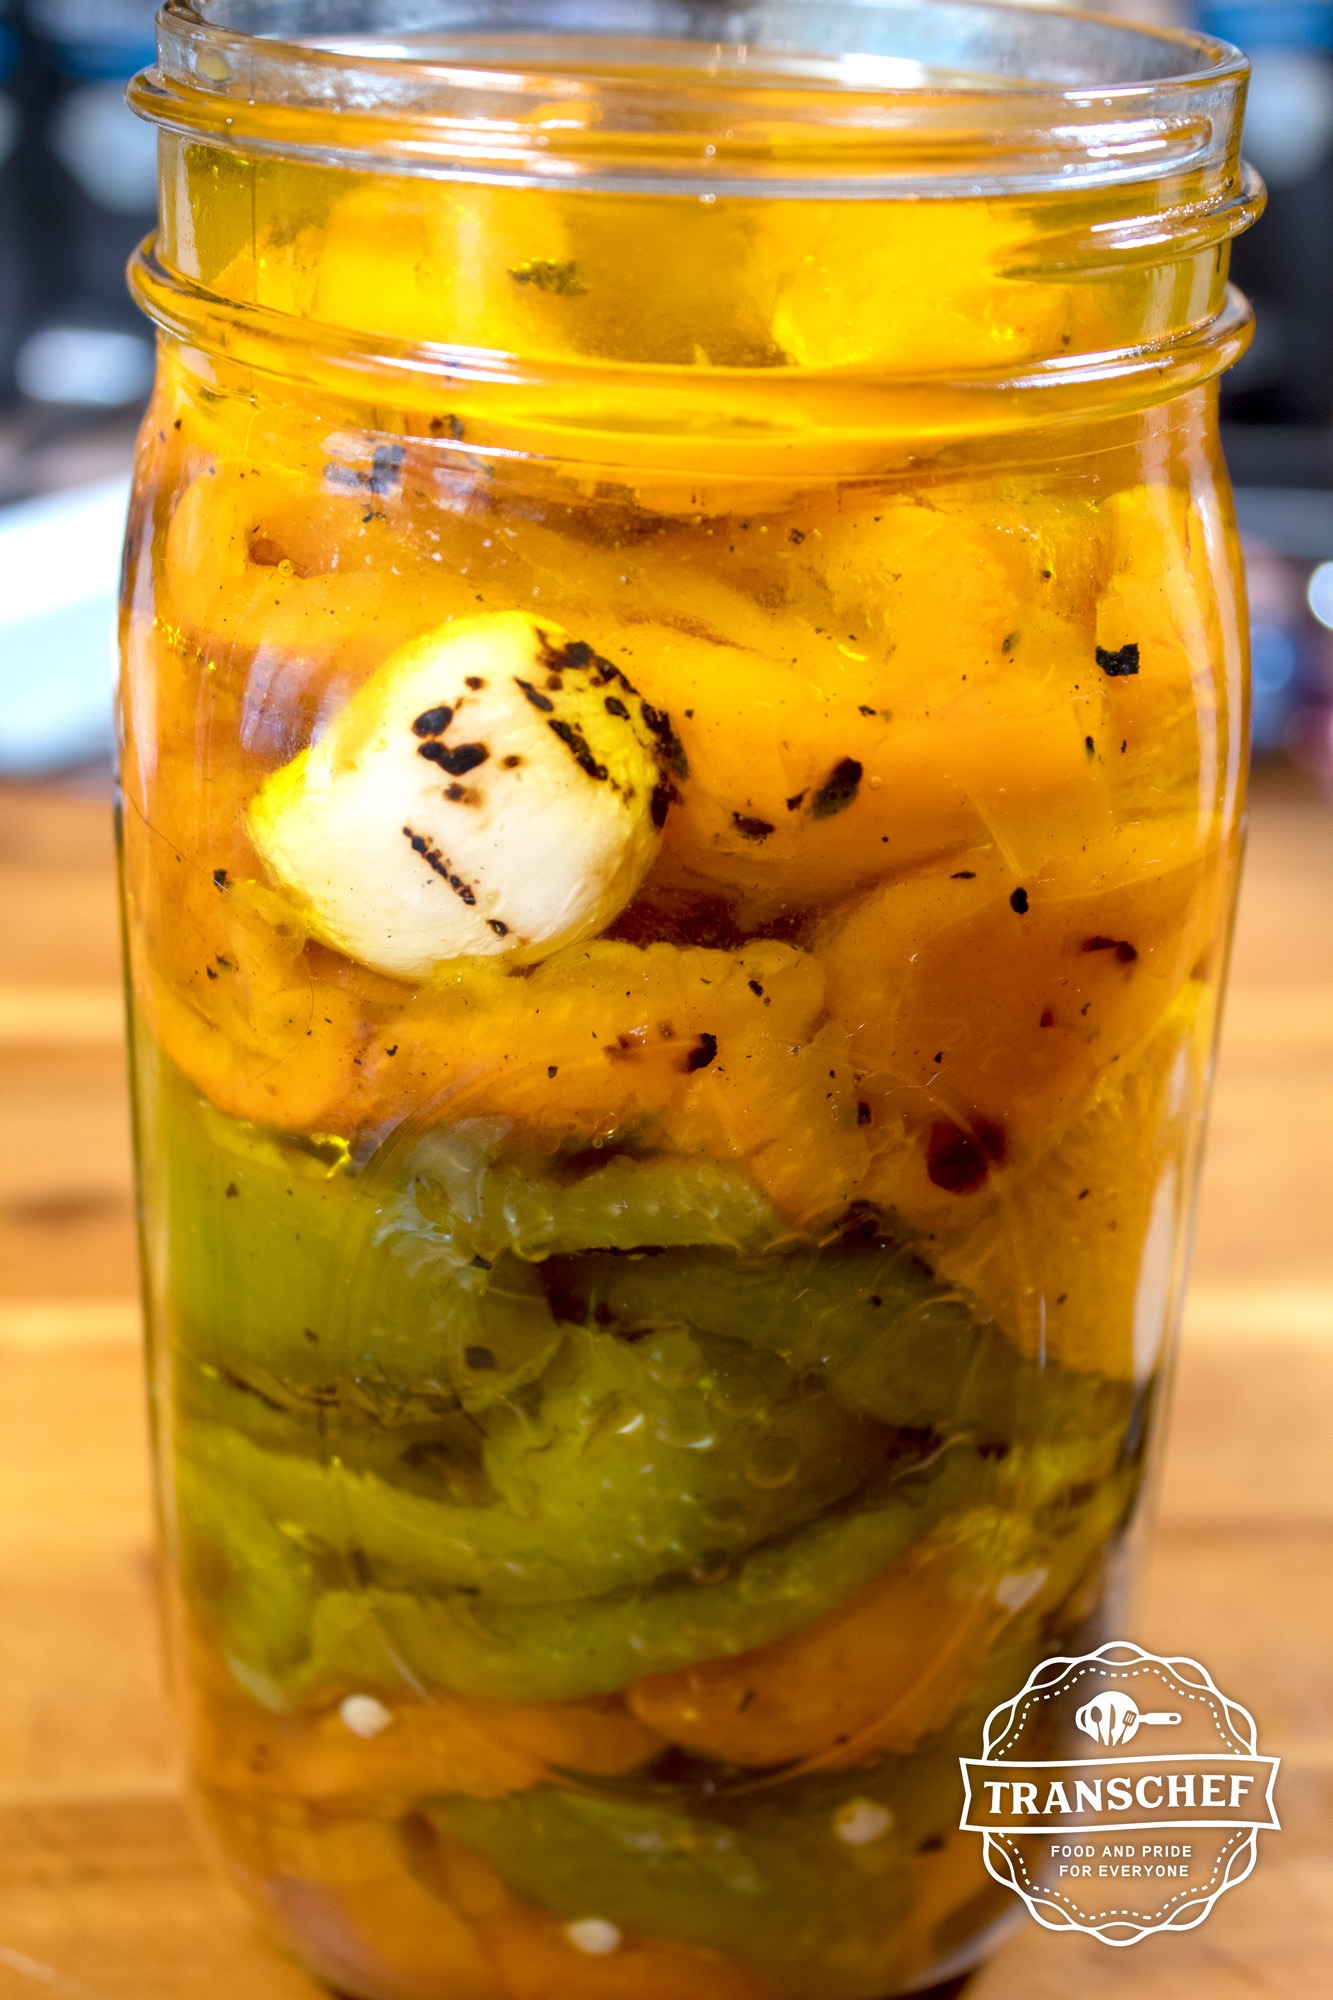
Using your fingers, tear bell peppers into sections about 1 to 1 1/2 inches in width and place in your canning jar. Alternate with bits of garlic so it's evenly distributed throughout the jar. Using your fingertips, press down firmly but gently, to help remove any large air pockets.
Insert a chopstick along the side of your jar and press until you feel it hit the bottom of the canning jar. It is OK if it stabs into your bell peppers and garlic but do try to limit as much as you can so you do not break up them up. Begin slowly pouring your olive oil (or whatever oil you decided to use) and allow it to fill up the jar to 1/4 of an inch below the mouth of the jar.
Hold the jar with one hand and with the other hand pull the chopstick from side to side slowly to dissipate any trapped air pockets. As air pockets are removed the oil level will lower. Add more olive oil to the container until it reaches 1/4 of an inch below the mouth of the jar. Remove your chopstick and set side. Dampen a clean bit of paper towel, or the edge of a clean kitchen towel, and wipe off any oil or debris from the inside and outside edge of the jar rim.
Note: If you don’t remove all oil and debris from the outside and top of the jar it will not seal, and will lead to spoilage.
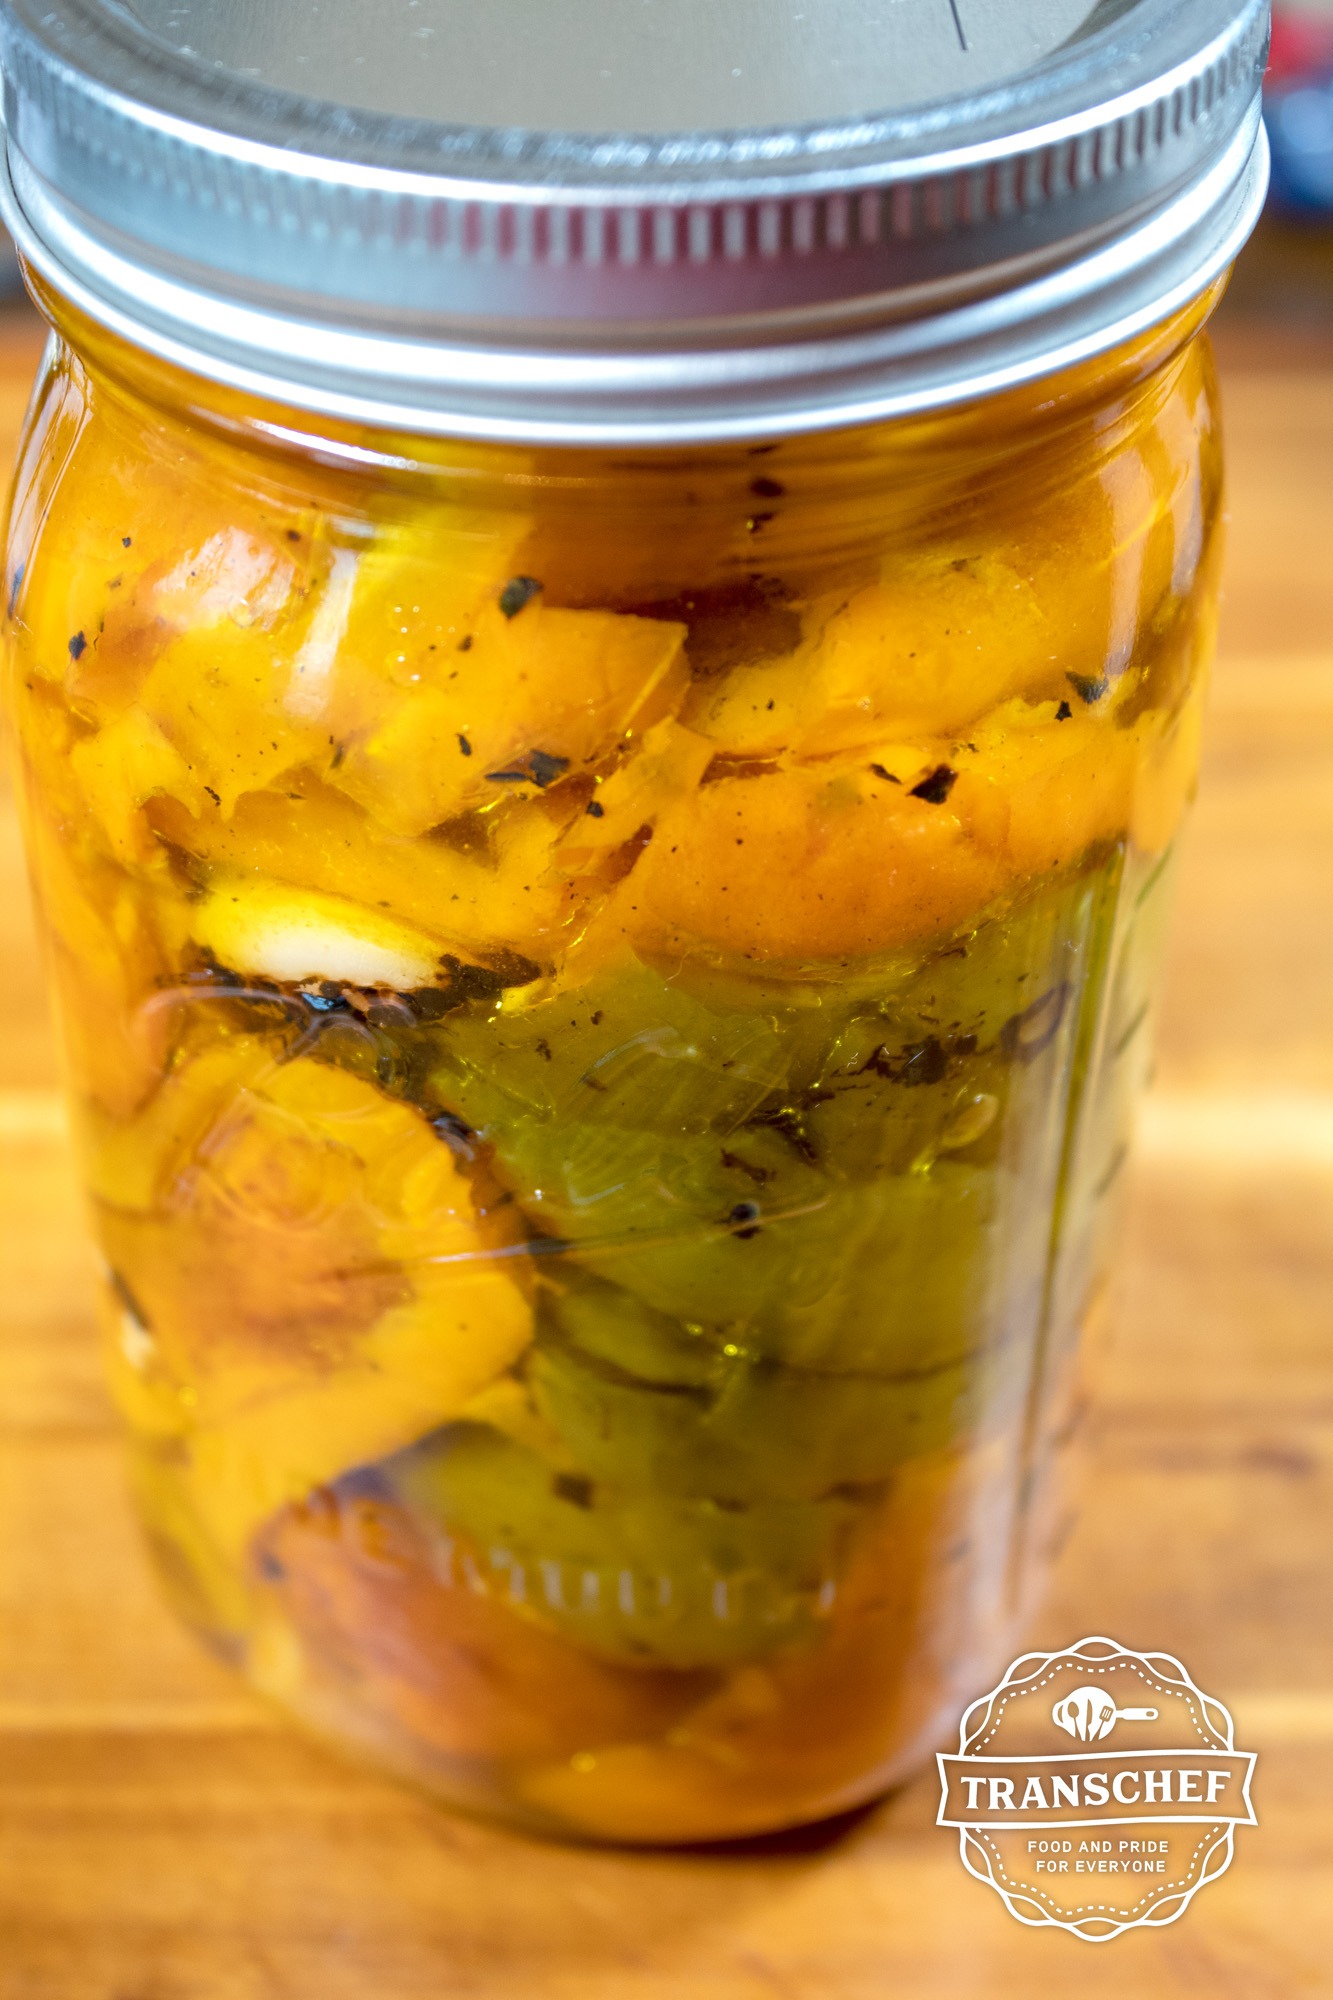
Place the flat seal on top of canning jar and then set the ring around it to sit loosely on top. Using a finger, press down on the center of the flat seal to prevent from slipping, then tighten the outside ring finger tight.
Note: Finger tight means to secure the lid as tightly as you can with your fingers so water doesn't enter the jar when canning. But this will allow air to escape as the content heats up. If you tighten your lid too much it can cause your jars to explode.
In a large pot place canning rack on the bottom of the pan and fill with enough room temperature water to cover the jar by 1 inch of water. Turn up the stove burner and allow to come to a boil. Boil for 10 minutes, then remove jar using the canning jar lifter and place on a flat, heatproof surface. Cool completely. Don’t try to rapidly cool your jars. This can EASILY lead to breaking! Notice: Since we DID NOT sterilize our canning jar, lid or flat seal the FDA advises us to process jars for at least 10 minutes.
Once jars are completely cool, use a finger to press down in the center of your lid. If lid does not flex and/or make a clicking sound, then your container is sealed properly, is ready for a label and can be stored in your pantry. However, if the lid flexes and/or makes a noise then the jar DID NOT SEAL PROPERLY. Jars that did not seal properly should be stored in the fridge and used first. Sealed jars can be stored in a cabinet for a couple of years, if the seal is still securely in place without any leakage or pressure making the top bow outward. Once opened, jars should be stored in the fridge.